
I’m a sucker for a cute pillow, and I adore buntings, so I combined them together for a cute little bunting pillow cover. Wanna learn how to make one?

You’ll need:
two pieces of canvas cut into 17×17 inch squares
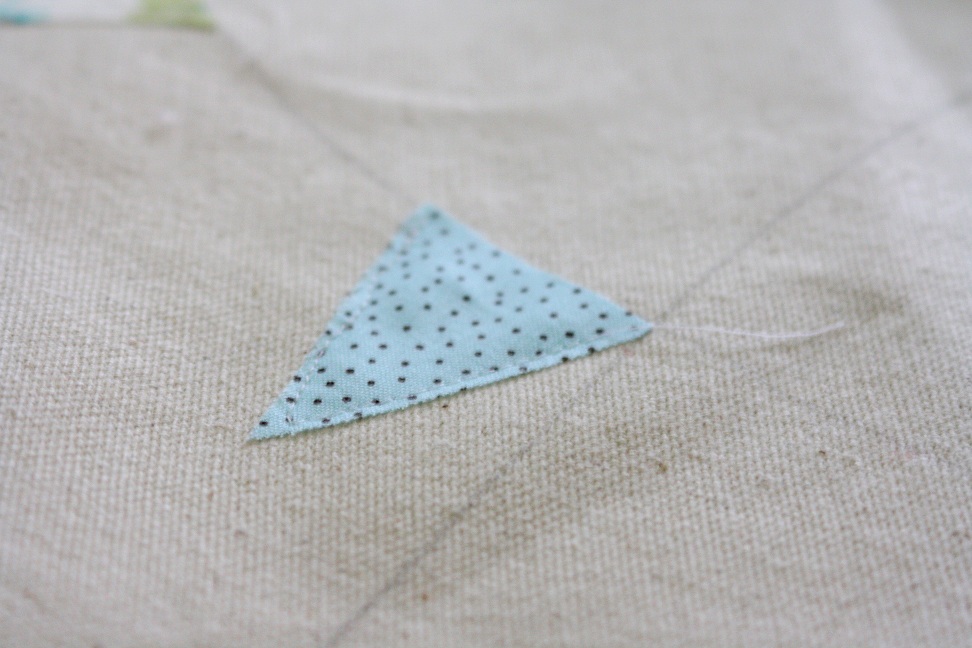
5 or 6 different fabrics – cut into 2 inch triangles – it will take 12-18, depending on how full you want it
a zipper
a pencil
a sewing machine
accent color thread and white thread
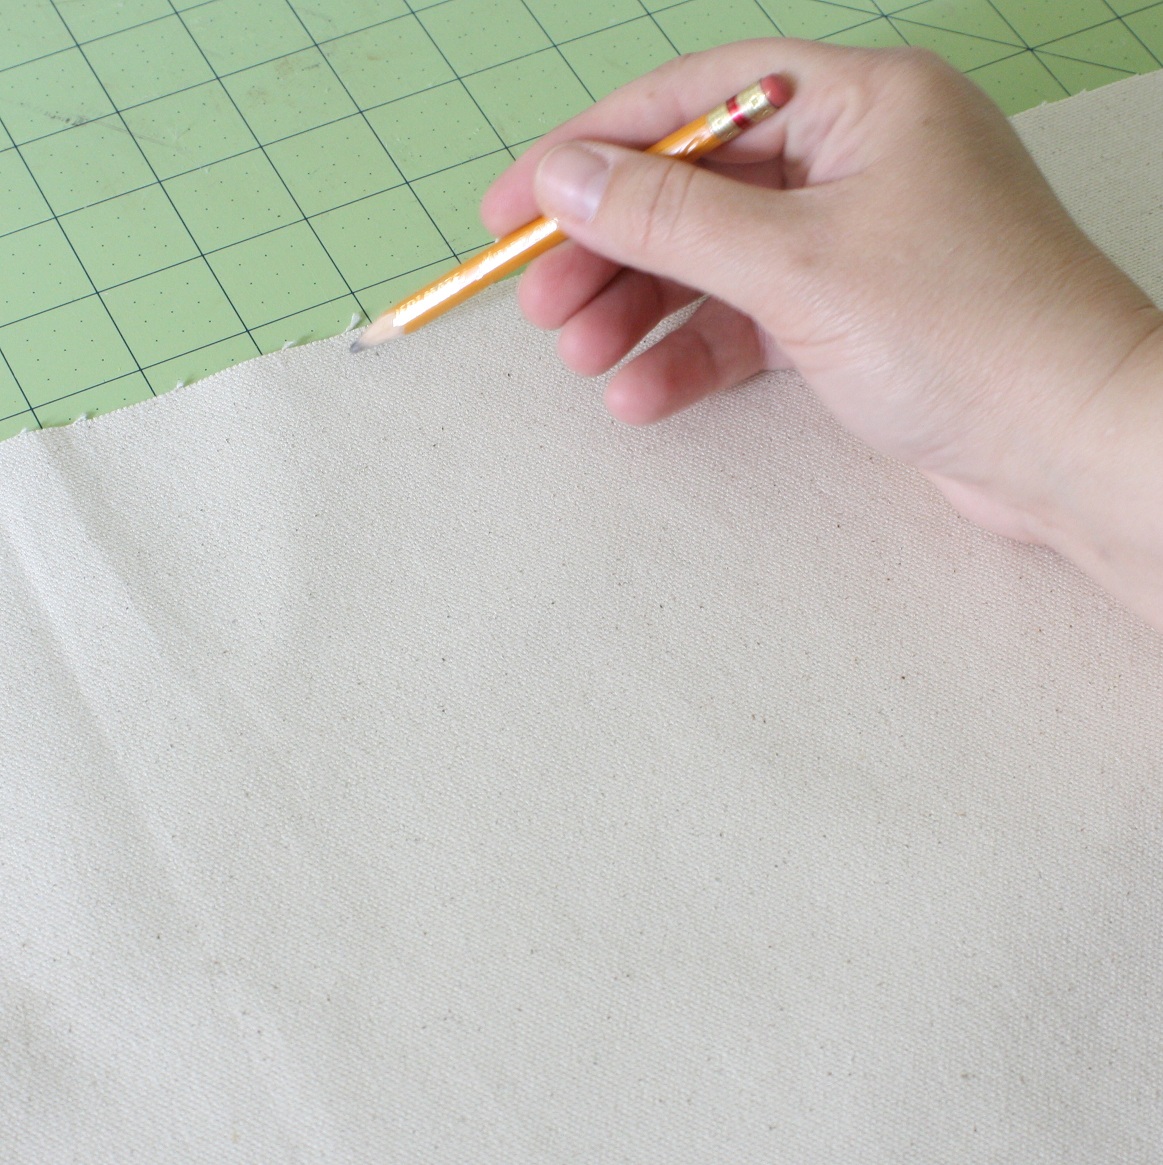
Let’s get started. First draw your lines on the pillow lightly with a pencil or fabric marker. This will be the draping of the bunting. I used three swooping lines for the shape of my bunting.


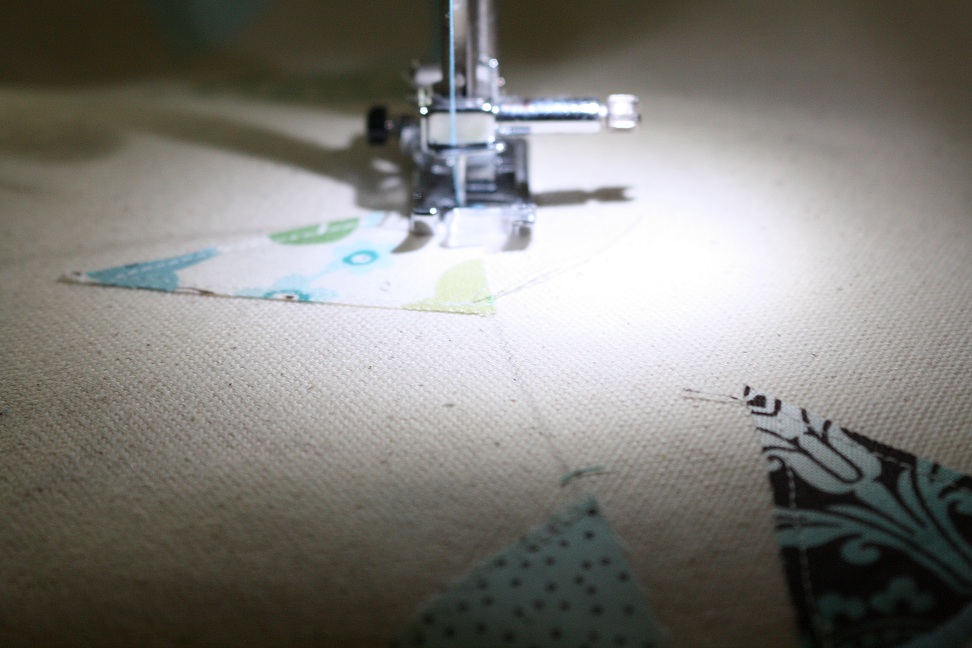
Next take your coordinating thread and carefully run a tight zig zag stitch over all of the pencil lines.
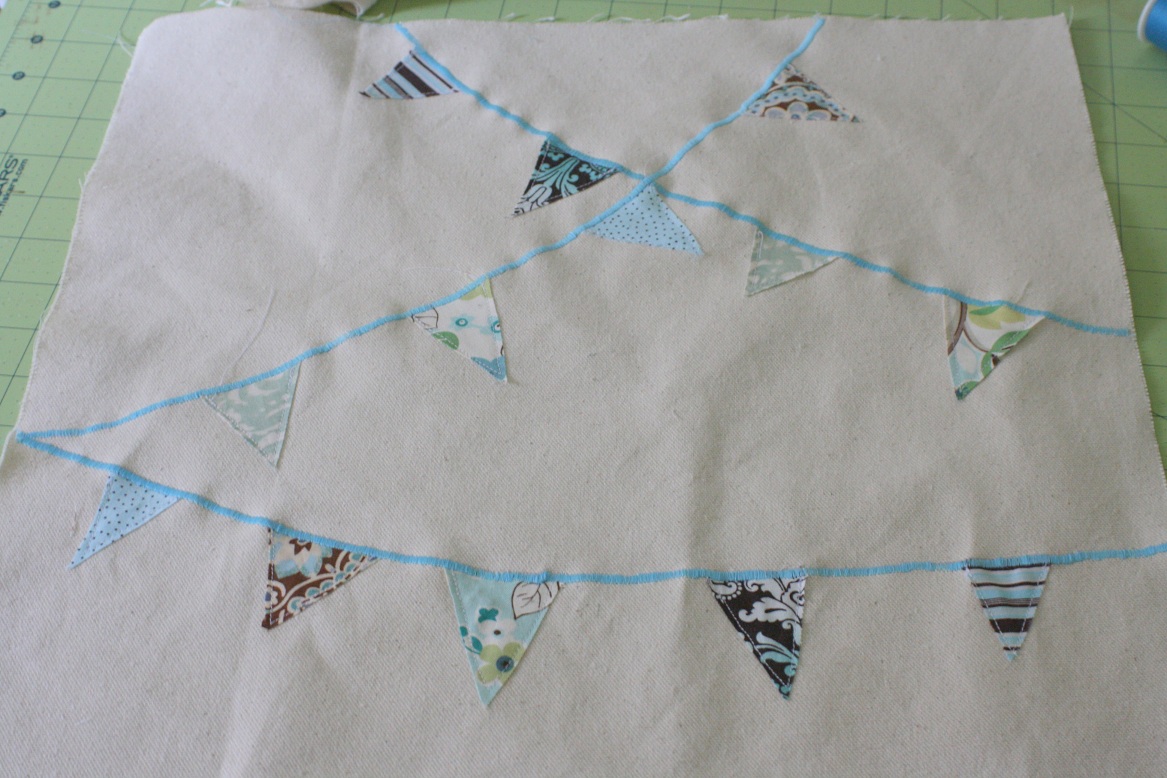
Now your pillow cover front is finished.
Just sew it up with the instructions found in my zipper tutorial.
And then you’re finished – yay!
This cover can be made in so many color variations, the sky is the limit 🙂

Thanks for hosting!
I LOVE that pillow!!! Too cute!!!
Really cute pillow! Thanks for hosting, Gina!
Thanks for the tutorial and for the party Gina!
xoxoxo
That is an adorable pillow. Thanks for hosting!
Sweet pillow! 😀
Way Cute! Love all the fun ideas.Thanks Kim
LOVE that cute pillow!!!
I love the colors you chose for your pillow! So fun! Thanks for hosting Transformation Thursday each week Gina and for writing great posts. 🙂
Thanks for the tutorial! What a cute pillow! Happy week!…hugs…Debbie
The pillow looks fabulous!!! Thanks for hosting!
Thanks for hosting this blog party.
What an adorable pillow – super cute! Thanks for hosting :O)
Wow, Gina, This is an adorable project. I absolutely love your pillow!
Hi Gina! You just gave me an excellent idea on my next project. I’m going to redecorate and accessorize my living room for this coming summer and I’m thinking to change my pillows’ covers.
Your design reminds me of fiestas and festivals in the Philippines – the banderitas. It’s really nice.
Hi Gina,
What a cute pillow, thank you for sharing the tutorial with us!
And thanks for another Transformation Thursday!
OH GINA!! Thank you so much for the tutorial. I’m SERIOUSLY gonna give this a try. I just ADORE that pillow! 🙂
Thanks for hosting! 🙂
Ami with AliLilly
That pillow is so cute! Thanks for hosting another great party Gina.
Adorable pillow! I love it girl!!!
Nice pillows!
Wow, I love shabby and I am in love with the pillow! Great ideas! New follower! Thanks for the party.
LOVING the pillow!
thanks for hosting!
Thanks for hosting. I am obsessed with bunting and adore that pillow. Too cute!
Love your bunting pillow! So cute! Thanks for sharing and for hosting this party each week.
Your bunting pillow is adorable!
I’m glad to be linking to your party this week.
Thanks for hosting.
~ Julie
Love the pillow! Thank you for hosting!
Fabulous pillow and wonderful tutorial, Gina !! Alas, my pillow would look NOTHING like this if I even attempted to sew !! Thanks for the inspiration … and for hosting. I’m off to be inspired. *Becca*
Lovely pillow, thanks for sharing.
Absolutely love that pillow. TFS!!
Also, thanks for hosting.
Your blog is amazing! You have worked so hard and it has paid off! Wow…I can only dream at this point…..”Just Keep Swimming……”
This is such a GREAT idea!! And it came out so nice 🙂
That GOOD GOOD Blog
that pillow is sooo cute! would love to make something like that if i could sew. thanks for hosting! can’t wait to look through all of these! andiejaye @ crayonfreckles.
Gina I love the pillow! Darn I don’t have anything crafty to link up. But, I always enjoy my visits to your lovely blog.I hope you’ll stop by Katherines Corner. The new giveaway is up! xo
This is seriously one of the most adorable pillows I’ve ever seen. It’s so beachy and fresh. Thanks for sharing!
Allyson
http://cupcakescandycanes.blogspot.com
Hi Gina!! I love your blog,your work inspired me to make it in miniature.Sweets regaqrds from sunny Spain,Sonia.