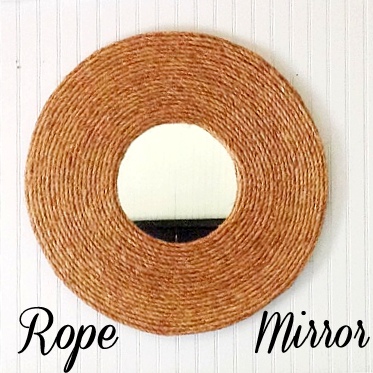
Once upon a time I found a rope mirror that I loved…. however I did not love the $500 price tag. So I called my father in law and he helped me with this surprisingly easy project. It take a while, but it’s totally worth it for a mirror that has lasted for years. Want to make your own rope mirror?
How to make a rope mirror
*this post contains affiliate links*
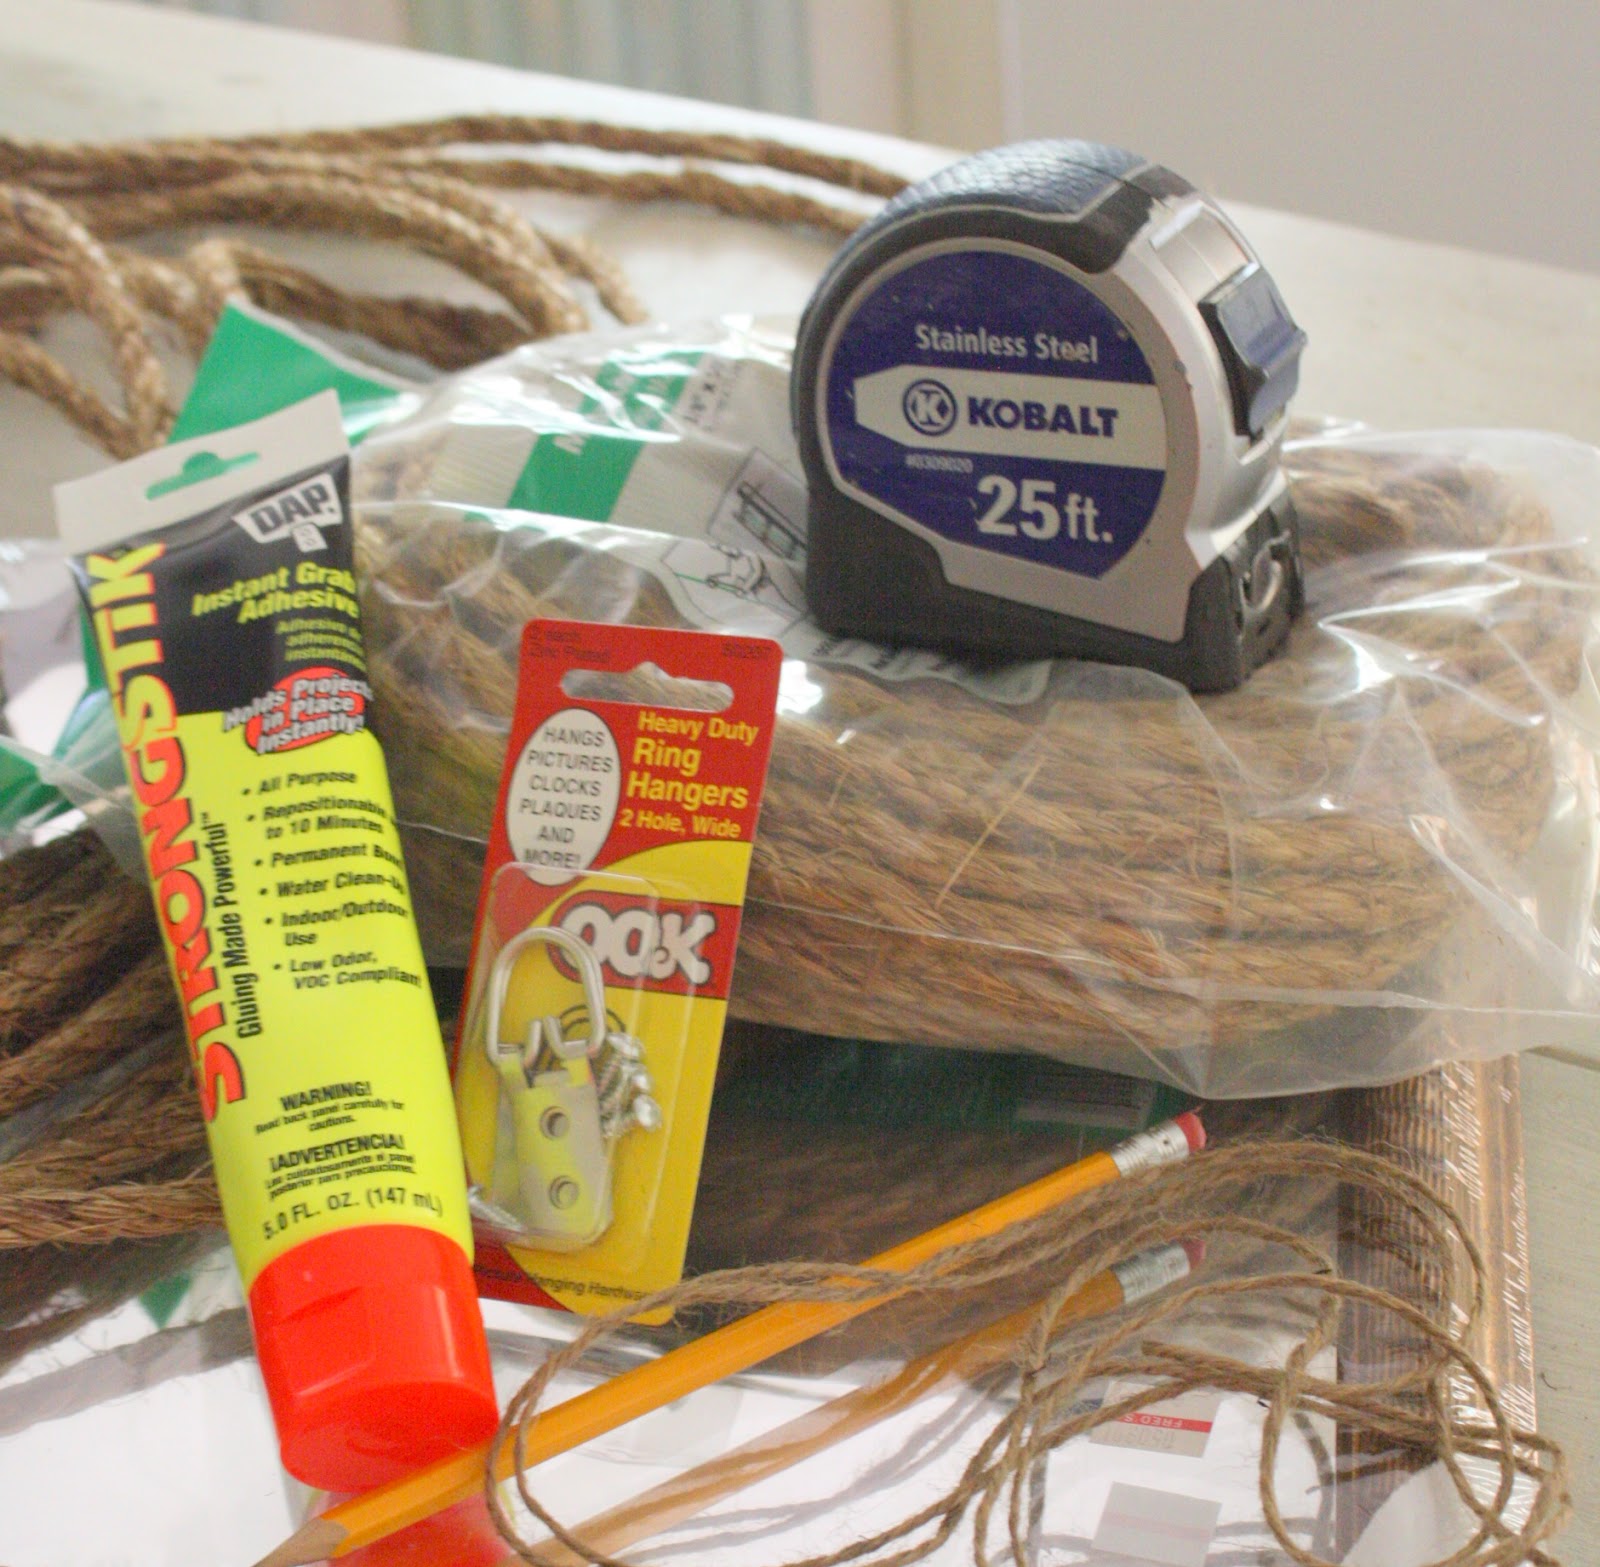
You will need:
2×2 (or larger) piece of MDF, Particle Board or Ply Wood
Jute Rope (I used
Hot Glue Sticks
Mirror
Mirror & Wood Adhesive
Sturdy Hanging Hooks
A Long Skinny Wood Strip
A Few Short Screws
Pencil
Hot Glue Gun
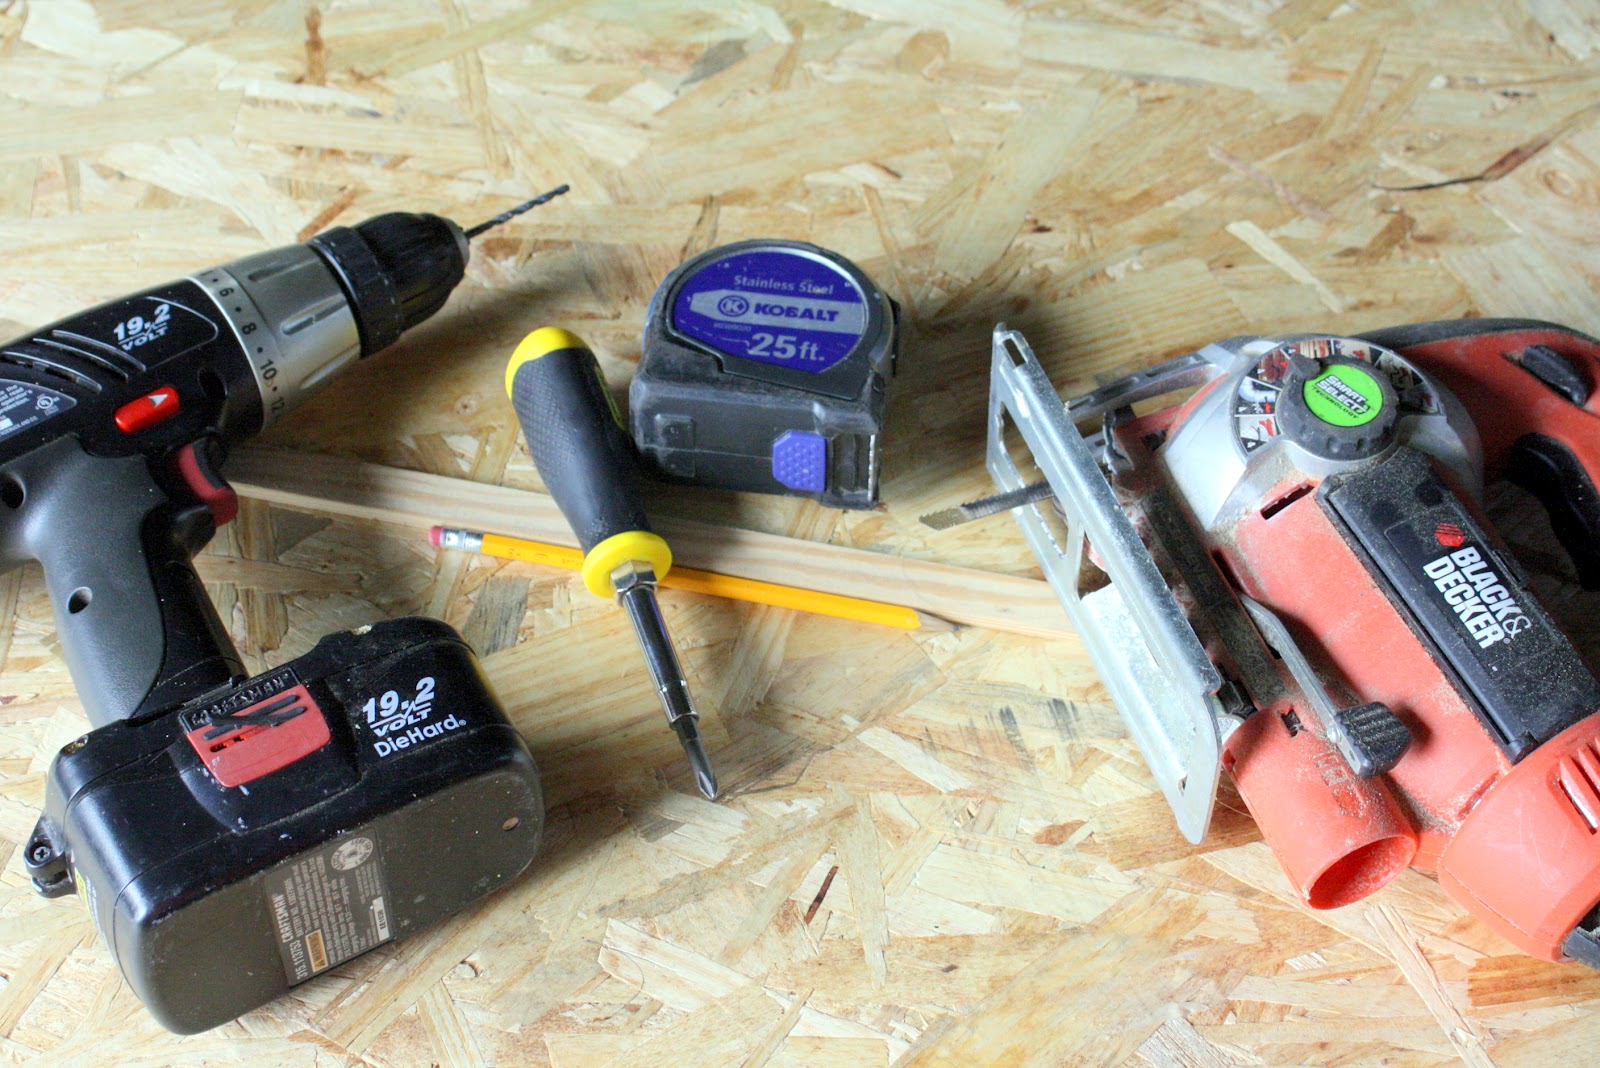
Drill
Drill Bits & Driver Bit
Jig Saw
Tape Measure
Glass Cutter (optional)

I started with a Goodwill mirror, because for the life of me I could not find a 12×12 mirror tile. If you can find one, I HIGHLY suggest you use that instead.
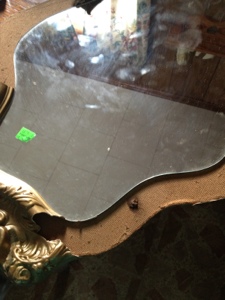
My {amazing} Father In Law, Mr. SCC Sr., had to cut the glass down for me. I bought this wonky shaped mirror for only $4.99. We took off the frame and carefully removed as much backing as we could.
This is where I need to issue a warning: DO NOT go buy a new mirror and try to take the frame off. They are glued in there like mad serious. It won’t work. Don’t ask me how I know…

This little tool is all you need to cut the glass. First you find where you need it cut, then use a straight edge to score the glass. On the end that looks like a comb there’s a little wheel. PRESSSSS it into the glass and drag it across.

Then *tap*tap*tap* on the top of the cut, and again all the way along the bottom of the cut and you’ll see it slowly begin to separate the cut. It’s pretty magical stuff. Once cut, set your mirror aside…. well if you had to do that step 🙂

While I was browsing at Home Depot the other day I found this 1/2 sheet of particle board for 51 cents. SOLD! I knew right then that it was going to be my mirror that I’d been dreaming about for weeks.
Take your long skinny piece of wood, about the thickness of a paint stick works great! I knew that I wanted my overall mirror 24 inches wide – so I made a mark in the end and drilled a hole. I marked 12 inches from that mark and made a second hole. The center of my mirror is 11 inches, so I went from the first hole and measured in 5.5 inches and drilled a third hole.

I used the first hole to drill it directly to the center of the particle board, then used the other holes to go all the way around and make two circles… one inner and one outter.

Just inside the inner circle, I used a drill bit a tad bigger than my jig saw blade and drilled a hole to allow access to the inner circle.
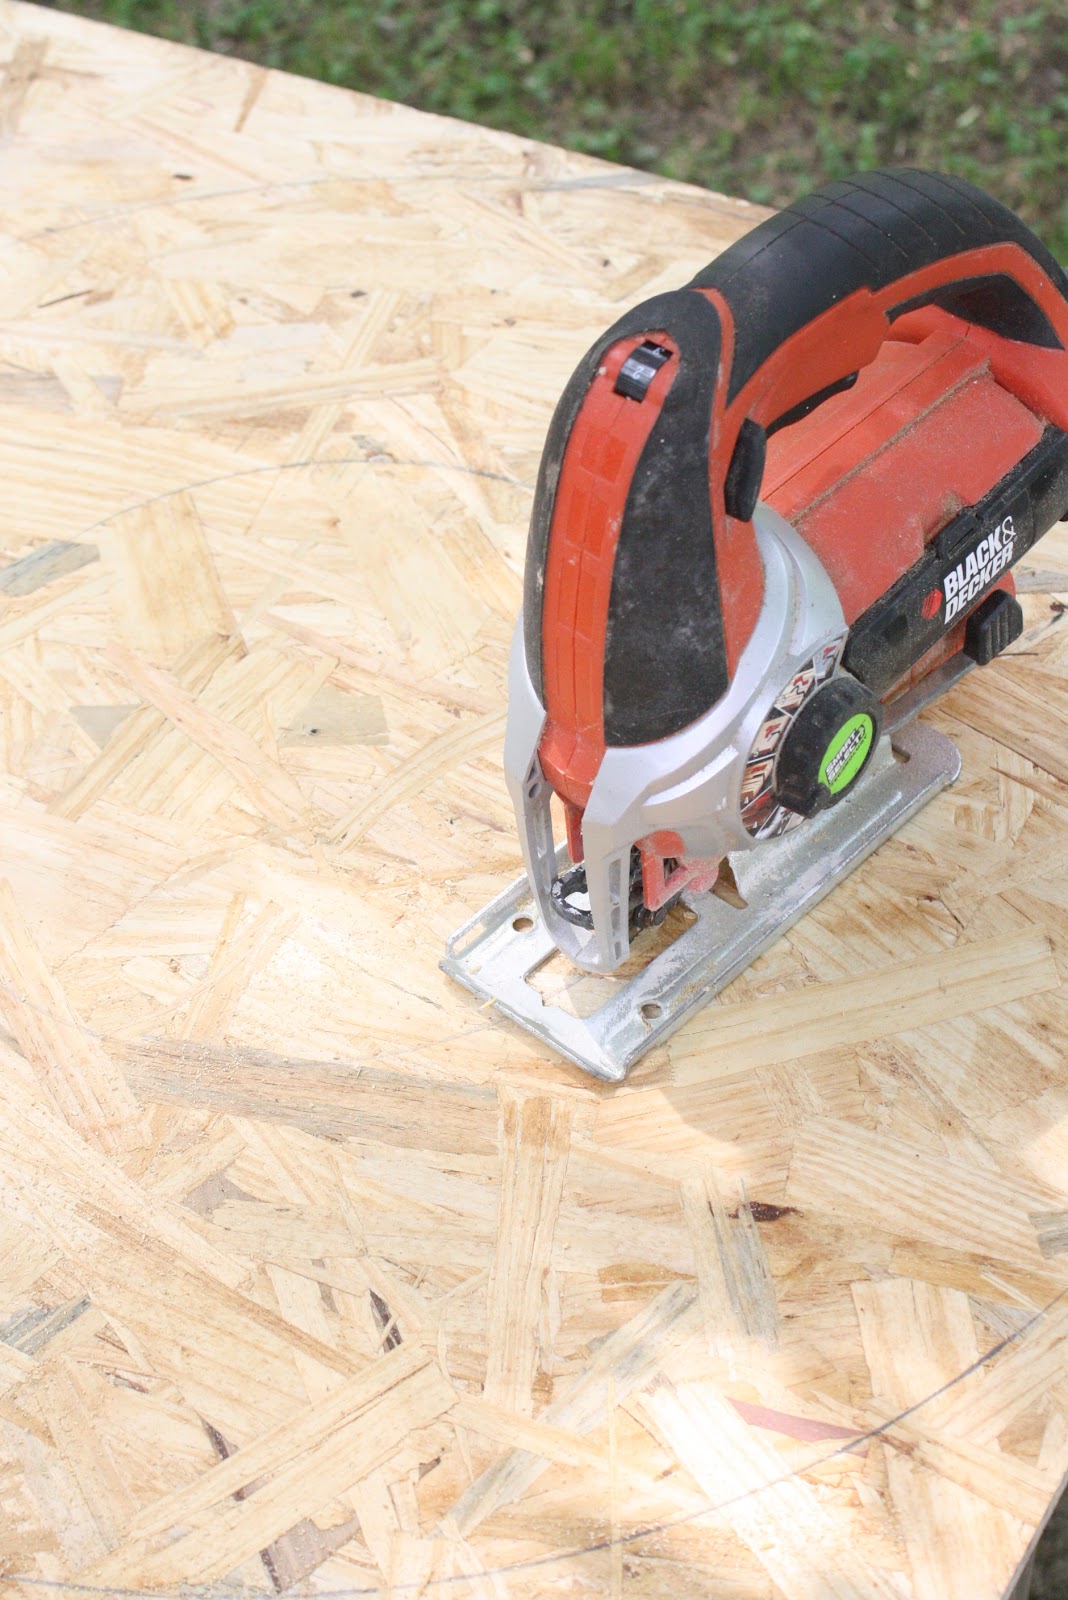
Then I used my jigsaw to cut the inner and outer circles… (If you’ve never used a jigsaw – let me teach you how in this post.)
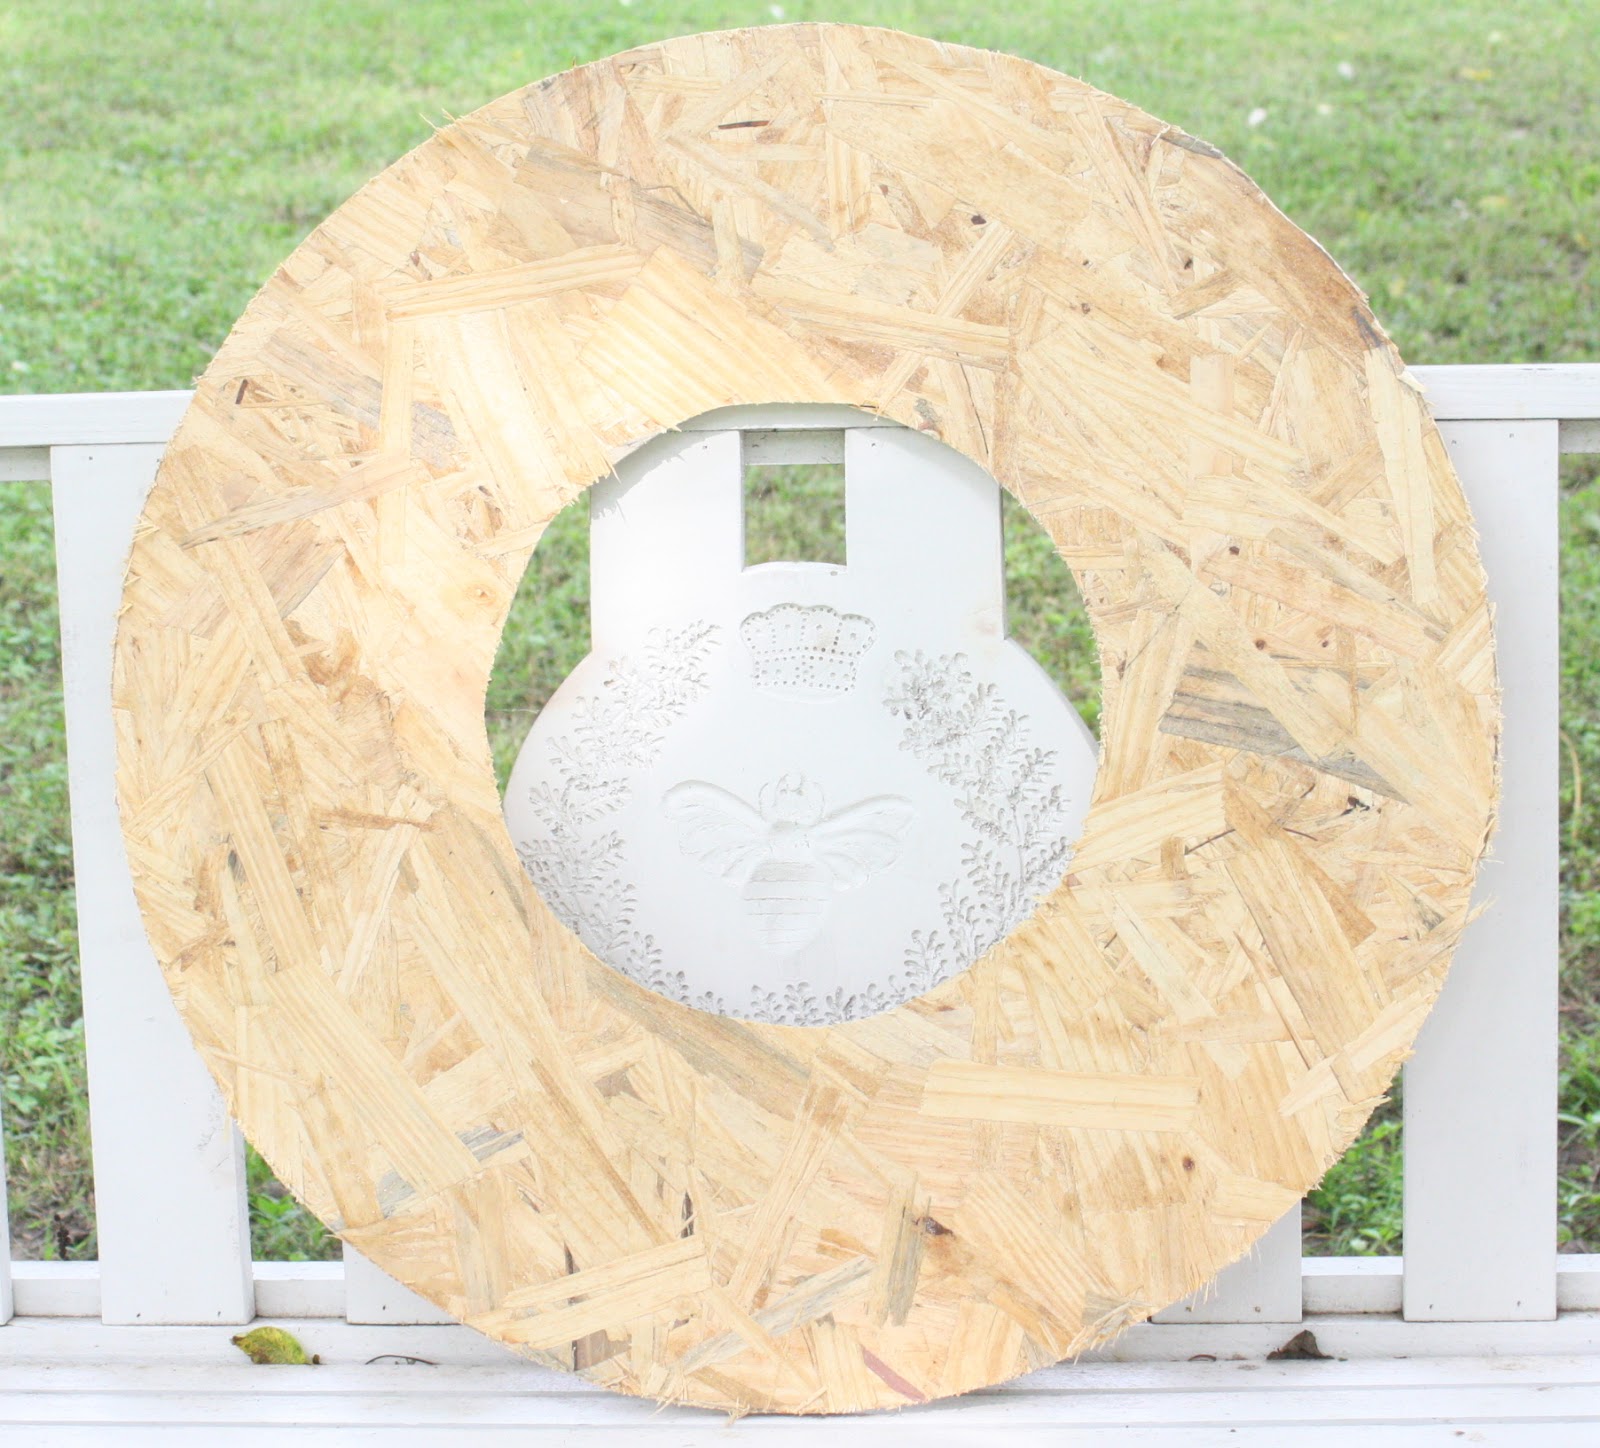
Giving me a big wooden “donut.”
Next I sanded the edges, because particle board is some nasty, splintery stuff!
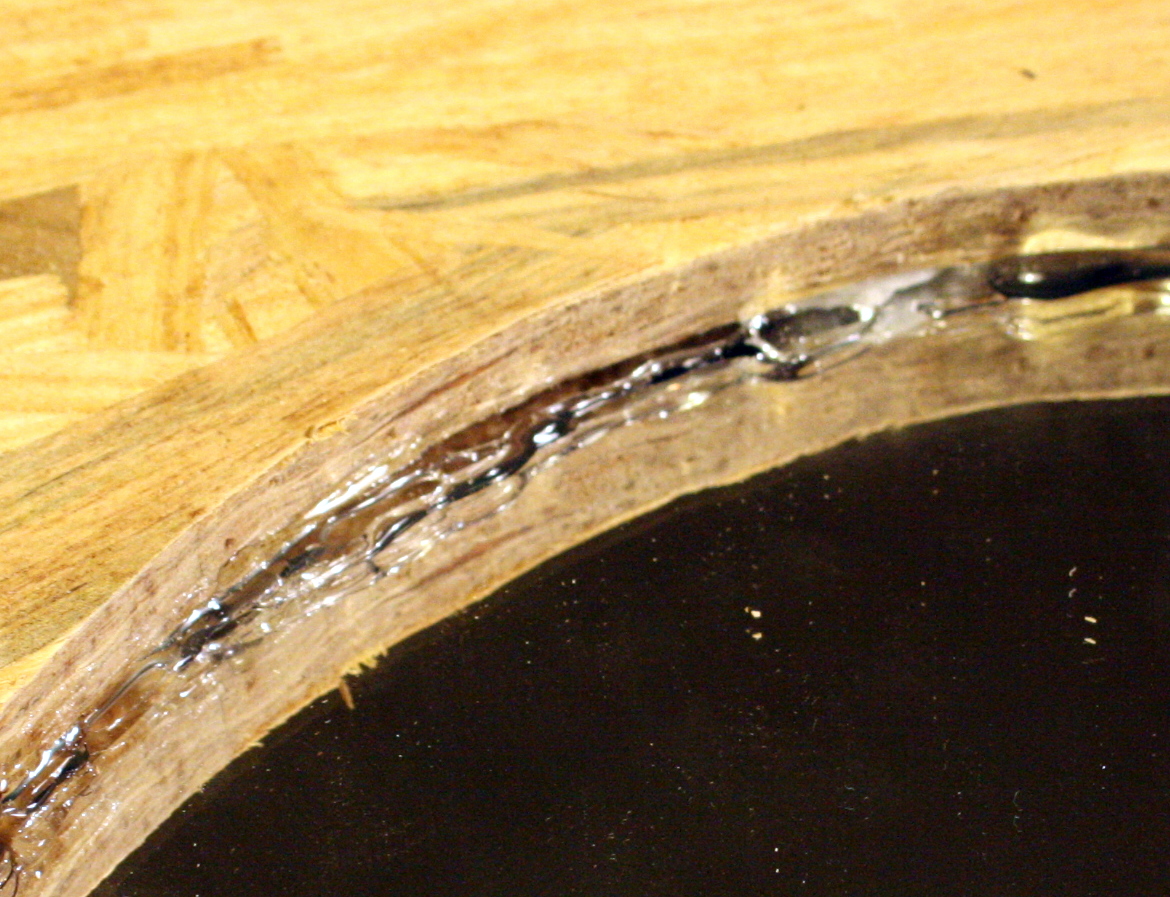
Now let’s work on the mirror. Flip your mirror upside down and keeping and eye on the front side, center it up where you need it to be. Take your pencil and mark all the way around the mirror so you know exactly where the adhesive goes.
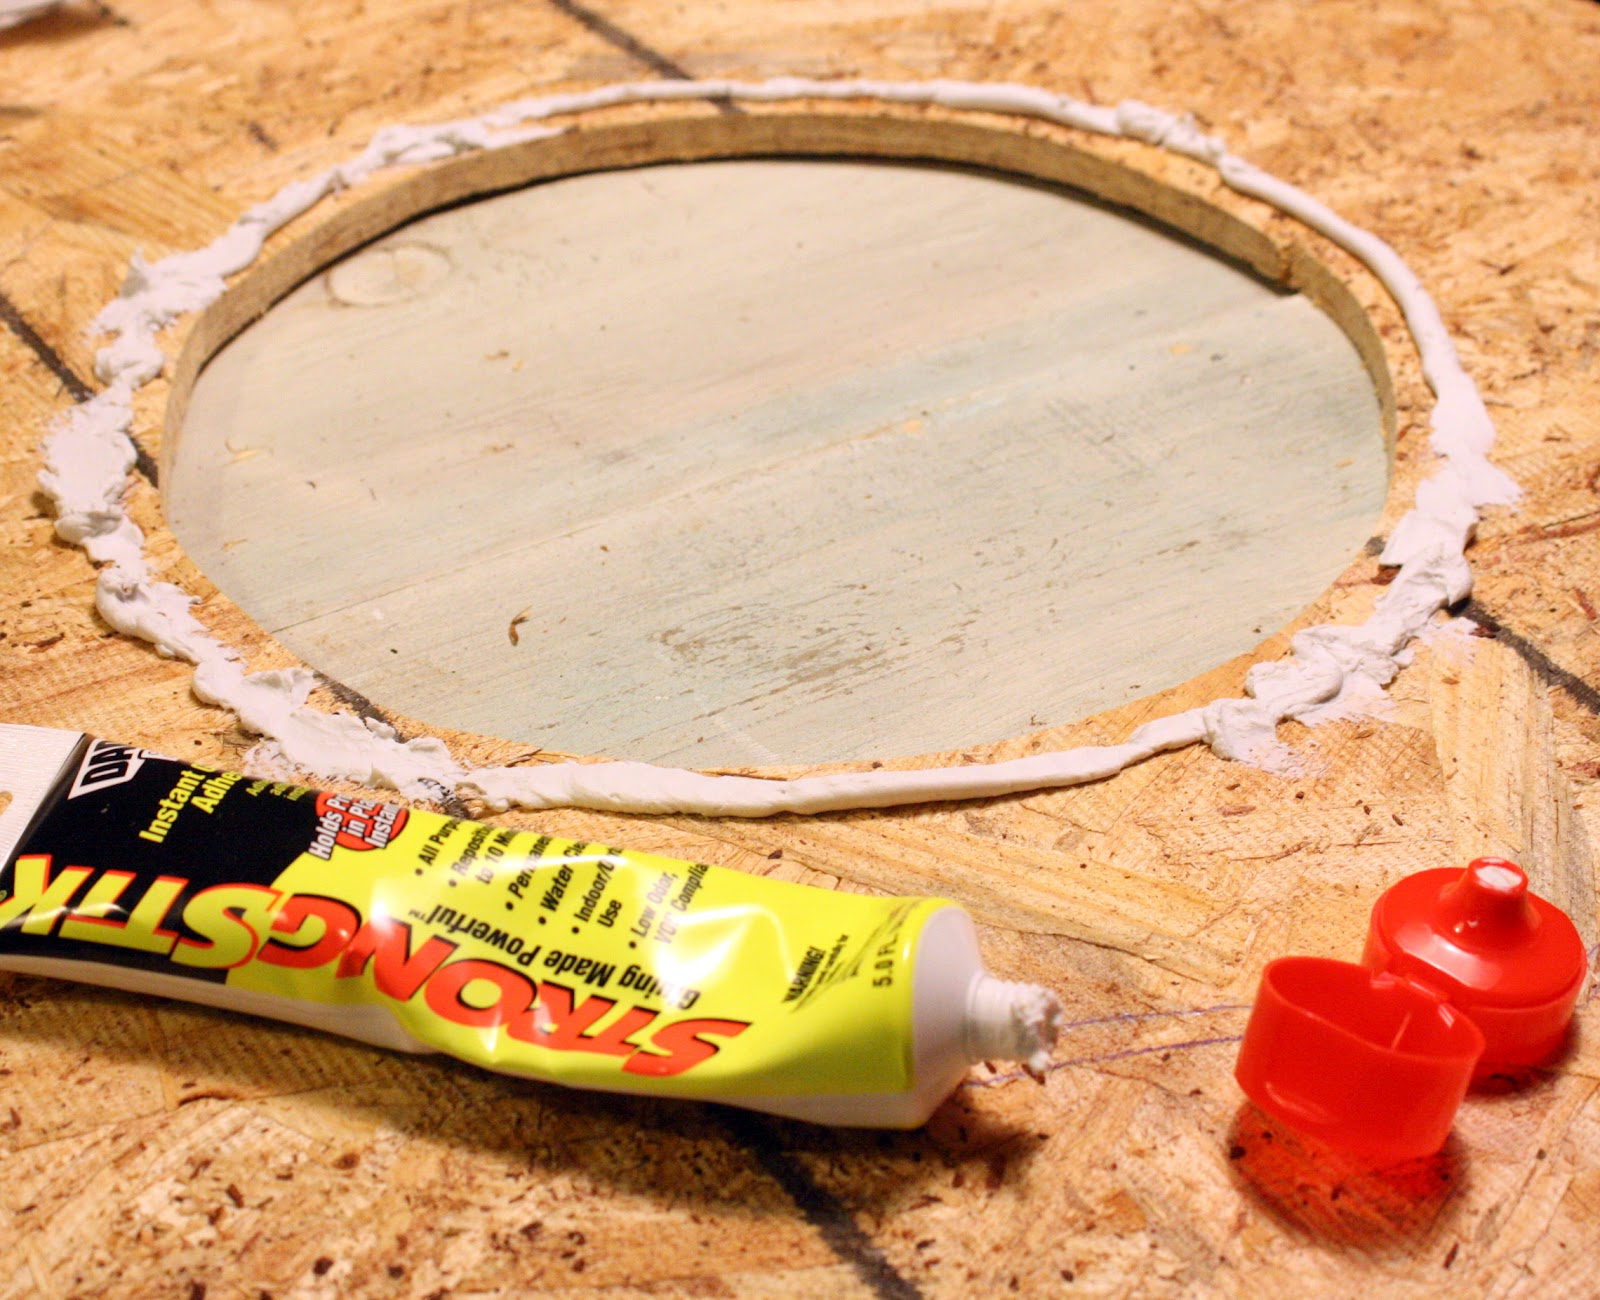
Make a pretty thick line of mirror adhesive all the way around the inner circle. Then put the mirror on and sit it aside to dry.
Now that you’re all dry and ready to go – you’re going to need that glue gun, the glue sticks and jute rope. (I used two 50 ft. packs). Start by snipping the end off the rope at a slight angle.Then run a bead of hot glue down right on the glass and start by putting angle side UP.
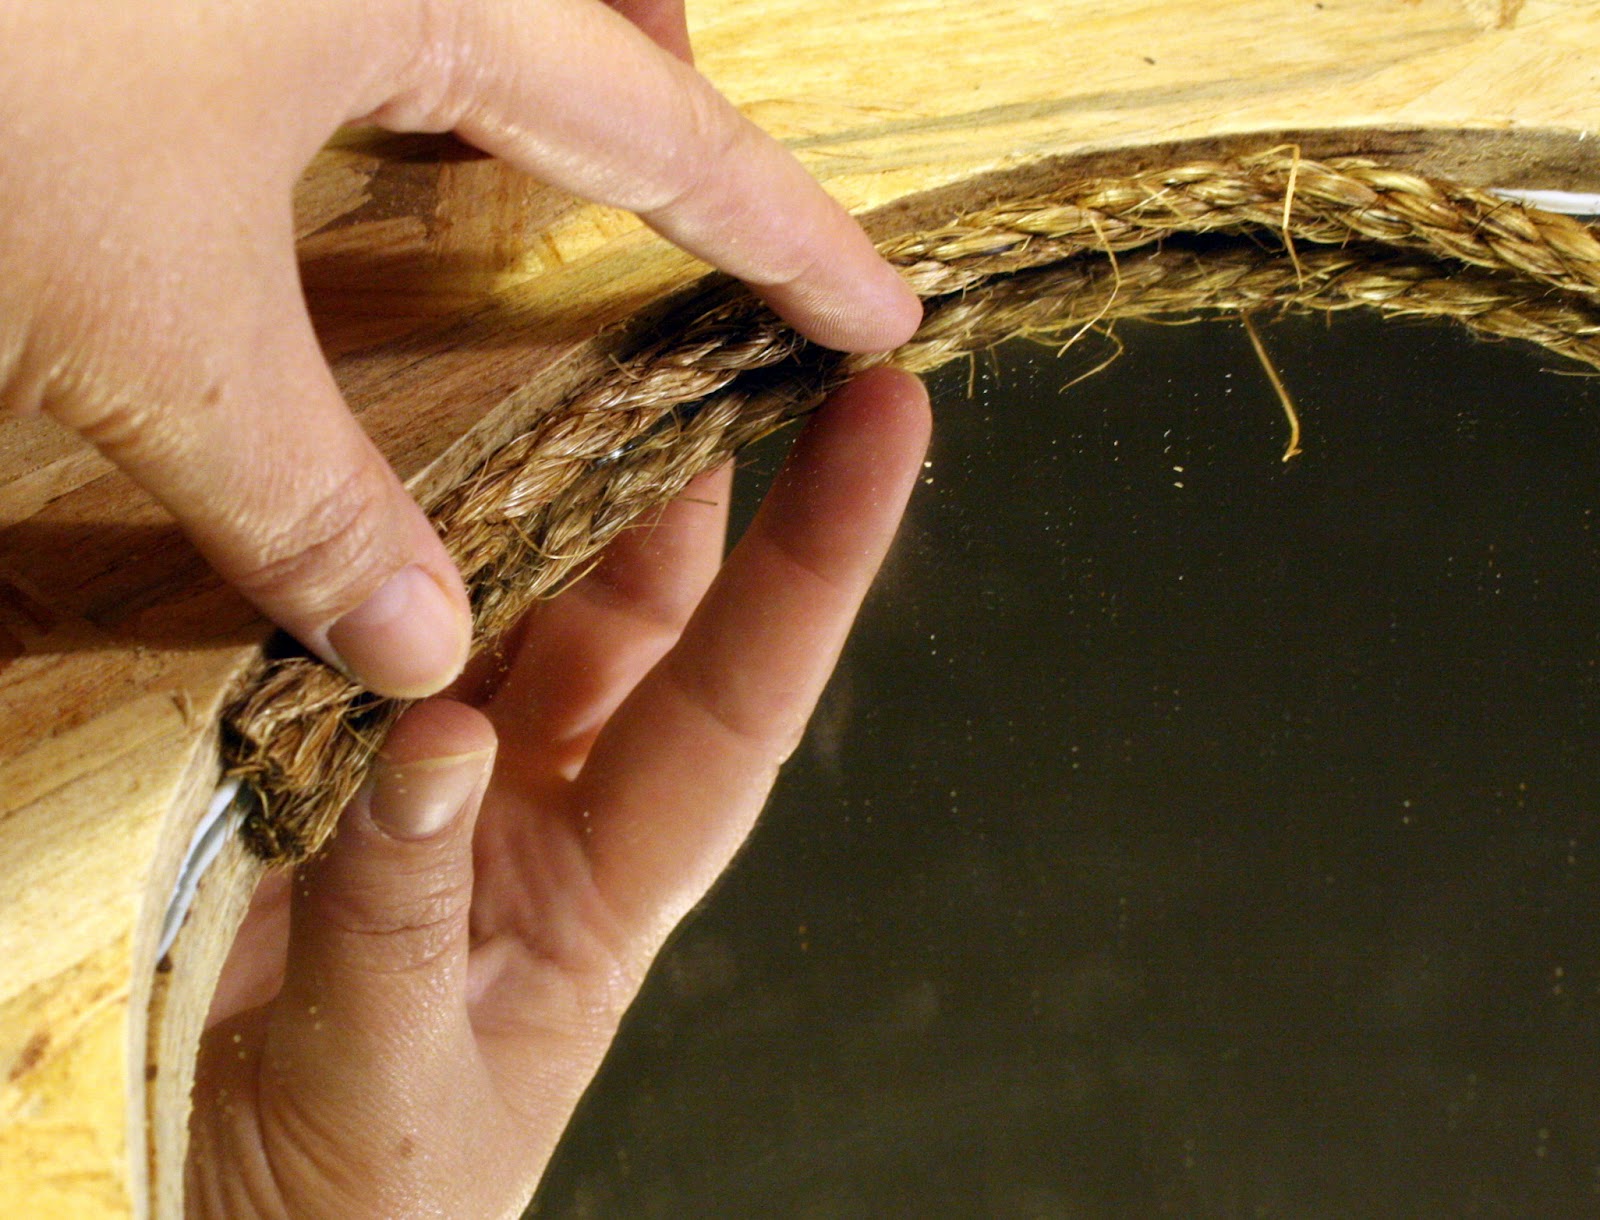
Go all the way around the circumference of the mirror.

When you get to the starting point, just go right up on top and do one more round on the inside of the rim.
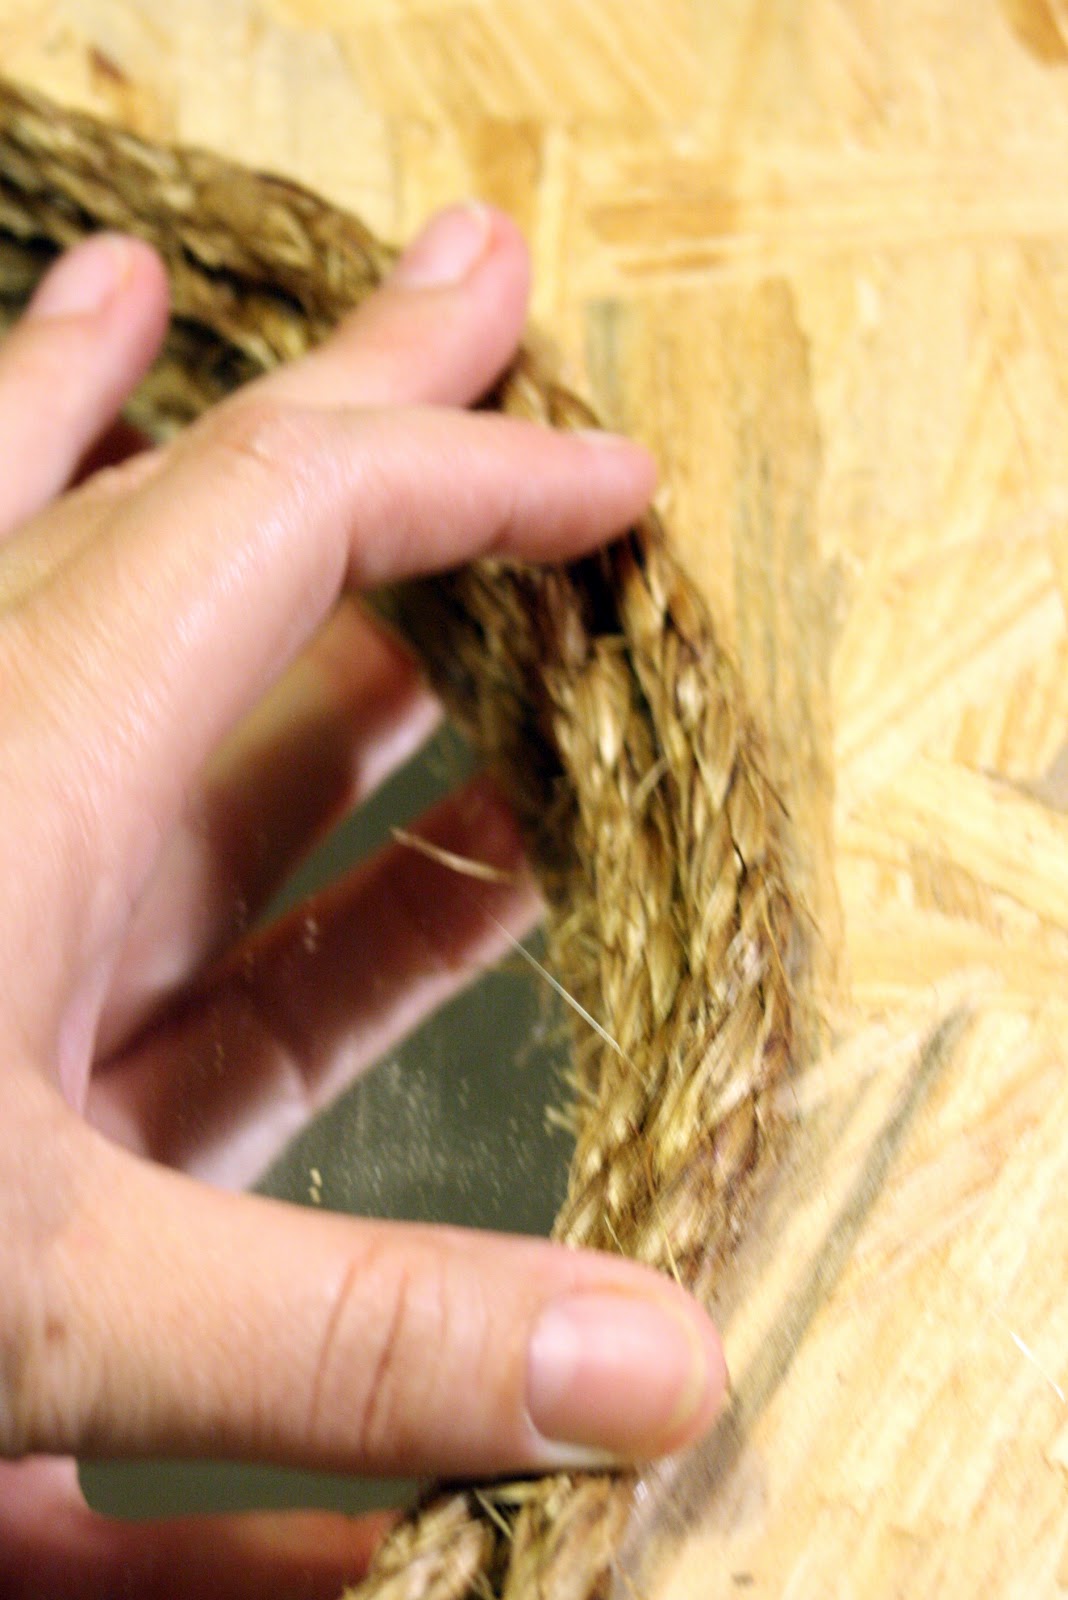
For the next row, go onto the flat part and just keep spiraling around and around. Glue and rope…. glue and rope…. glue and rope. Hold each section for a few seconds to keep them in place while the glue has a moment to cool.
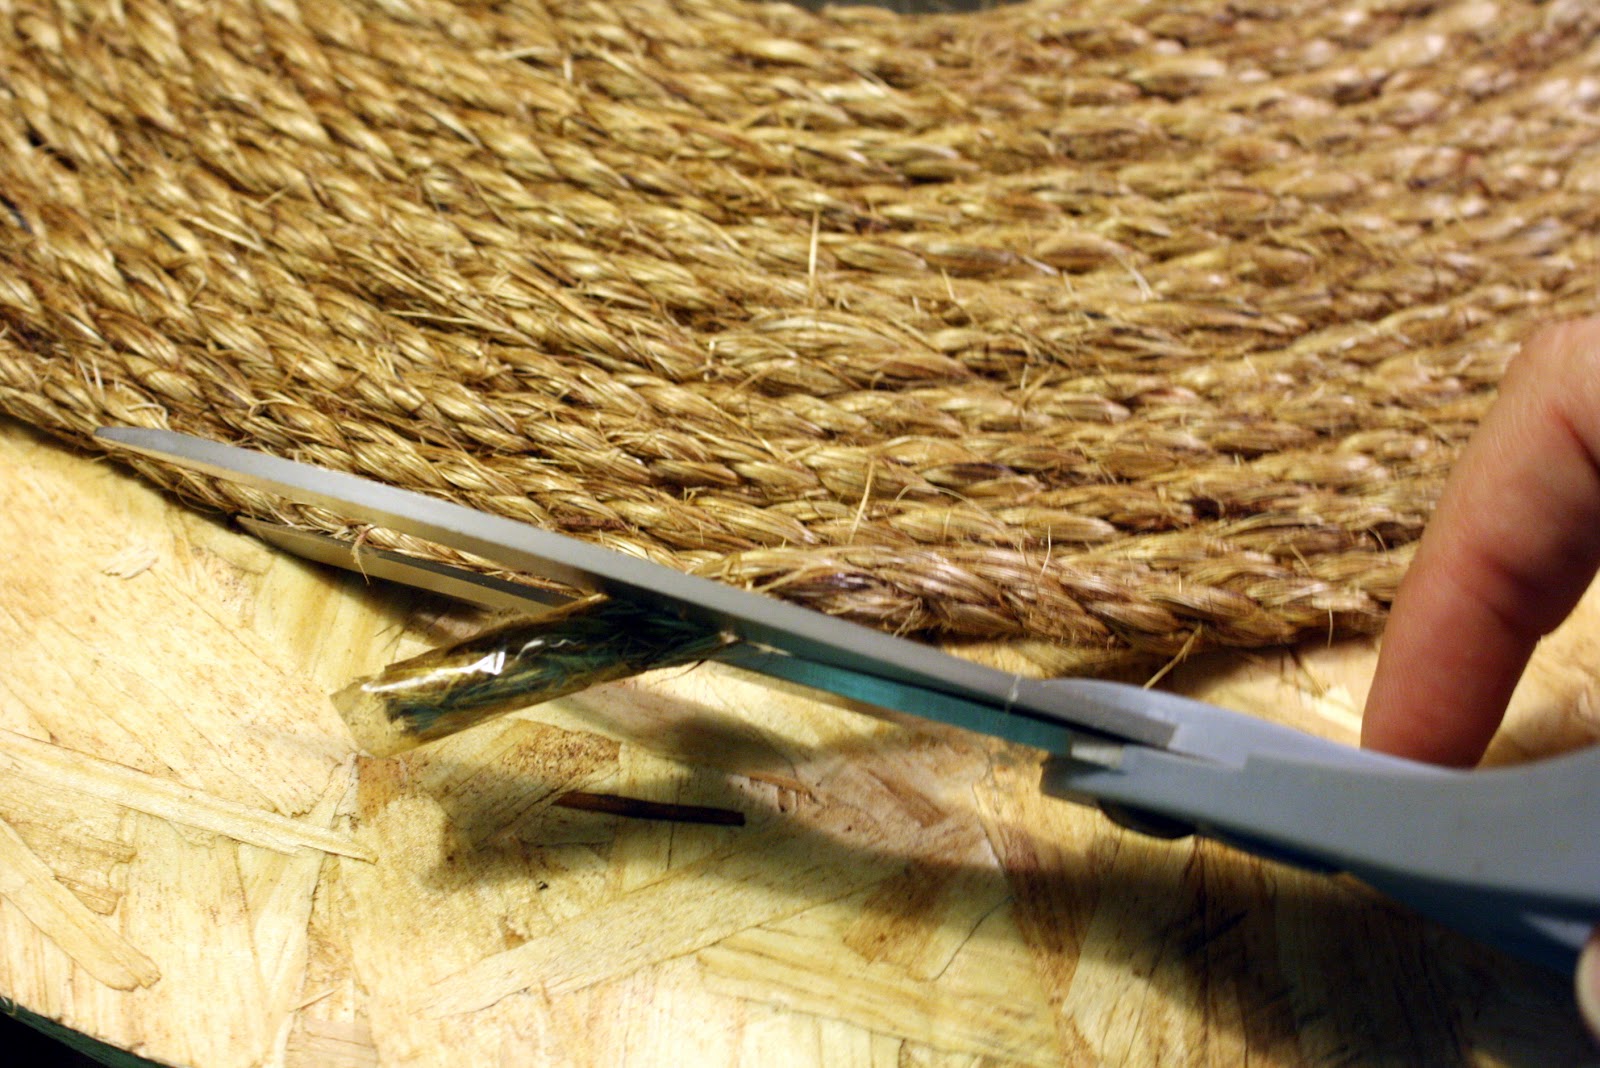
When you get to the end of the first roll of rope, leave 6 inches or so unglued and cut the end off at an angle to face down towards the board. Then cut the starting end of the new piece at an angle that will go facing upwards.

Dry fit the seam, then glue down the tail of the new rope first.

Then glue down the last few inches of the first piece, so the end will sit right on top of the new piece, spliced together. Put just a dab of glue right on the seam to keep it smooth.
Continue the new rope all the way to the edge of the board.

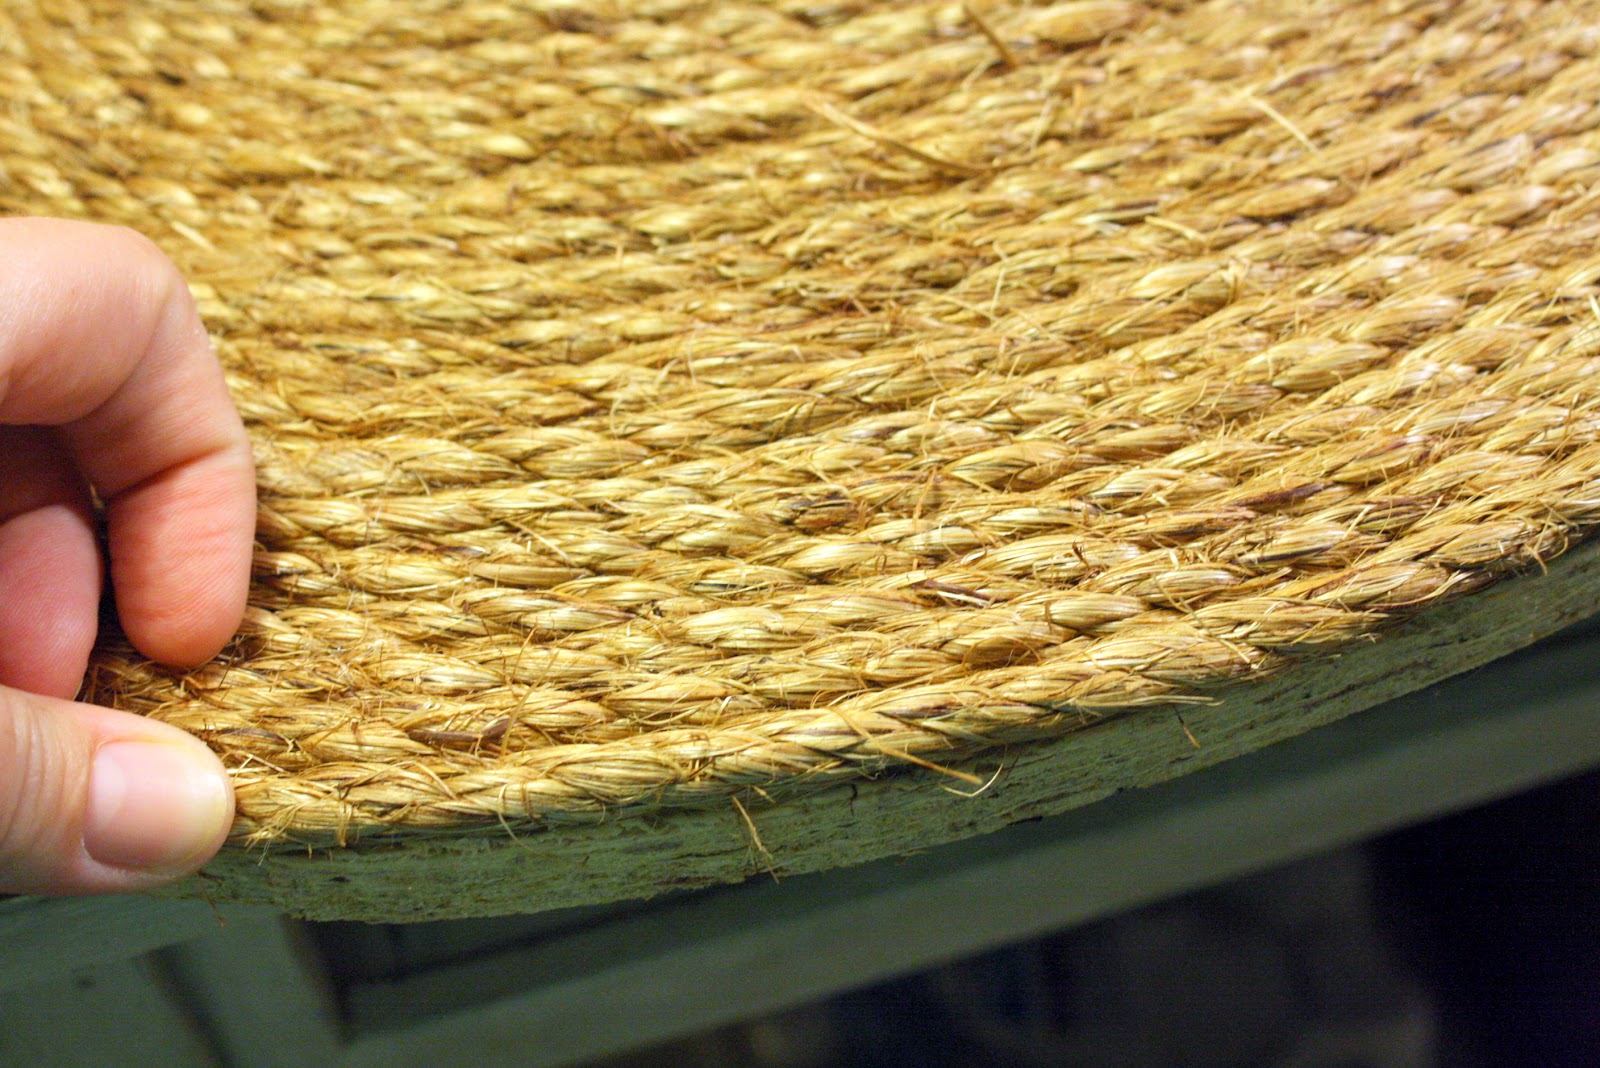
Then wrap on over the edge all the way around to finish it off.
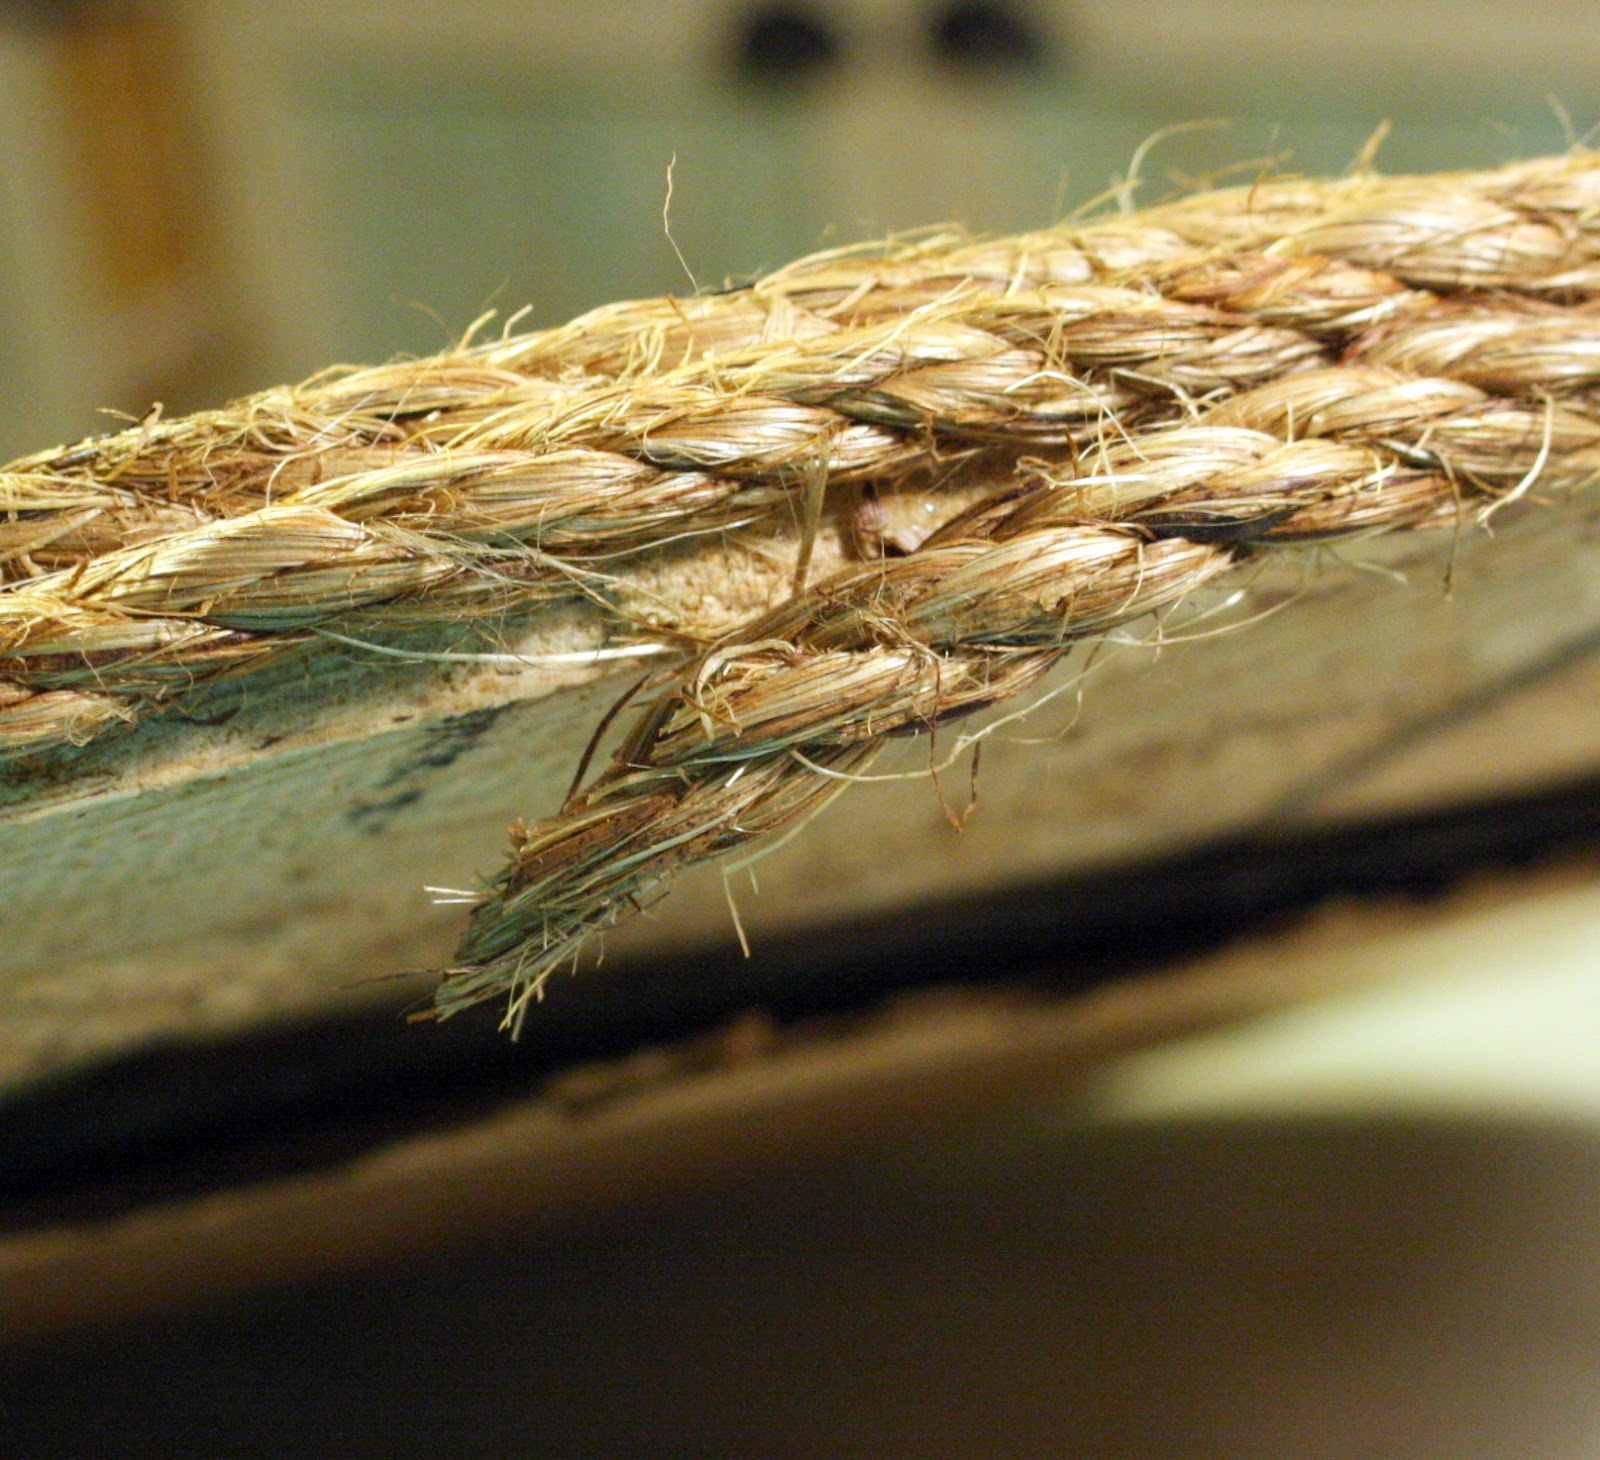
One more angled trim to seal it up an the rope is finally finished. The wrapping part of this project did take over an hour – so make sure you have PLENTY of time on your hands.
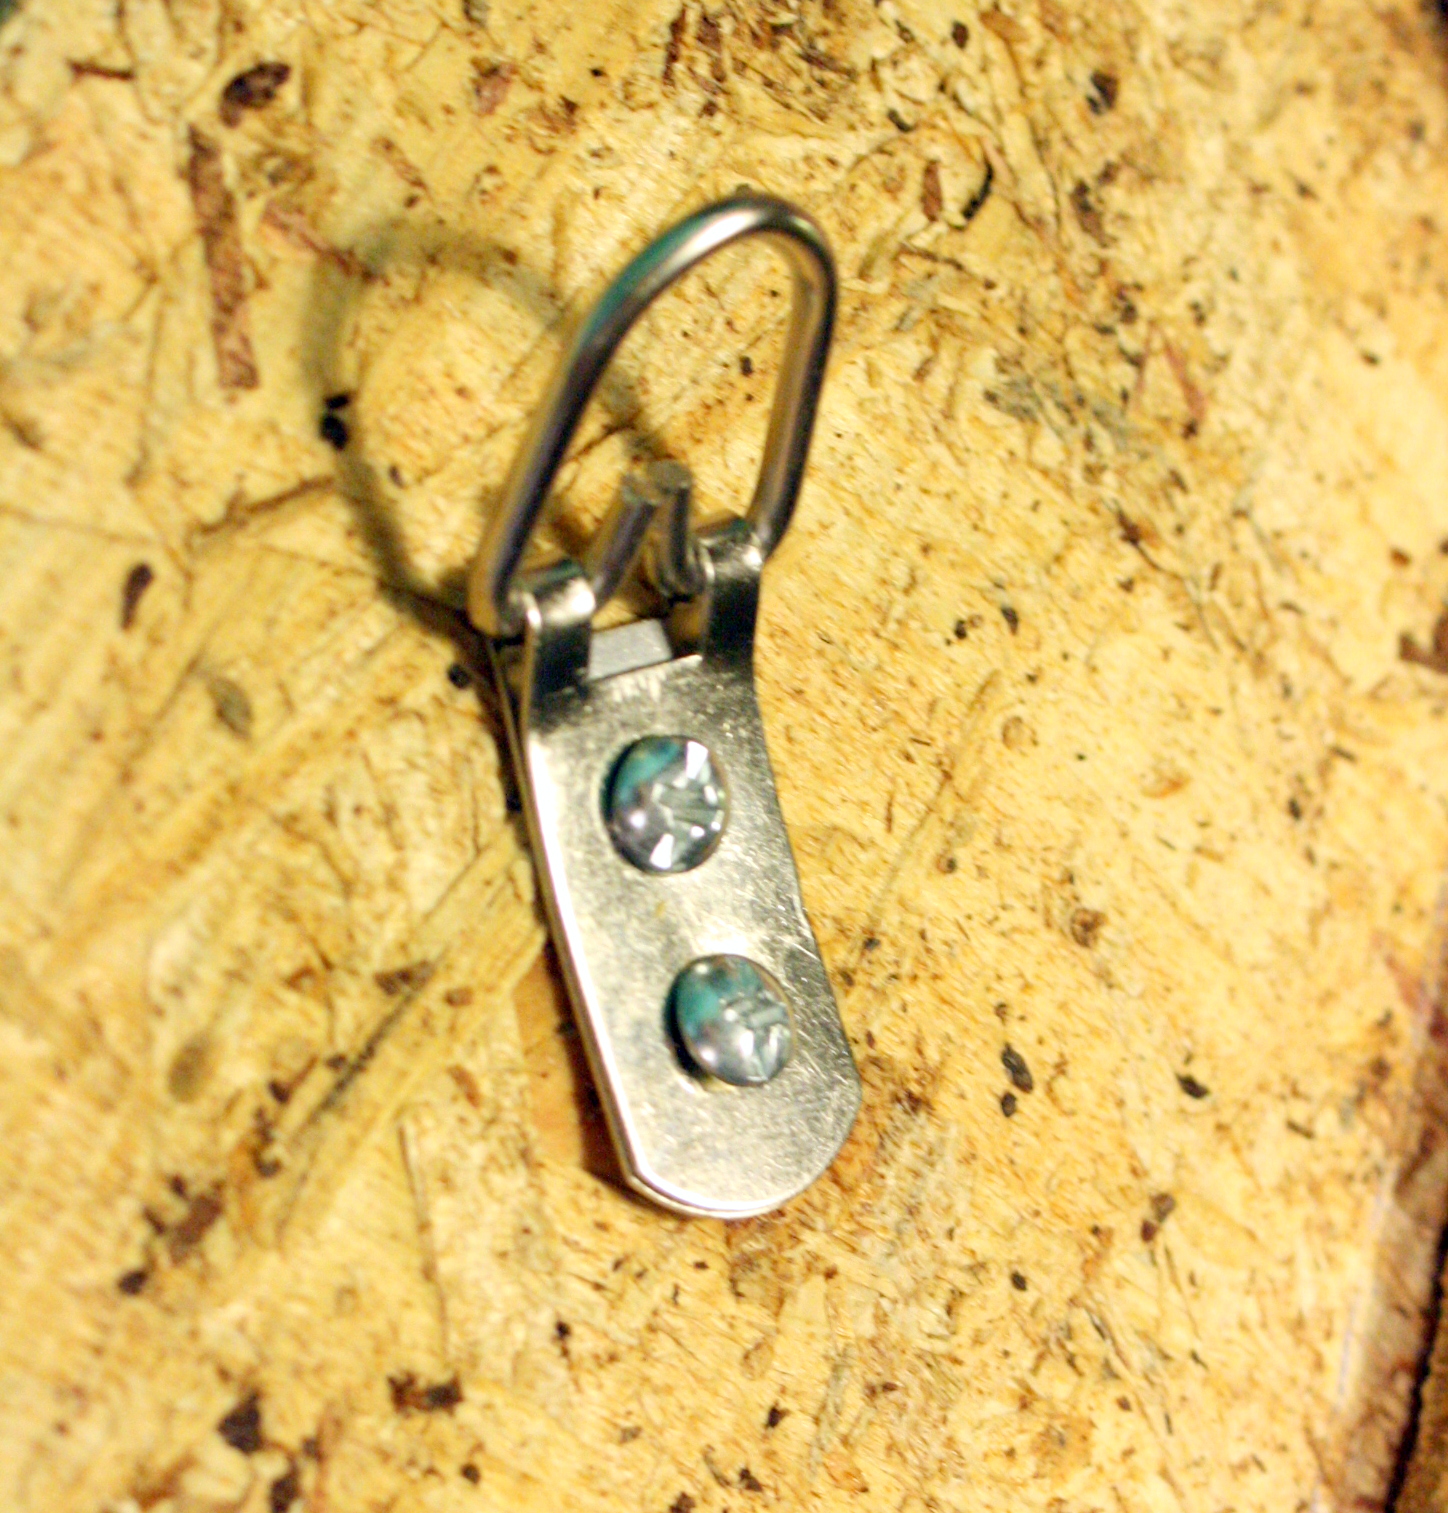
After it was done I put two of these heavy duty hangers on the back to keep it safe & secure while hanging.
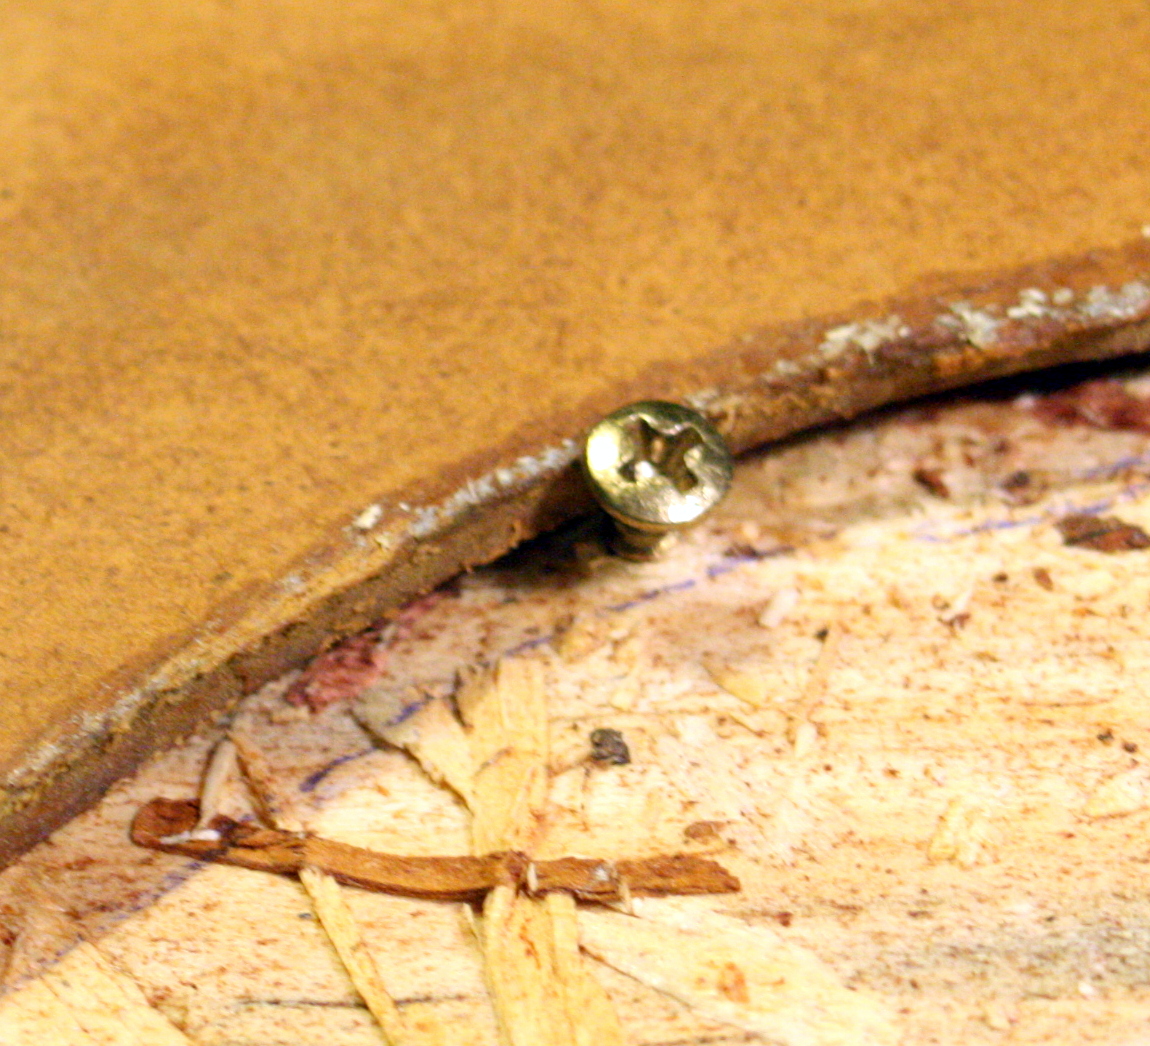
And I also went around the edge of the mirror and used little screws to anchor it just to be sure. You can also use mirror clips for this step, if you use a tile or pre-cut mirror from a glass shop.
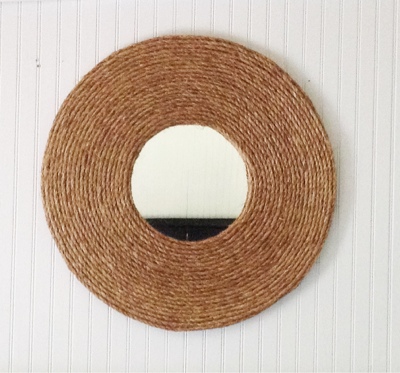
Then hang it up and you’ve just learned how to make a rope mirror!

Looks fabulous. Great tutorial too. Hugs, Marty
Looks totally amazing, this is one I am definitely trying!!!
this is so awesome. off to buy me some rope. thanks for the inspiration.
Gina- WOW-GREAT project~ You did a wonderful job on it- It can go any way- nautical or western or rustic. xo Diana
Neat project!
I just love this! I have a circular mirror that I no longer love so I might just try this effect on it. I just did another sisal rope project the other day too! Mine’s a summer wreath. ~Kerri, A Pop of Pretty
Very nice! Love it. I am featuring this at somedaycrafts.blogspot.com.
Love this idea! Sharing on my Facebook and Pinterest!
What a beautiful project! I love this mirror…it would look great in any home. Fantastic tutorial. Megan
This is really beautiful! You did a great job!
Great Idea, thanks for sharing
Love the rope mirror! Heck, who am I kidding? I love almost any mirror! HAHA
I love it, thanks for sharing! I can’t wait to make one!
That is brilliant!
Thanks Gina, I can’t wait to try this idea!
I love this! I’ve been wracking my brain all year on what to do above my corner tub in my master bathroom. It’s all knotty pine in there like a cabin. I think these rope mirrors will be perfect! Thank you so much for sharing 🙂
Hi Gina I loved your rope mirror article….I missed out on buying a beautiful rope mirror the other day and they don’t have any more the only way to get one is if I make one or get someone else to .Im wondering if you are interested in making me one I was prepared to pay over $500. For the original it is fairly large I have a photo of it I could text you if interested in making it for me as a commission…..I really love the mirror and am not that practical though an artist myself ……Kind regards Sharon Coyle my phone no is 0427897028
Hi Sharon, where are you located?
It looks amazing and great tutorial