I’m trying to get a little more creative for the holidays around my home. I generally just give every holiday other than Christmas a lick and a promise, but this year I’m trying to have a little more fun with it. I’m thinking if I keep it easy then it just might turn into a habit. My red, white & blue stars burlap table runner is just about as easy as it gets.

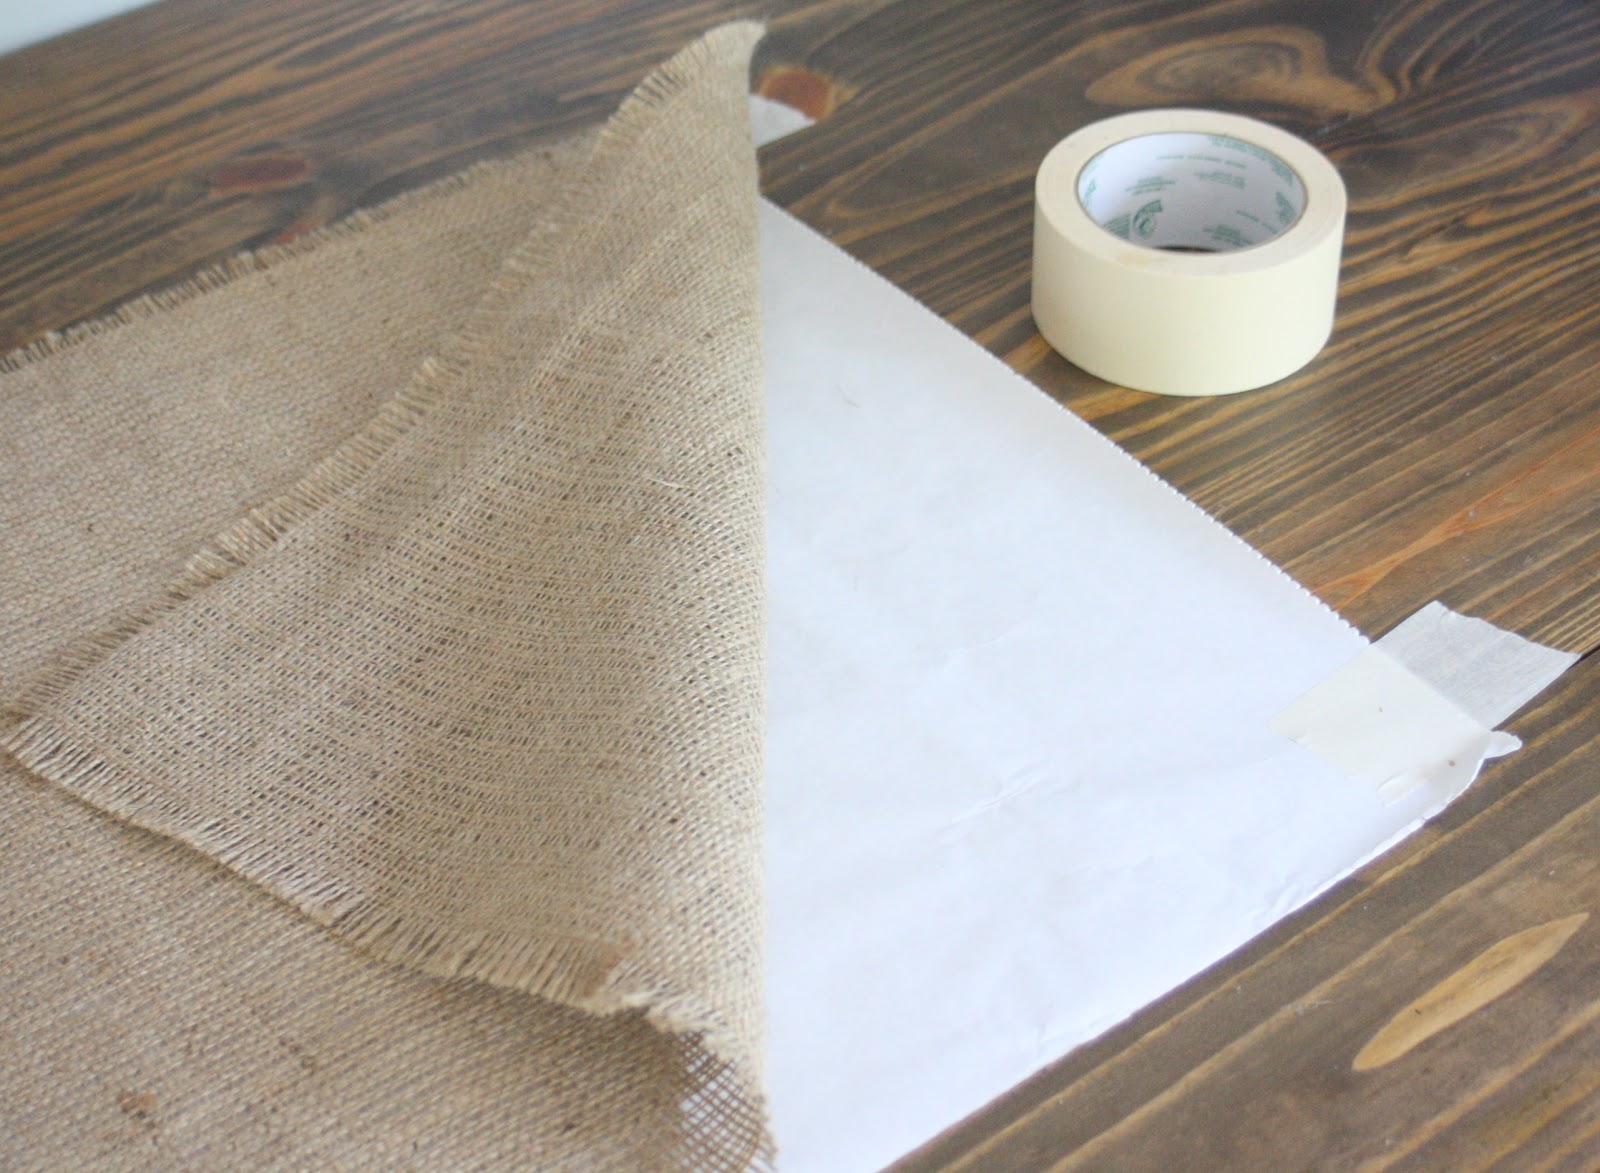
First things first, you need a table runner. I make mine from burlap, just by stitching the edges with thread the same color and then pulling off the extra strings. It keeps it from fraying more than you want.

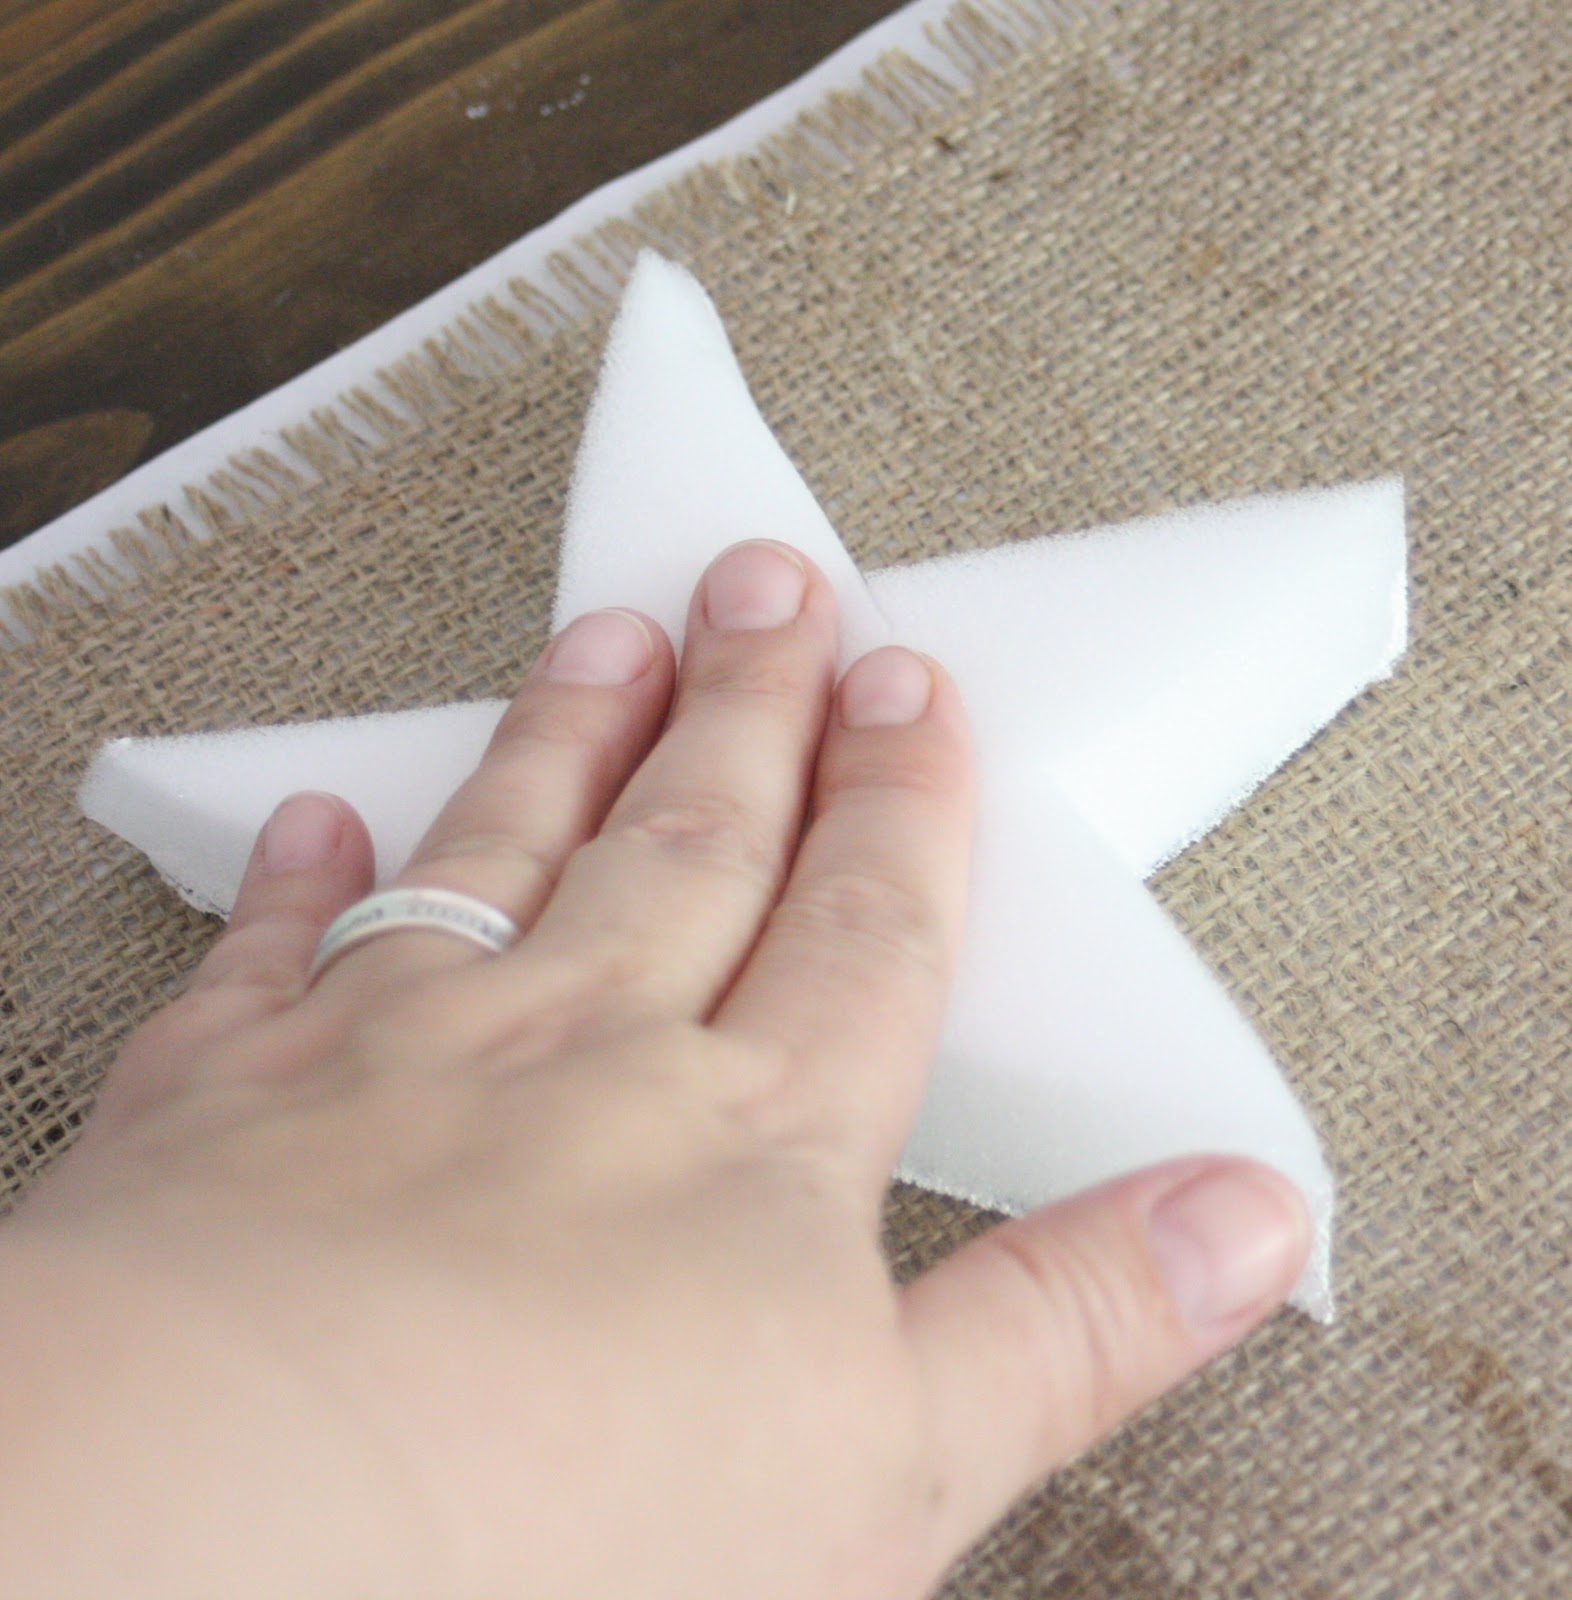
After you have the runner, you’re going to need some stamps. You can buy them, but I had scrap foam, so I made mine – it was much easier than going all the way to the HobLobs. The foam is the kind that you use to cover chair bottoms. It’s fairly thin and easy to cut with scissors.

I printed out this star image on plain white cardstock, then trimmed it out to get my pattern. (Just click the star to get a larger format image.)
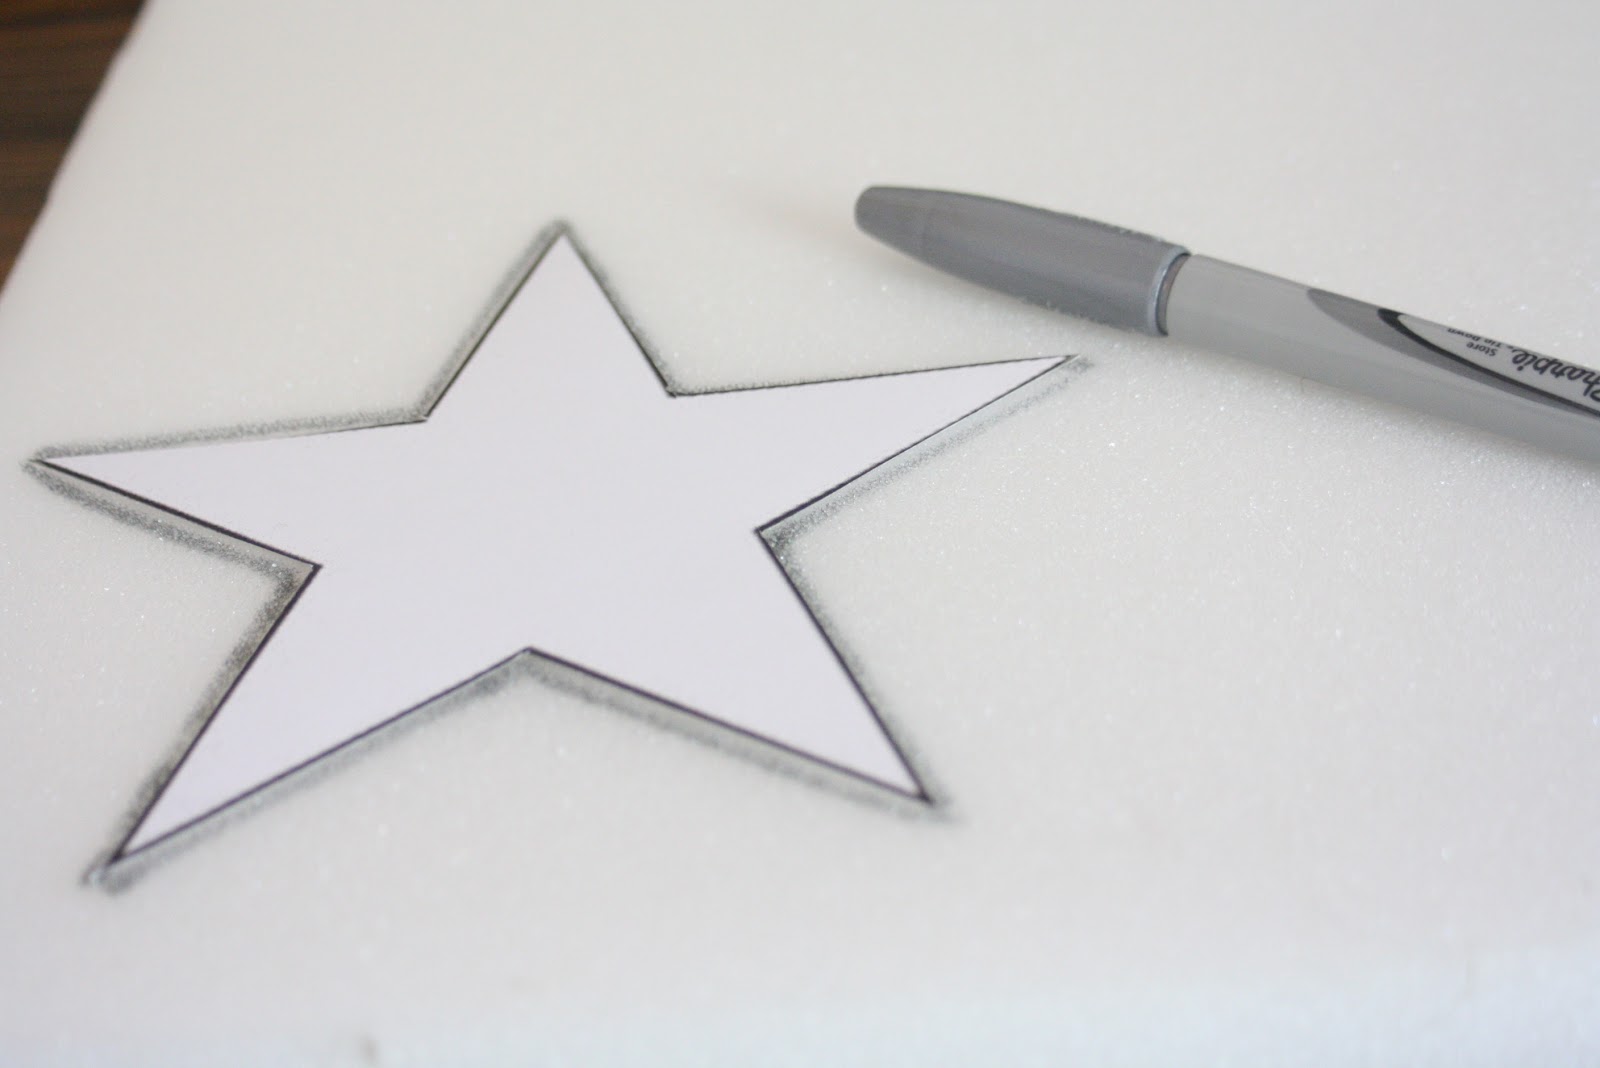
Then I traced around the star with a sharpie to get my stamp. I made 3 of them, one for each color I used.

The foam was easy to cut with scissors, just trim along the lines. After trimming them all out, I got ready for the fun part…. paint!
First protect your work surface by putting down a layer of freezer paper, brown paper, old newspaper, whatever you have will work just fine. You just want to make sure your paint doesn’t bleed through.

Using a speedball roller, make a layer of paint on a scrap of cardboard, glass, any solid, smooth surface that can be washed or discarded. After you have a thin layer of paint rolled out, then use it like an ink pad and press your foam stamp into the paint. If you feel like you don’t have enough on there, you can use the roller to add a bit more.
Then, use the foam just like any other stamp and press it onto the burlap. Since I used 3 colors, I just went with a random pattern.

Make sure to press down each point, to be sure that your entire pattern is transferred. It’s a serioiusly quick process.

After you’ve done all of your colors, then just let it dry for a few hours before using. I always heat set my paint by ironing with a piece of wax paper on top, covered by a paper towel, to help seal it down. I wouldn’t recommend the washing machine, but you can spot clean if needed.

I kinda like the way that the stars look aged and imperfect – gives it sort of a vintage style twist. If you prefer a solid coat, you could always stencil them on, too!

Pair it with a set of bandana napkins (only $1 each at Walmart!) and you’ve got a simple, but festive table.


This is really cute. I love how you made the stars quite large. It’s so showy! ~ Maureen
Love the runner think I will make it with my grandaughter this afternoon
Love the stars you painted on the burlap. Seems like burlap is popping up more frequently these days. The 4th is a great holiday for decorating! I wish more people would participate!
Cute idea! I don’t have burlap, but I have some leftover tan dropcloths that I used to make cloth napkins and table cloths out of that I can use to make a similar idea. I love the natural look of the burlap.
(To see how I used the dropcloths for table settings click on the Weekend Re-hash post on my blog)
Thanks for the adorable idea!
Love it, and quite easy, thanks for sharing! Great with Burlap and large stars!
Love this easy project, my kind of crafting! Love your blog too. I’m a new follower 🙂
Gina,
Love this idea.Looks great and very simple too.Have a great 4th of July!
((((Hugs)))
Anne
This is the coolest 4th of July project I’ve seen this year!