*Thanks to Happy Crafters for partnering with me on this post.*
My tiniest human has decided that she wants to redecorate her room. And if you know me, you know I’m always down for decorating. Although this time she really wanted to make the choices all on her own – she just wants a little mom help to do a few projects. Awesome, huh? When she asked me if I’d make her a pillow using this quote, I knew it was a no-brainer… a pre made pillow cover, a little iron on vinyl, and we’re done. Want to make one yourself? Let me show you how easy this is!

You will need:
A pillow cover (this one is from Ikea for only $4)
Pillow insert
One sheet of Gold Medal Shine Iron On Vinyl (it really only takes 1/3 of the sheet)
Silhouette Machine + Computer to run software
Iron
Ruler
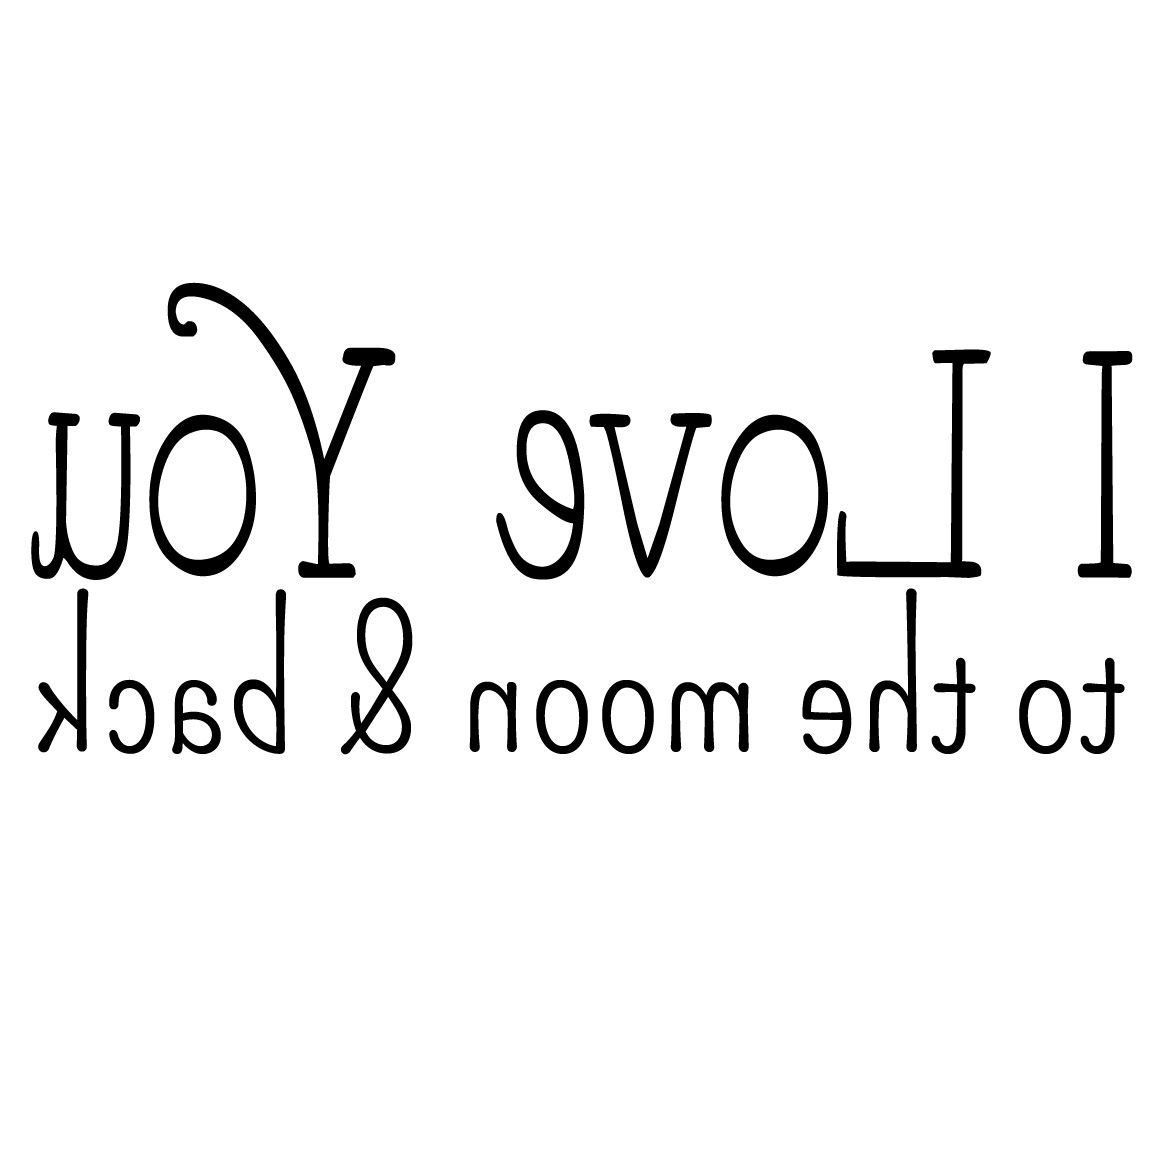
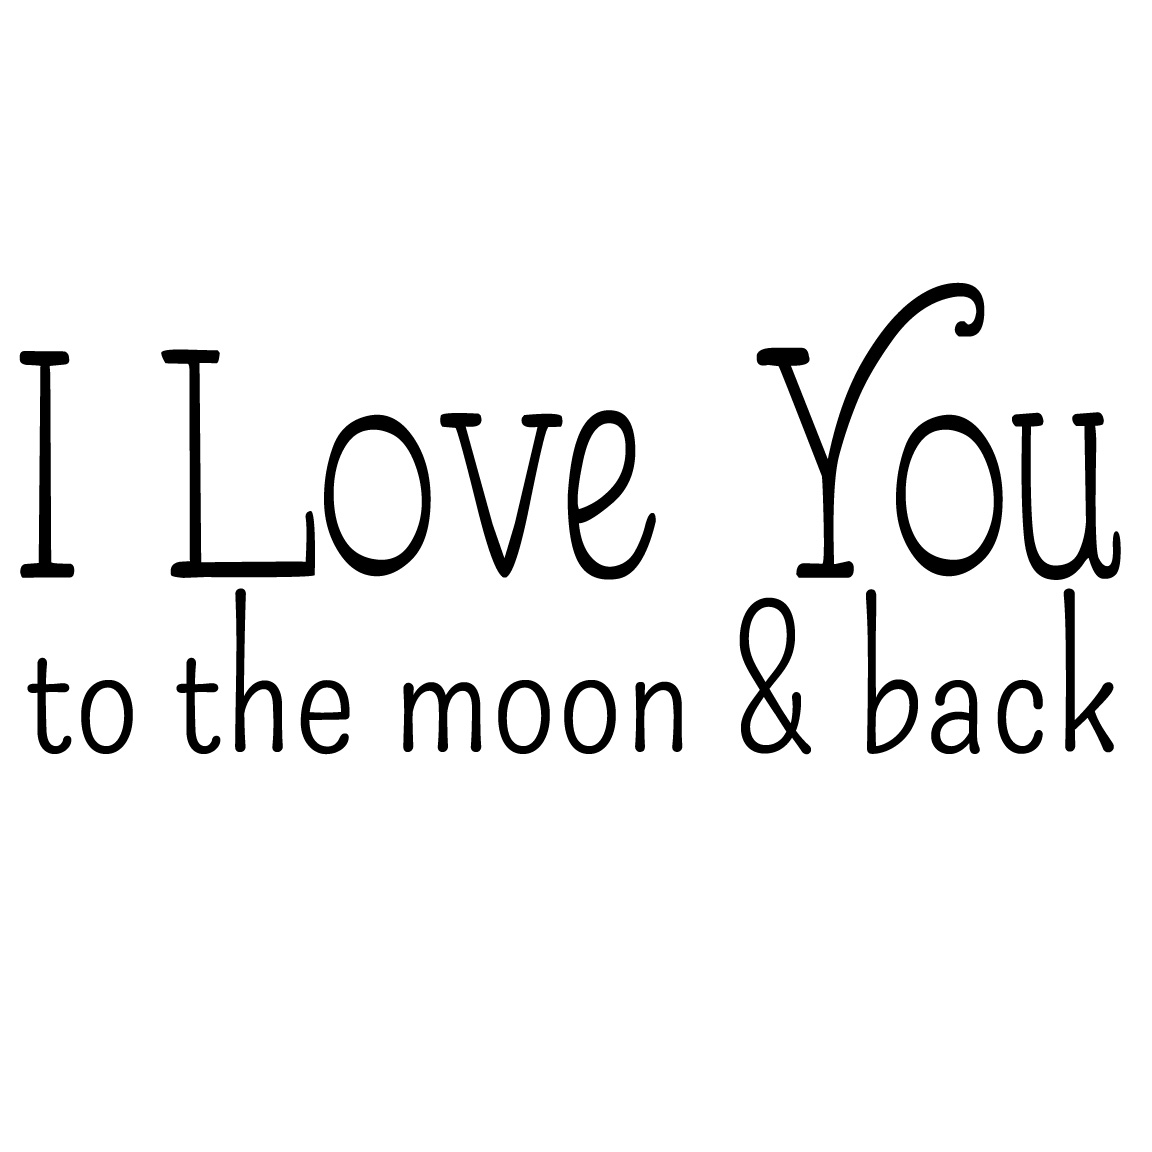
First you’ll need the graphics. Click on the graphic above to use it on iron on vinyl (because the print needs to be reversed) – or click on the graphic below to use adhesive vinyl.

Once you have the graphic, then open it in your Silhouette software (here are some tips if you need them) and then cut out the vinyl using your Silhouette machine. For the settings – I use a speed of 8 and a thickness of 10 and it works beautifully.
I used the Gold Medal Adhesive Vinyl – this stuff is seriously one of my absolute favorite craft supplies. It wears and washes beautifully!
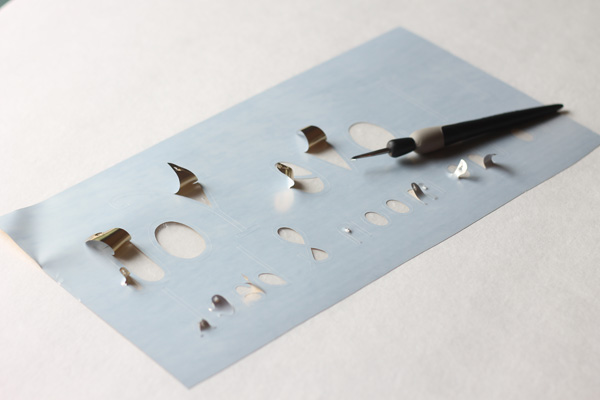
Weed out your vinyl – I start by pulling out centers of letters like O or A, etc. – then pull up any tabs where there are inlets in the letters. Then peel off the rest – it goes super fast if you weed the inlets first, and you’re less likely to distort your vinyl.
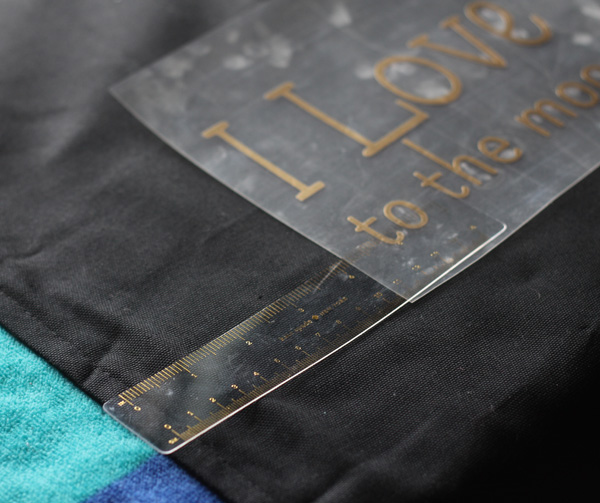
Next, find where you’d like to place the graphic on the pillow cover, using a ruler to keep everything centered. I like to put the graphic just above half way up, it tends to look better once the pillow is placed.

Next it’s time to iron on your graphic. I suggest using a barstool or small table with a towel on top, because you’ll need the leverage to get more pressure on your iron so you can really PRESS that vinyl into the fabric of the pillow cover. Iron it all over 2-3 minutes until it is set. Make sure the steam on the iron is OFF.
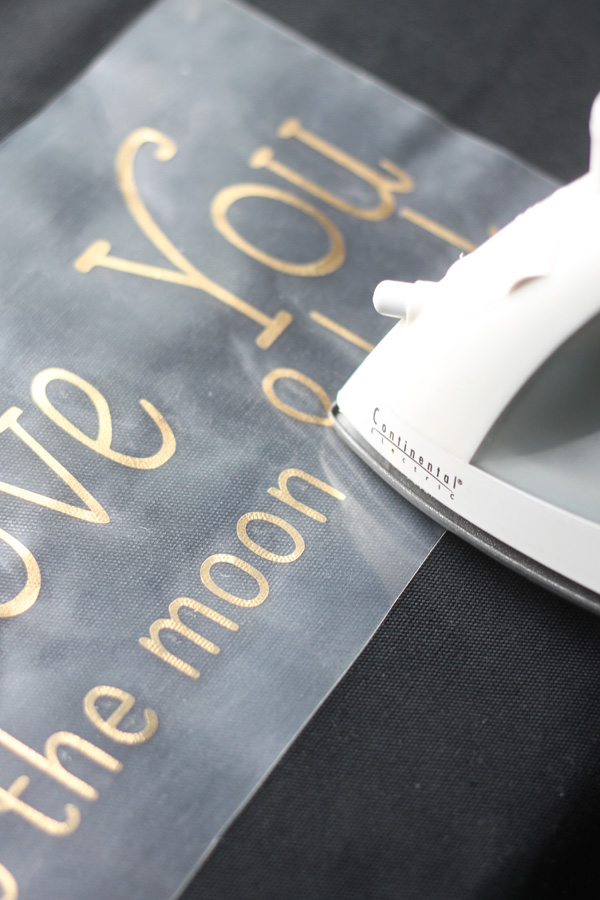
Then, just for good measure, I use the tip of the iron to give each letter one more final burnish into the fabric. Let it completely cool (5 minutes or so) before moving on.
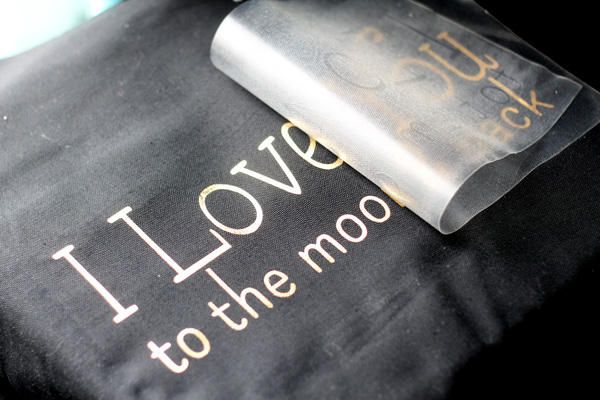
Then peel off the backing and you’re done. This pillow takes way less than 20 minutes to make… a super fast way to get a custom pillow on the cheap. Pop in your pillow insert and that’s it.

And now my kiddo has a custom I Love You to the Moon and Back pillow. I’m betting she has more plans for another pillow or two in the future…. so stay tuned!
*Thanks to my friends at Happy Crafters for partnering with me on this post. All ideas, words, graphics, photos and opinions are 100% my own.*

Thank you for sharing!!!
Great idea, creative and doable at the same time. Thanks for sharing.
Love this! The gold truly pops from the black and just makes the pillow look elegant and lush 🙂
Thanks so much Samantha 🙂