This post is in partnership with 3M
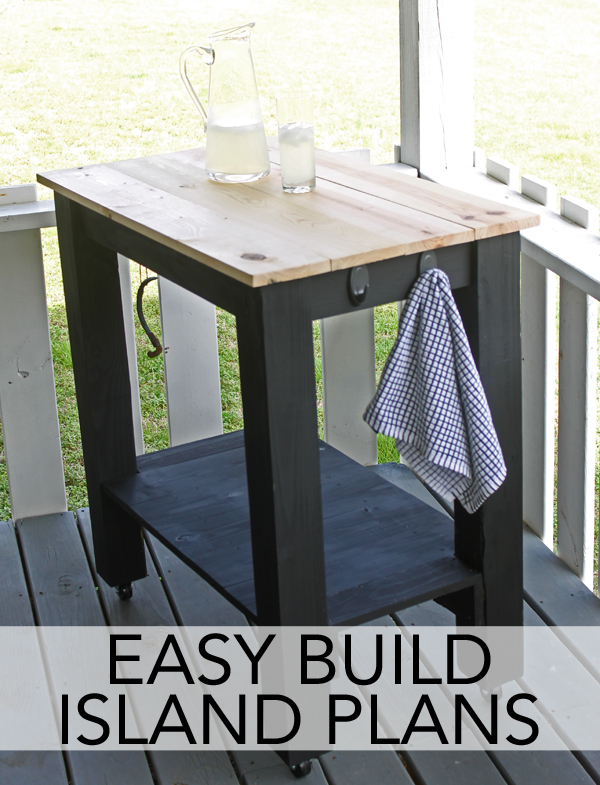
Over the years, we’ve had a lot of requests on how to build our kitchen island. So that’s what I’m sharing today – how to build a farmhouse style island. If you’ve never built a piece of furniture before, this is a super easy build with all straight cuts (or you can have them all done at your local lumber store.) With just a few basic tools you can build this farmhouse island from start to finish in about 2 hours.
Materials Needed:
Supplies: Gather your supplies, including a Command Hooks, tape measure, 4 caster wheels, pencil, pocket hole jig, poly acrylic, a cordless drill and drill bits, palm sander and fine grit sand paper, paint, 1 1/4 inch wood screws, 1 1/2 inch pocket hole screws plus the following lumber pieces cut and sanded:
- 4 pieces of 4×4 cut 35 inches long
- 4 pieces of 1×4 cut 13 inches long
- 3 pieces of 1×4 cut 17 5/16 inches long
- 2 pieces of 1×4 cut 27 1/2 inches long
- 4 pieces of 1×6 cut 36 1/2 inches long
- 2 pieces of 1×6 cut 20 inches long
- 5 pieces of 1×6 cut 13 inches long
- Command wire hooks
Additionally you will need two scraps of 1×6, one 12 inches long and another at least 35 inches long.
Remember, if you do not own a compound miter saw (or feel uncomfortable cutting wood), most home improvement stores will make these cuts for you for a nominal fee.
Note: Follow all Command™ Brand package instructions for proper surface cleaning and prep, adhesive strip placement and recommended weight claims.
Step-by-Step Instructions:

Step 1: Start by using a pocket hole jig to pre-drill holes into these pieces: 2 of the 1x4x27 1/2, 2 of the 1x4x13, 3 of the 1x4x17 5/16
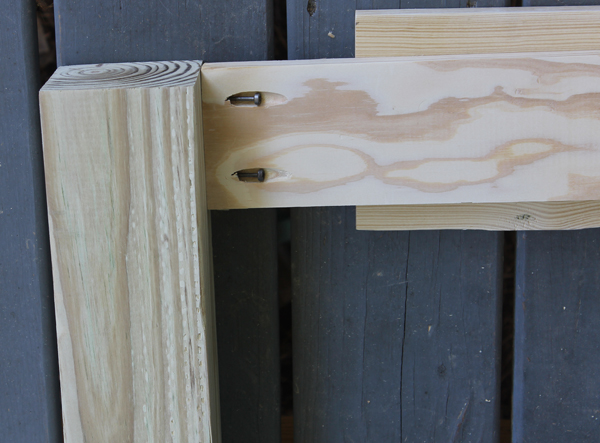
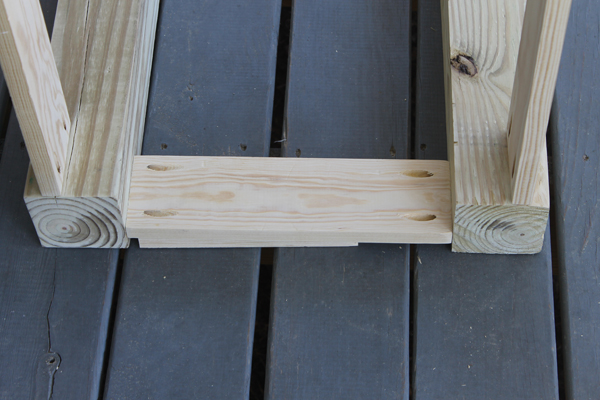
Step 2: Begin assembling the island by attaching two of the 4x4s to the 27 1/2 inch 1×4, using the scrap of 1×6 as a spacer to inset the skirt on the legs using pocket hole screws.
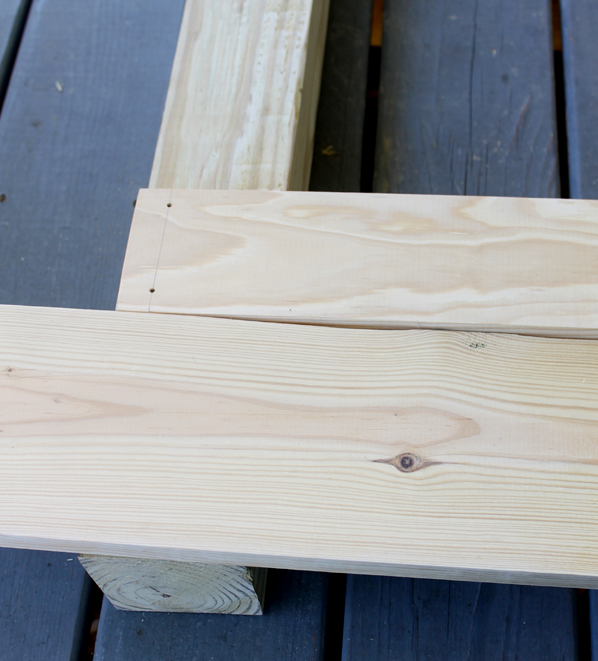
Step 3: Attach one of the 34 1/2 inch 1x4s to the bottom of the legs, using the scrap of 1×6 as a spacer to get the bottom shelf even on each side (this will become the support for your bottom shelf.
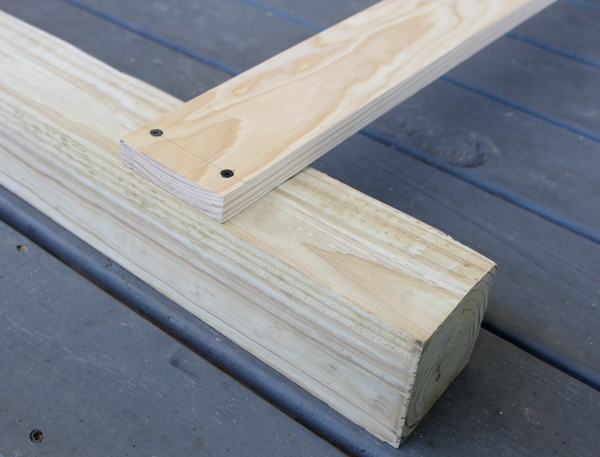
Step 4: Predrill the holes and attach the board with 1 1/4 inch wood screws.

Step 5: Once two legs are attached at top and bottom, repeat the process on the other set of legs.
Step 6: Stand up both sets of legs, with the shelf braces on bottom to the inside of the island, and attach the 13 inch 1×4 with pocket hole screws at the top, the same way you attached the first skirt pieces – using a 1×6 scrap as a spacer.
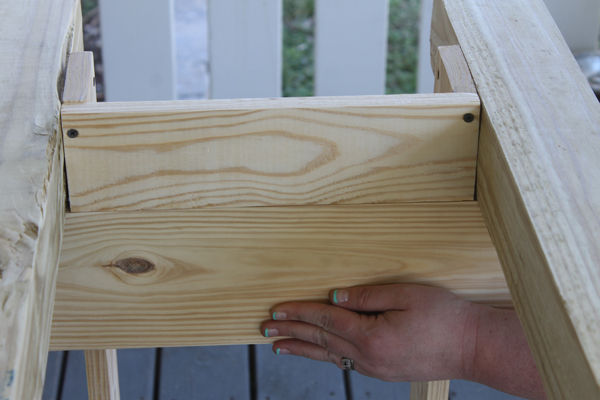
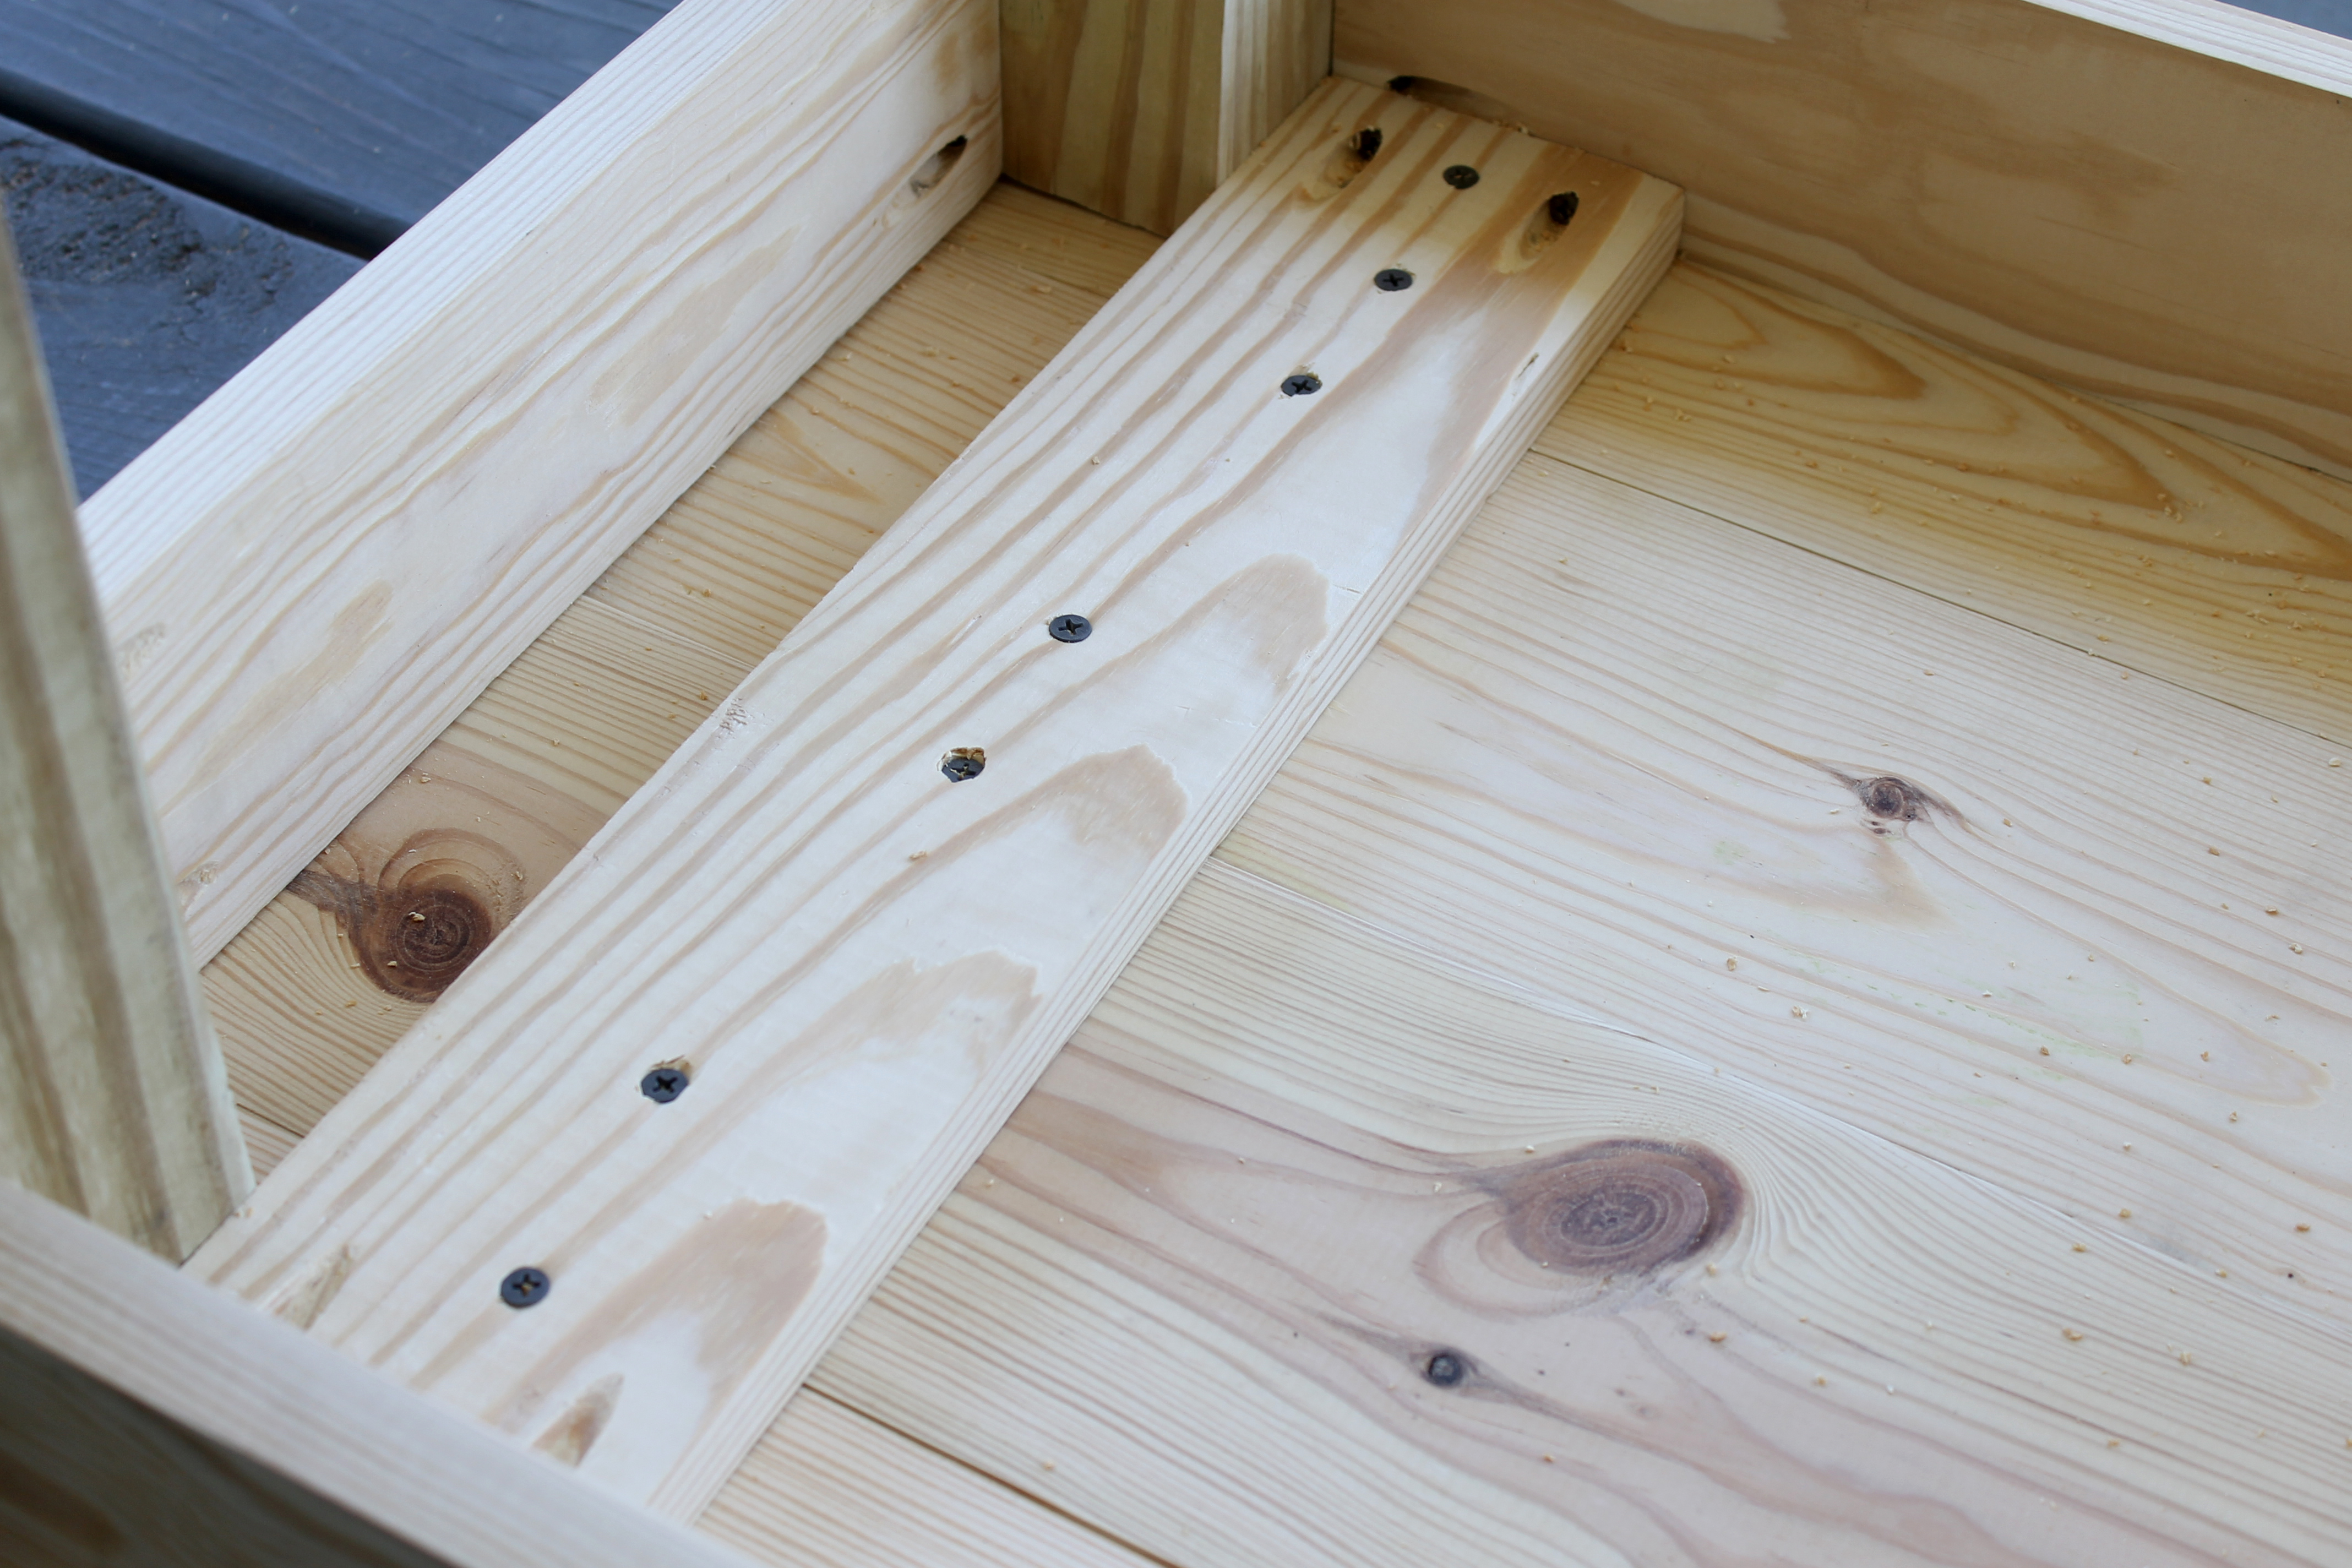
Step 7: Next, attach a piece of the 13 inch 1×4 without a pocket hole by placing it between the 4x4s and attaching it to the shelf bracing. I used a piece of 1×6 as a guide to make sure the board was lined up flush with the edge of the 4×4 before pre-drilling and securing with 1 1/4 inch wood screws.
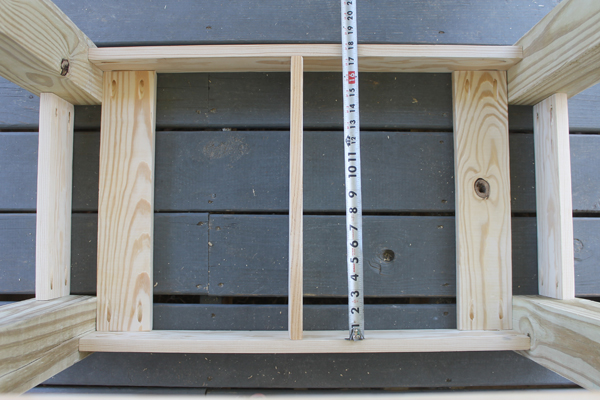
Step 8: Once you have all of the skirt and shelf support pieces attached on both sides, put the island down on your work surface and attach the top braces ( 3 pieces of 1x4x17 5/16) with pocket hole screws. Put the side pieces right next to the 4x4s laying flat and then use a tape measure to center the third piece, standing it upright to help support the frame. Attach the pieces to the frame with pocket hole screws
Step 9: Lay four pieces of 1x6x34 1/2 together on your work surface, making sure they are even on the ends, then put the frame on top – centering it with a tape measure. This will become the top – so be sure to put the piece of wood you’d like to show down.
Step 10: Attach the top to the frame by pre-drilling pilot holes through the flat braces on the frame and use 1 1/4 inch wood screws to secure every plank to the frame.

Step 11: Add caster wheels to the bottom of the legs by marking the holes with a pencil, then pre-drill pilot hole and attach the wheels to the legs with wood screws. Next, flip over the entire island so the bottom shelf can be attached.
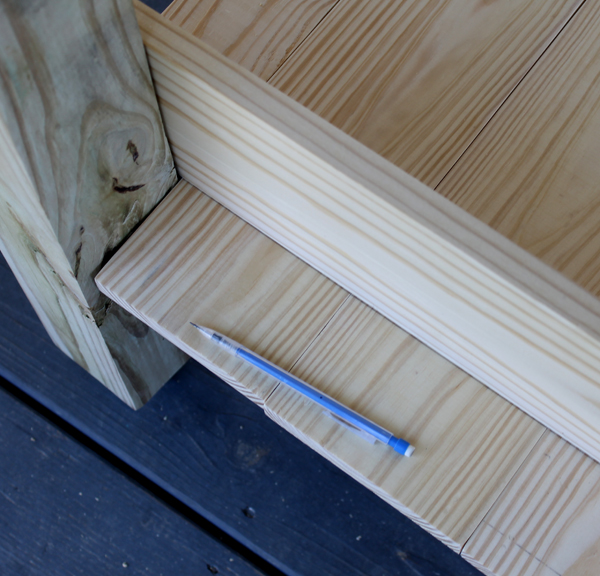
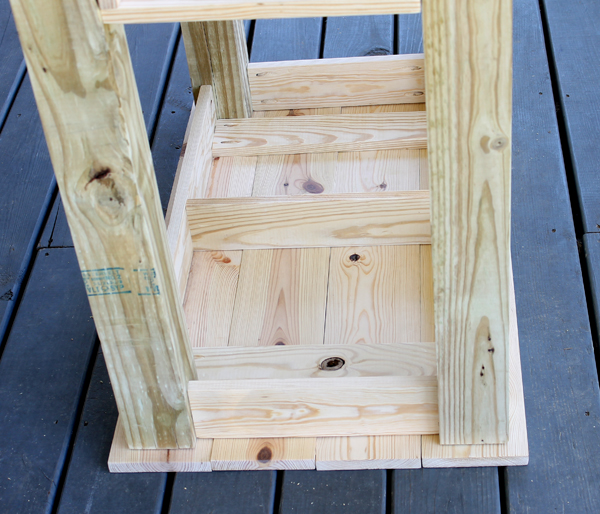
Step 12: Place the pieces of 1x6x20 onto the shelf supports, then sit the 1x6x35 scrap of wood upright, just inside the legs and mark it on both sides from end to end. This will give you a guide on where to drill to add screws to attach the shelf.
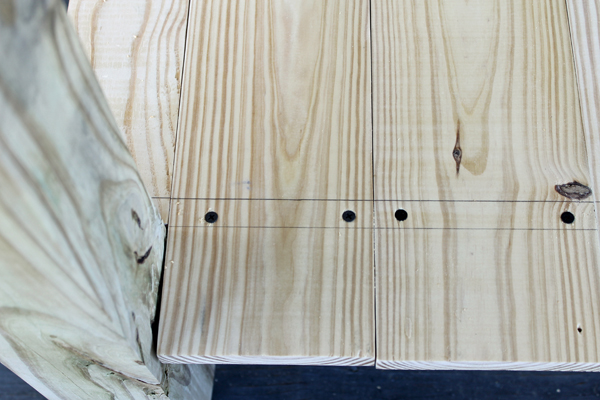
Step 13: Once you remove the scrap, you’ll have a guide, so pre-drill holes in each side of the board in the center of your marks and attach the planks to the braces with 1 1/4 inch wood screws. Once this step is done the island is built. You can either paint the entire piece – or it can be painted on the base and use polyacrylic to seal the top (as shown.) Set aside to allow paint to fully cure, following the manufacturer’s instructions on the paint can. NOTE: Some paints may take up to 30 days before they are fully cured, so be sure to reference manufacturer’s instructions.
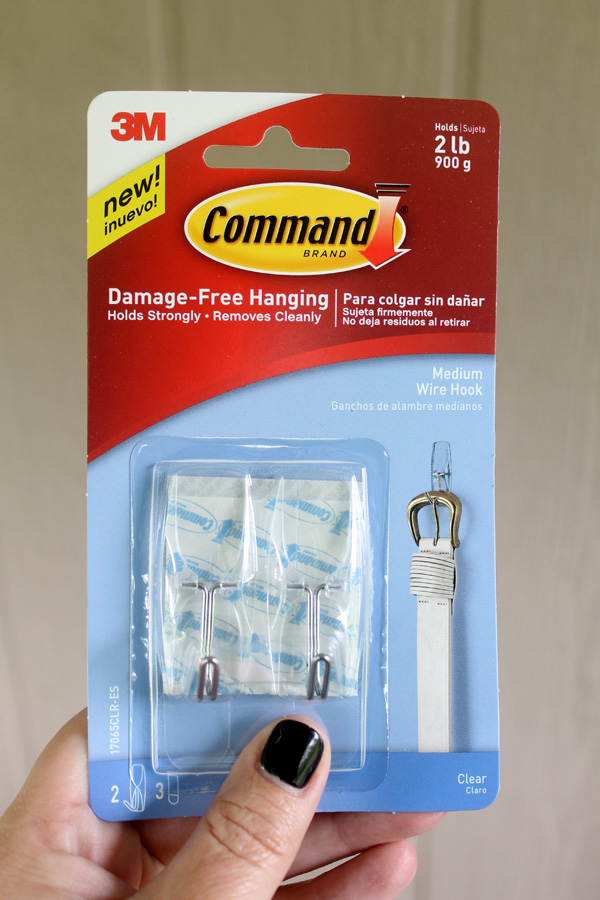
Step 14: To give the island just a bit more functionality, add on some Command Wire Hooks. Because this island can easily be moved indoors, this is the perfect way to add more uses to this project.

Step 15: Following package instructions, adhere one Command™ Clear Medium Wire Hook to the cart frame underneath the counter top. Repeat to add three more hooks around the frame.
Once the project is complete, surprise dad this Father’s Day with a new, functional outdoor island – which is sure to make his grilling time easier!
*Thanks to 3M for partnering with me on this post. All ideas, words, photos and opinions are my own. Please use caution when using power tools.*

Thank you for the information I think this is a great idea for indoors and out
Awesome!
Hi Gina,
Your Farmhouse Island caught our eye and we just had to feature it! We hope you are as excited about the feature as we are, but if not let us know, and we’ll remove it lickety split!
“Ana White and Team”
It was great just forgot to add the 34 1/2 to the needed wood in the beginning just an extra trip to home depot overall its perfect
Thanks awesome Miguel!