*Thanks to Online Fabric Store for partnering with me on this sewing series*
I’ve been on a roll with back to basics type posts lately, which may be boring for high skill level DIYers, but I know there’s a lot of beginners out there, so today we’re going to jump into an easy sewing project. If you’re not a beginner, then you probably don’t need this post, but if you’ve been scared of sewing then this is the project for you to jump in and learn: easy sew window shades. It’s all straight line sewing and very basic, so today’s tutorial is all about showing you step by step how to make these if you’ve never sewn before (but you will need to know the basics of how to use a sewing machine.)

To make easy sew window shades you will need:
- Fabric + drapery lining
- scissors
- fabric chalk
- pins
- yard stick
- iron + ironing board
- sewing machine
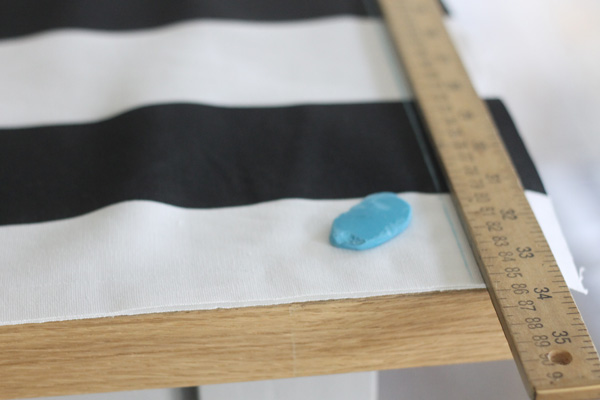
When you buy fabric, the end is almost never cut straight. My trick to straightening it is to find a square edge surface (I use my kitchen island) and put the selvedge edge up against the one side so the fabric is straight,with the raw cut edge hanging off just a bit. Then I use a yard stick and draw a line with chalk all the way down to create a straight line so you can cut the edge neatly.

Measure your window that you want to create a shade for (the area you want it to cover) and add 1 inch to the sides to get your width, then add 3 inches to the length. Using the edge of the table to make straight cutting lines on your measured marks so you get the piece cut nice and straight.
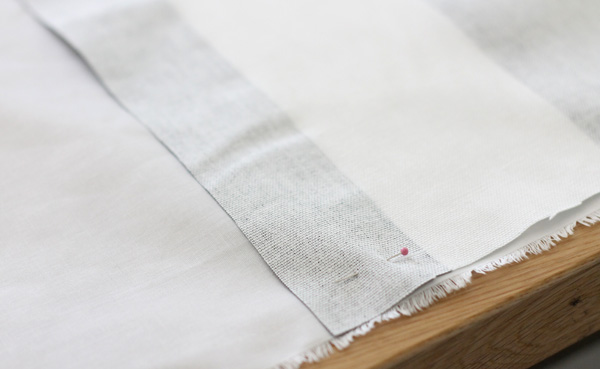
After you cut the top fabric, pin it face side down to the lining, then use the top as your “pattern” and cut the lining to match. It makes it much easier to get them the same size.
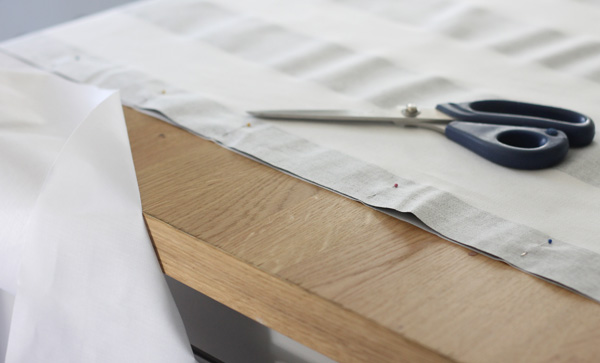
Once you’ve cut out the lining, then you’re already pinned together and ready to sew. Make sure to put your pins in with the point facing towards the cut to make it easier to pull them out when sewing.
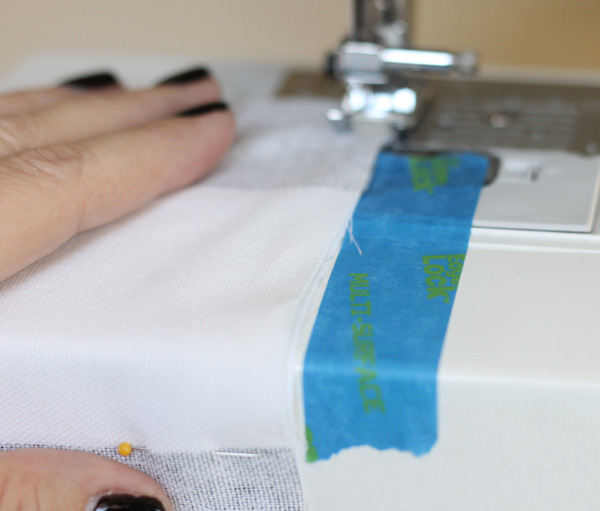
Sew around three sides with a 1/2 inch seam allowance, leaving the top of the shade open. It can be tricky to keep the fabric straight, so I use the mark on my sewing machine and put a piece of painter’s tape on my machine to give myself a larger guide to help keep it all straight and neat.
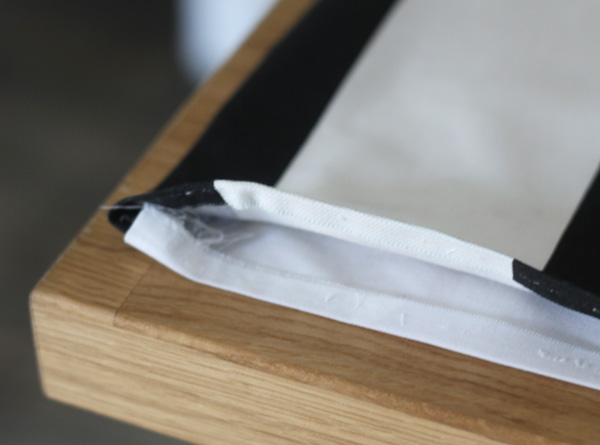
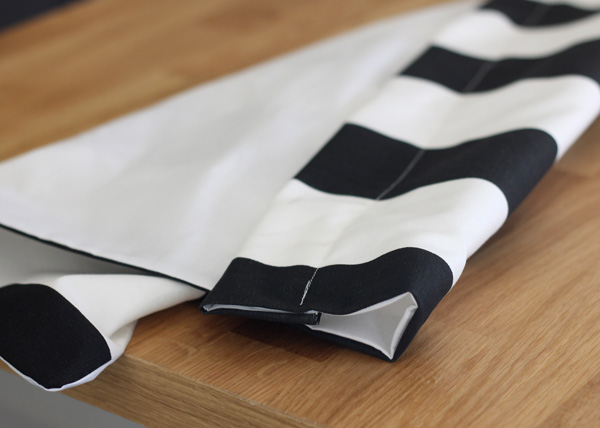
Once you’ve sewn up three sides, turn the shade out and iron it all flat. Turn down the edge of the open end 1/2 an inch in, both the top fabric and the lining.
(PS – if you make a mistake, you can use a seam ripper to undo your stitches. If you look, you’ll see that I did it myself, so even those who have sewn a long time knows that it happens.)
Once the top is ironed in, turn the top down 2 inches then iron a crease, and use your sewing machine to run a stitch right on the edge of the unsewn edge, so you secure the edge and make a rod pocket all at once.
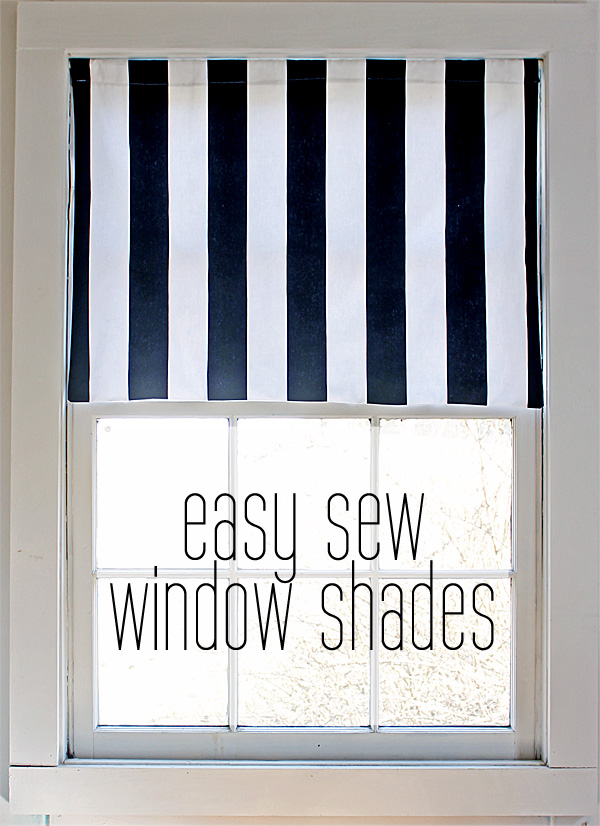
Slip in a simple tension rod and hang up your easy sew window shades and you’re done. If you’ve been waiting on an easy project to try, I hope you’ll try it! If you do, please feel free to tag me on Instagram (@shabbycreek) to let me see your project!
*Thanks again to Online Fabric Store for partnering with me on this post. All ideas, words, photos & opinions are 100% my own.*

Leave a Reply