Today, I’m sharing my Halloween wreath. Hi there, I’m Janine from Happy Happy Nester. And as some of you know that I love any paper project. And I especially think that pages from books make beautiful decor. While I must admit that when I made my first garland it was difficult to tear up the pages. I’m sure my author husband cringes at the thought of tearing apart pages of his book.
I hope you have a moment to make this cute Halloween wreath.

How to make a Halloween Wreath

Supplies needed:
1 round chalkboard (I found mine at Joann Fabrics)
1 book
Black decorative branch (I found mine at Joann Fabrics)
Instructions:
- Take your twine or ribbon and attach it to the chalkboard.

- Take your round chalkboard and attach the grapevine wreath with hot glue.
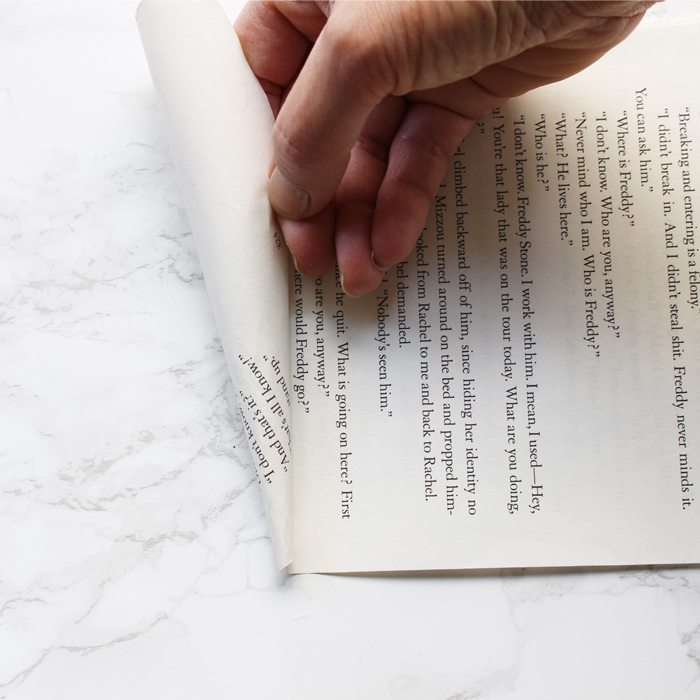
- Next, create your book page cones. Lay the paper horizontally, start rolling at the far left bottom corner.
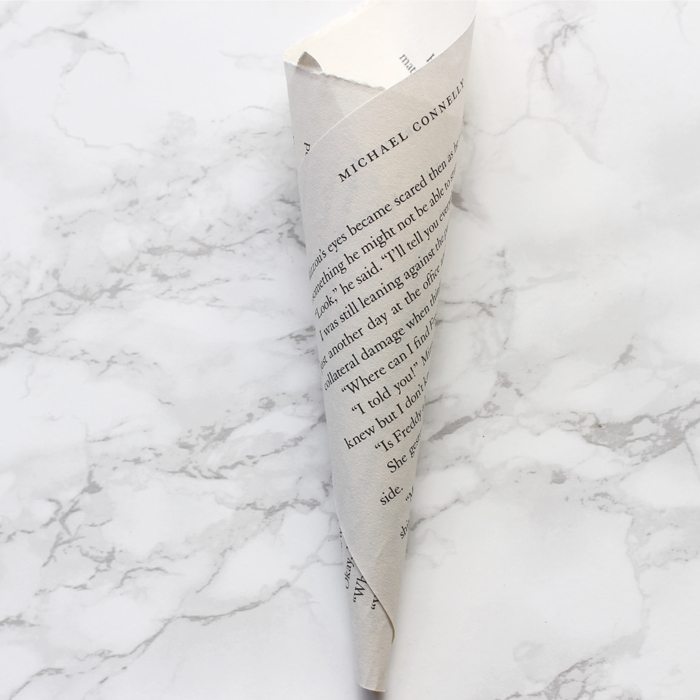
- Roll to the end of the right edge of the page. Tape the back side to secure the cone.
- Make enough cones to cover the wreath.
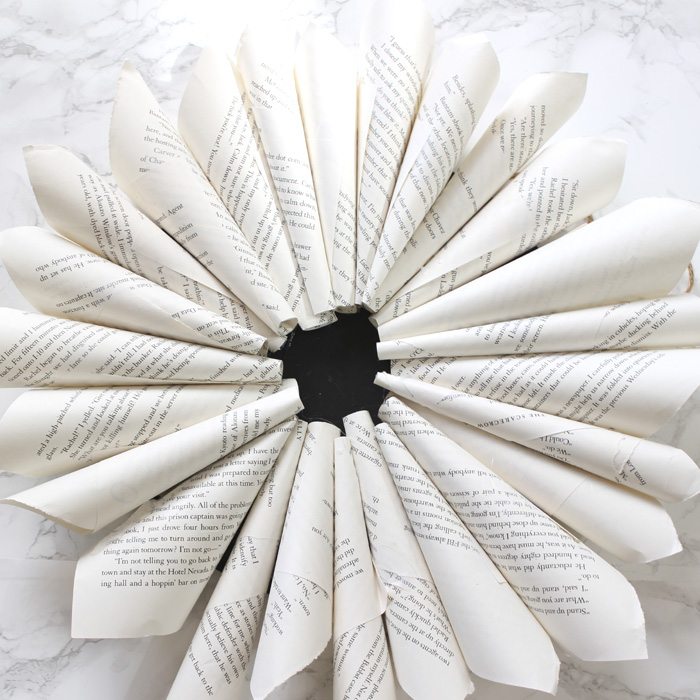
Also, note that I cut the bottom of the cones so they would fit around the circle.

- Attach the cones with your hot glue to the backside of the chalkboard circle. I just created one layer of paper cones and then in between the large cones, I placed smaller ones. It is totally up to you how many layers of cones you want on your Halloween wreath.
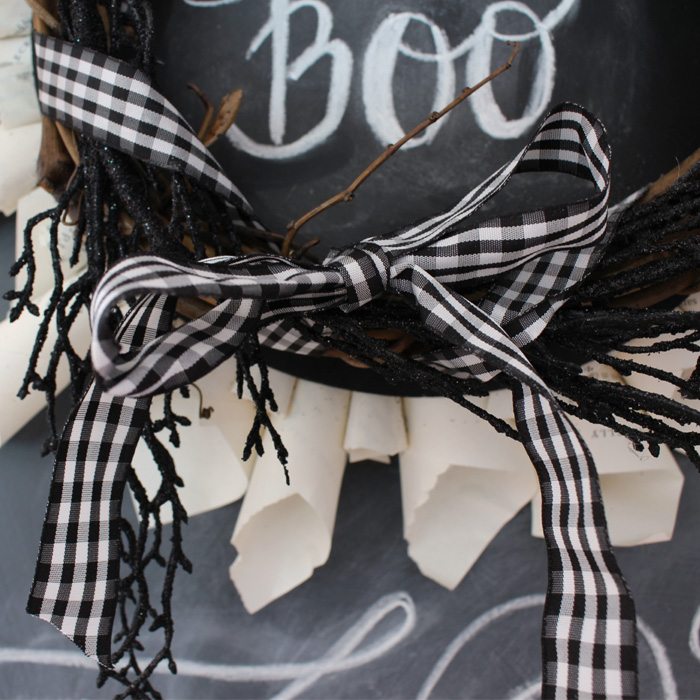
- Glue black branches on the grapevine wreath and thread ribbon through the wreath.

- Finally, write on the chalkboard and hang.
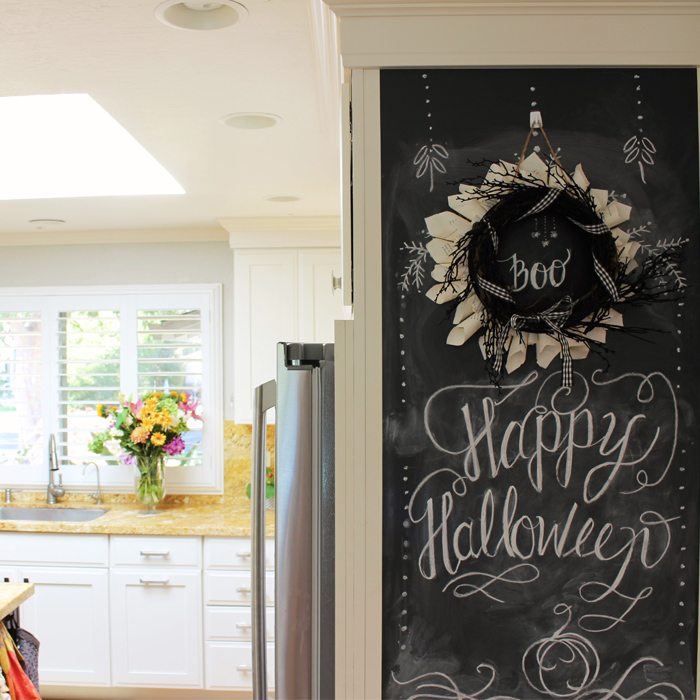
I also, attached a temporary 3M picture hanger to my wall, so I didn’t have to place a nail in my kitchen cabinet.
Thanks for checking out my Halloween wreath and I hope you enjoyed it. Here are some projects that I have recently created with paper.
Cheers,


Leave a Reply