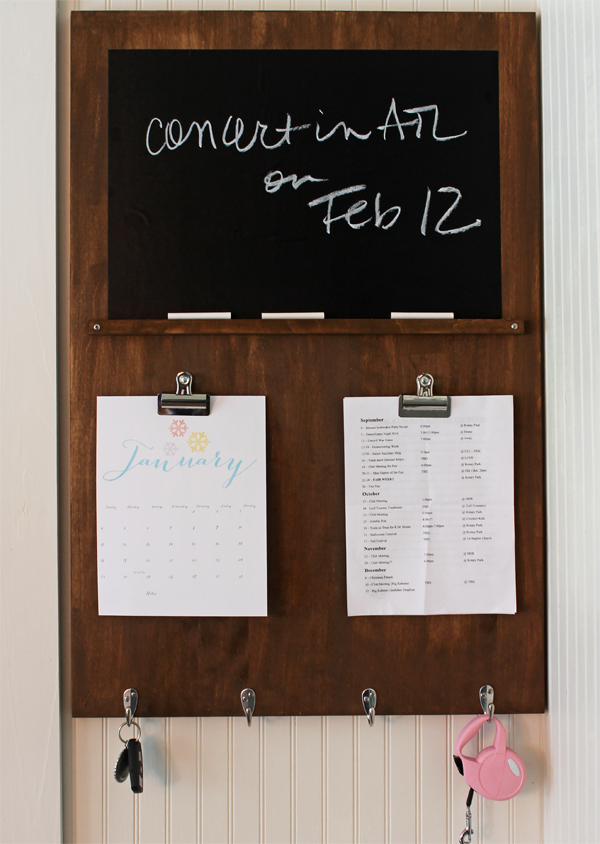
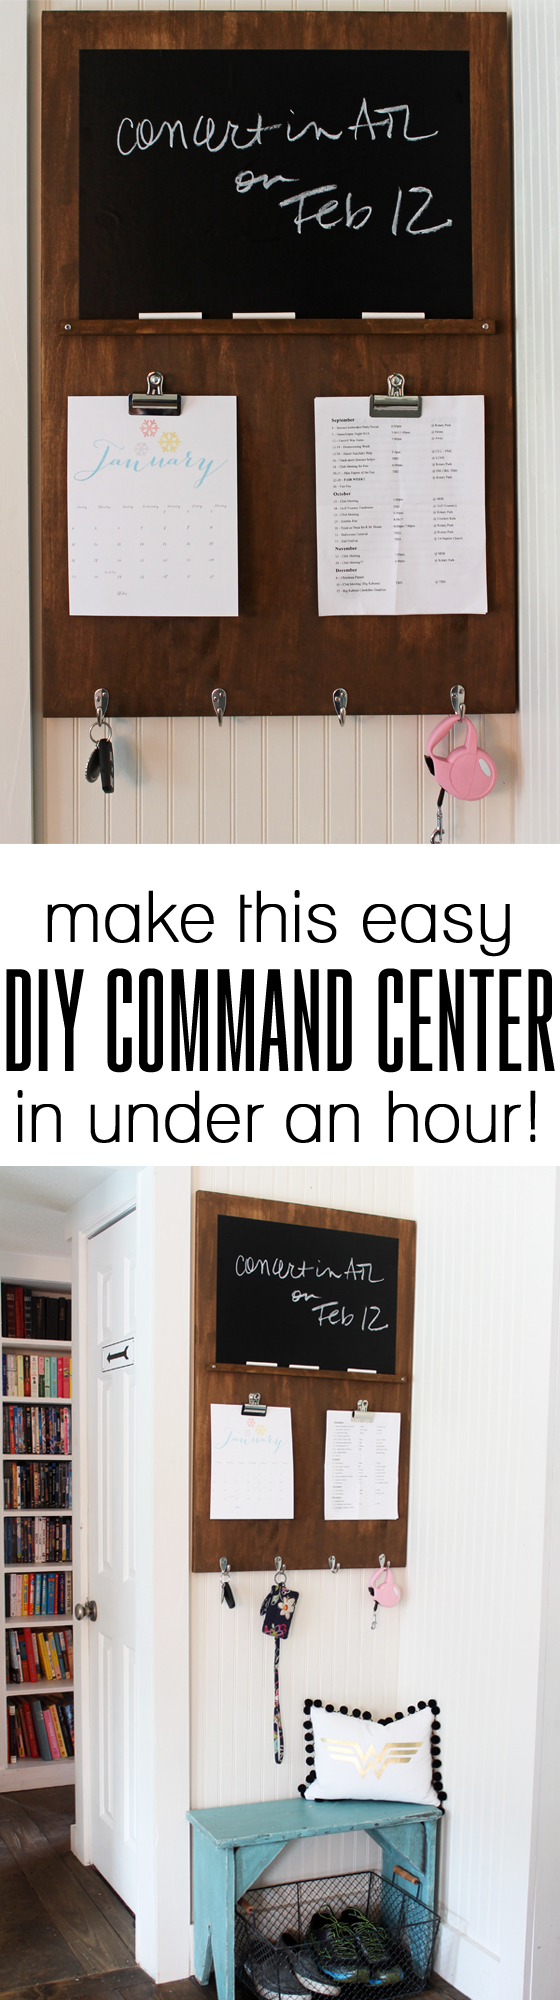
There comes a point in every mom’s life where every single day you feel like you’re forgetting something. Maybe it’s that bass lesson… no wait it’s a ball game…. oh crap, you forgot to pay that bill. It’s always something! And usually mine revolves around the kid. After one too many apology texts, I decided to do something about it, so I made a command center. And as a busy mom, I made it in a hurry. This easy DIY command center took less than an hour to make from start to finish. Want to build one?
You’ll need:
- one 24×36 wood panel – find it in the wood aisle (they’re often used for table tops)
- one 3/4 square dowel rod, cut to 22 inches (get Lowe’s to cut it for you and then you won’t even need to pull out the power saw!)
- two 1 1/4 inch screws
- two 1/2 inch screws plus washers
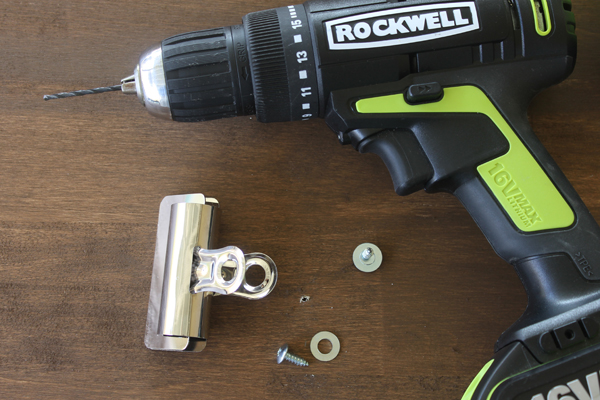
- two jumbo bulldog paper clips
- 4 hooks (with screws)
- chalkboard vinyl – cut 14 by 20 inches
- Minwax wipe on wood stain cloths (I used walnut)
- Fine grit sanding paper or sponge
- tack cloth or soft damp cloth
- pencil
- tape measure
- drill with 1/8 inch drill bit
- phillips driver bit
- drill
- four Command Picture Hanging Strips
- small level
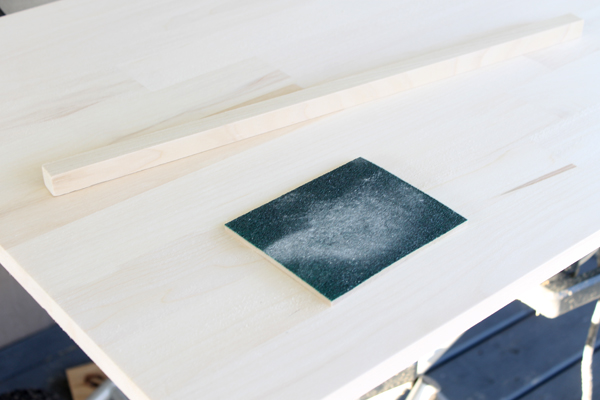
Start by sanding your wood panel and dowel rod smooth, then wipe it down to remove all the dust.
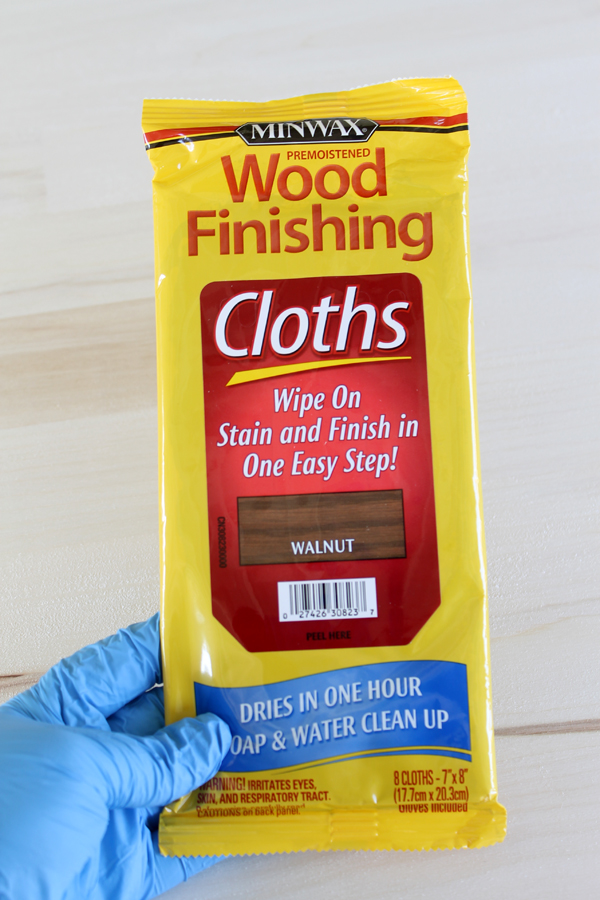
With the stain cloths, stain both the panel and the dowel rod, then let it dry. The package says it takes less than an hour, and on a mildly warm day (45 degrees) in the sun it was dry in under 30 minutes.
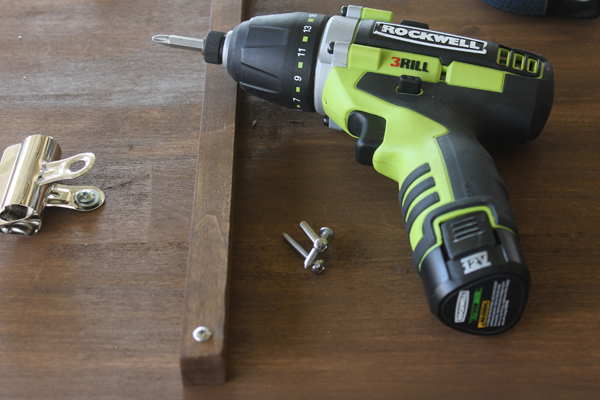
Install the bulldog clips by measuring up 17 inches from the bottom and 6 inches from the side – install one on each side of the panel. Predrill a hole on the mark so your clip will be in the right location.

To install, use the 1/2 inch screws and put the washer between the back of the clip and the head of the screw, then insert your driver bit through the top hole of the clip and secure down.
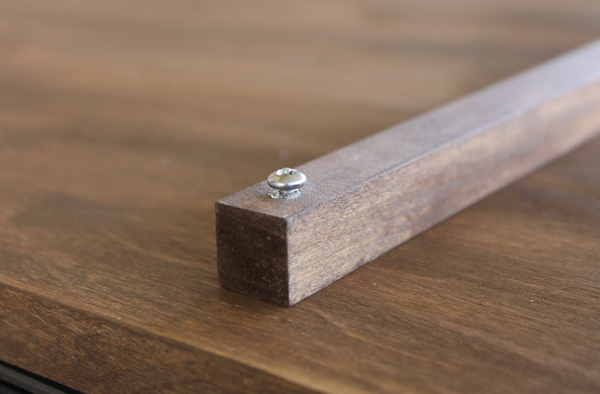
Next measure down 16 inches from the top, and line up the dowel rod 1 inch from each edge (so it will be centered. Predrill a hole 1 inch in from the end of the rod, then put the 1 1/4 screw in, but don’t completely tighten down.)
Go to the other end of the dowel and measure to make sure it’s in the right location, then pre drill and put the other screw in place. Leaving the first screw a little loose helps if you need to straighten it up a bit. Once both screws are in, tighten them both down and you have the chalk rail.

On the bottom of the panel, use the tape measure to space out the four hooks starting from one end, put them on the 3 inch, 9 inch, 15 inch and 21 inch marks.
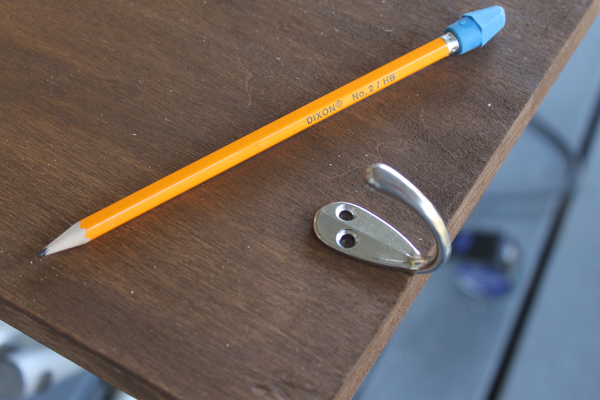
Use a pencil to mark where the screw holes are in the hooks for each one.
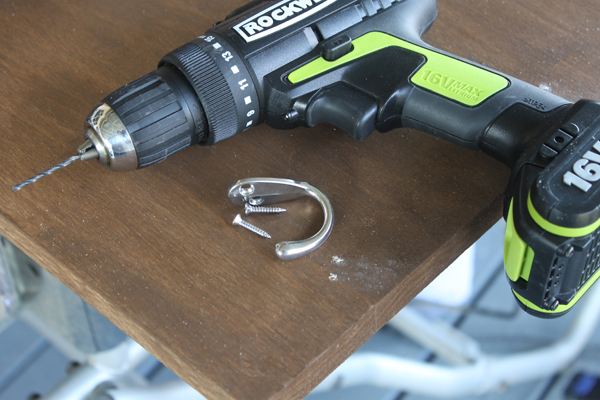
Predrill the holes for the hooks, then use the screws in the package to install them on the bottom of the memo board.
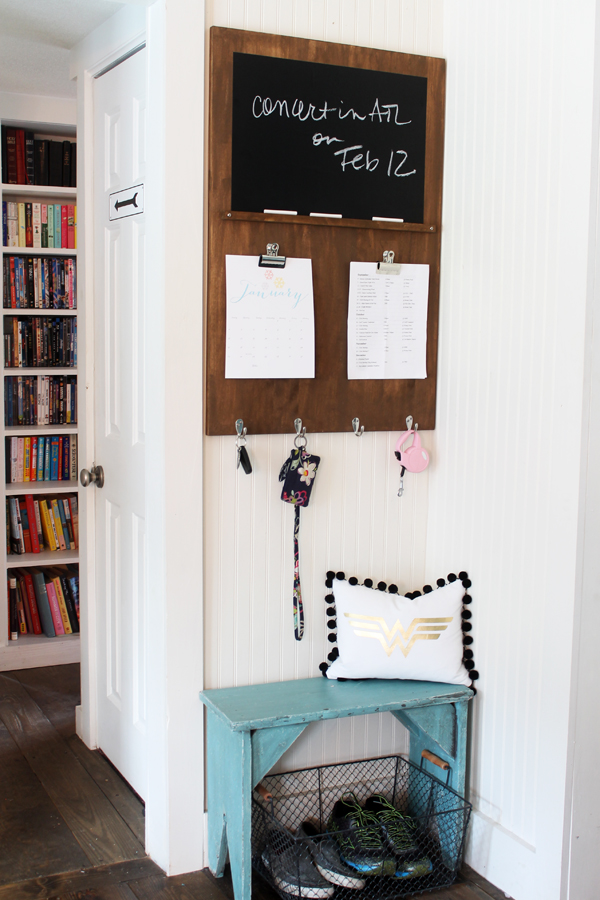
Lastly, install the chalkboard vinyl on top, measuring in two inches from each side to center it and install it right on the edge of the chalk rail (which gives you a two inch border on the top and sides.) If you have chalkboard paint on hand, you could easily tape off the area and paint it – but the vinyl is much, much faster!
Hang up the Command Center with the Command Picture Hanging Strips using your level and you’re done!

Want more DIY ideas? Be sure to check out Lowe’s Creative Ideas Magazine – or follow them on Facebook for lots of great tips, too!
*Thanks to Lowe’s for partnering with me on this post. All ideas, words, photos and opinions are 100% my own.*

I really like this command center! I’m definitely a paper person so I love the clips. I wonder if they’re making a dry erase vinyl?
they do make a dry erase vinyl. i’ve found it on cricut’s website.
Great command center and thank you for instructions