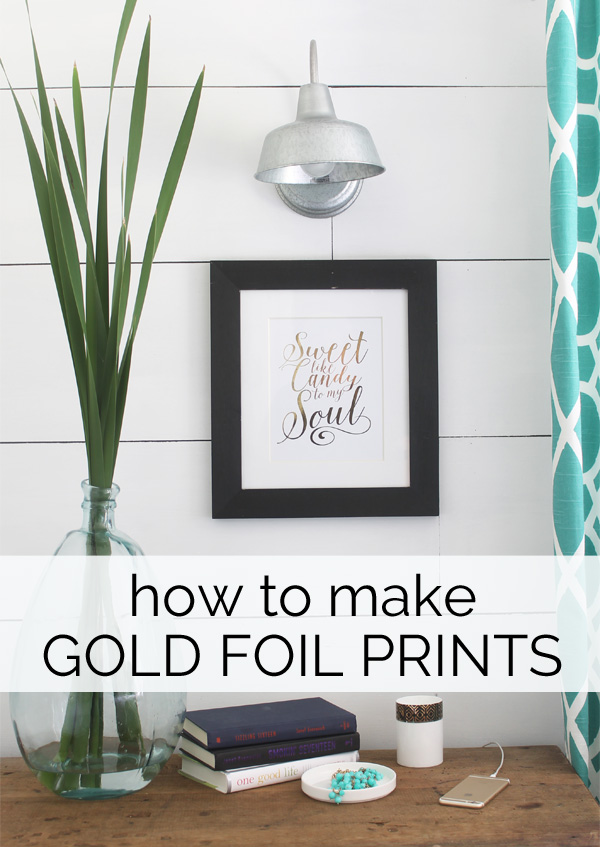
Let’s face it: the trend of gold foil prints doesn’t seem to be going anywhere soon. Which is awesome, because I love them! I wanted to learn how to DIY them for quite some time, so I was really excited to find out there’s a way you can make them yourself at home. And, luckily for me, it’s a super fast way to do them (because I’m a super impatient crafter.) Learning how to make gold foil prints is super easy and it can be done in only a few minutes, thanks to this great new way from Heidi Swapp*.
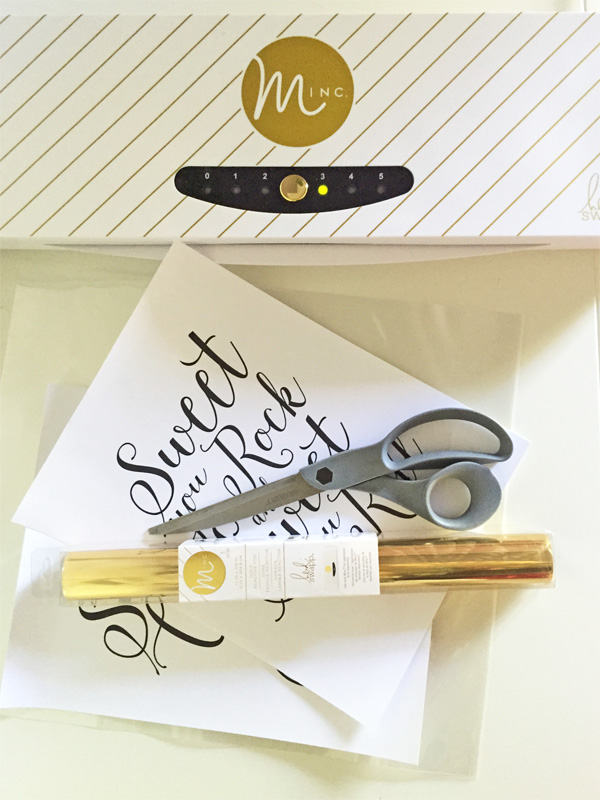 To make your own gold foil prints you’ll need just a few supplies:
- Printed graphics done with TONER (you can use a copy machine to get these if you don’t have a toner printer)
- Scissors
- Heidi Swapp Minc Gold Foil machine <PS – that’s my affiliate link>
- Heidi Swapp Gold Foil <also an affiliate link>
FYI – if you buy the machine, the starter pack comes with several things, including the foil and sleeve (we’ll get to that in a second). There are other ways to make foil prints, but this is the easiest method and most consistent method I’ve tried. If you don’t want to order online, you can also find the supplies at Joann’s, Hobby Lobby, and most other craft stores.
Here are the prints I used in this tutorial (be sure to click on them to enlarge, then save them to your computer for printing.)

 Yes, I have a thing for song lyrics. Dave Matthews just knows how to woo a girl…. And my girl Shawn at Alex & Co. Printables created these gorgeous prints (aren’t they awesome?)
Make sure these are printed with TONER before moving on to foiling. It will not work with inkjet printers – toner is essentially tiny beads of plastic that melt into the foil when it goes through the Minc. You can either use a toner printer at home (I have this Samsung printer and highly recommend it) or you can take it to any copy machine and get copies made.
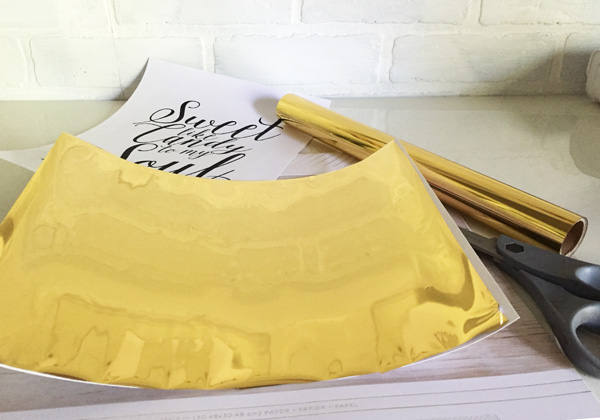
Back to the prints! First, trim a piece of gold foil to fit the page. I have found that printing the images on card stock works best, but you can also use plain paper. Using scissors, just trim it to fit (it really only has to cover the print itself.)
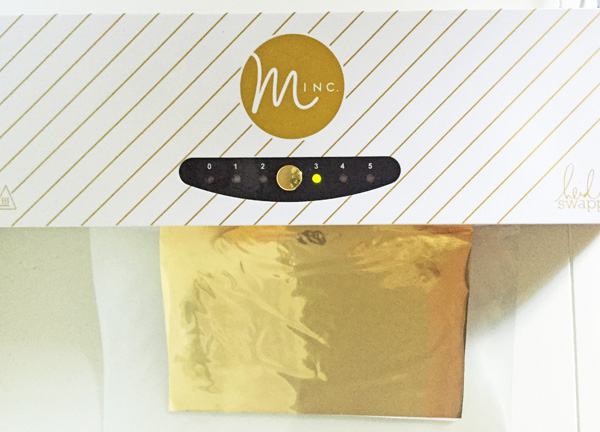
Next, slide the print with the foil on top into the protective sleeve that comes with the kit, and feed it into the machine. I personally found that a heat setting of 3 was perfect for this project (and most others).

Once it has been through the machine, simply peel up the foil and your print is complete. Frame, hang and done.
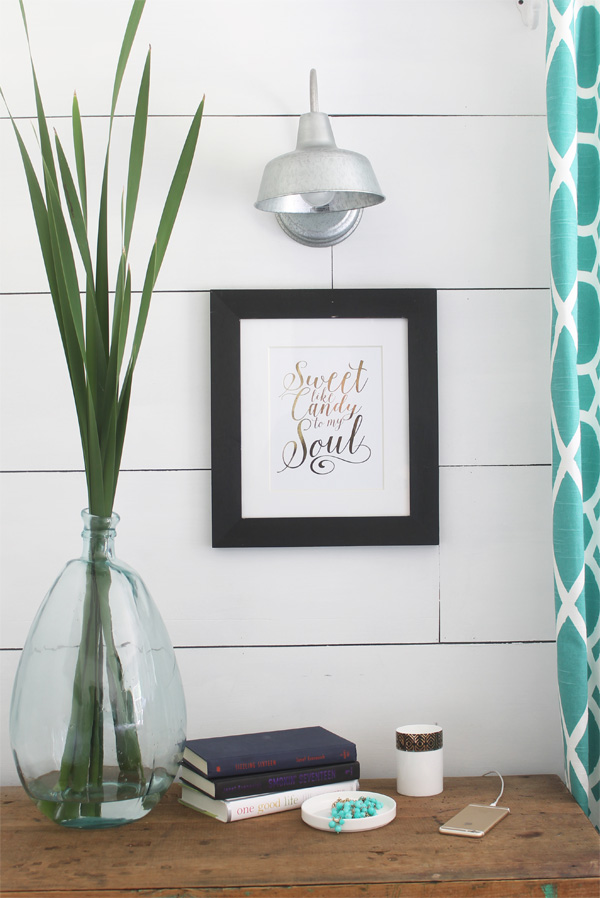
 The entire project only took about 5 minutes, which is super cool because I had them done in time for my Summer Tour.
*Thanks to American Crafts for partnering with me on this post. All ideas, photos and opinions are 100% my own.*

It’s beautiful and thank you for posting it. And I wanted you to know that I love your website.
Hi Gina, I recently purchased a toner printer and have been thinking about doing this for awhile… does this method give professional results?
Yes! It looks so good I was completely shocked at how it turned out. I wasn’t expecting it to be so easy, yet look so good. I would even be proud to see these, they look that good 🙂
What a neat idea! Thanks so much for sharing!
I was wondering how this was accomplished!! I have to most definitely agree that the prints are absolutely stunning, and the gold foil makes them even better 🙂