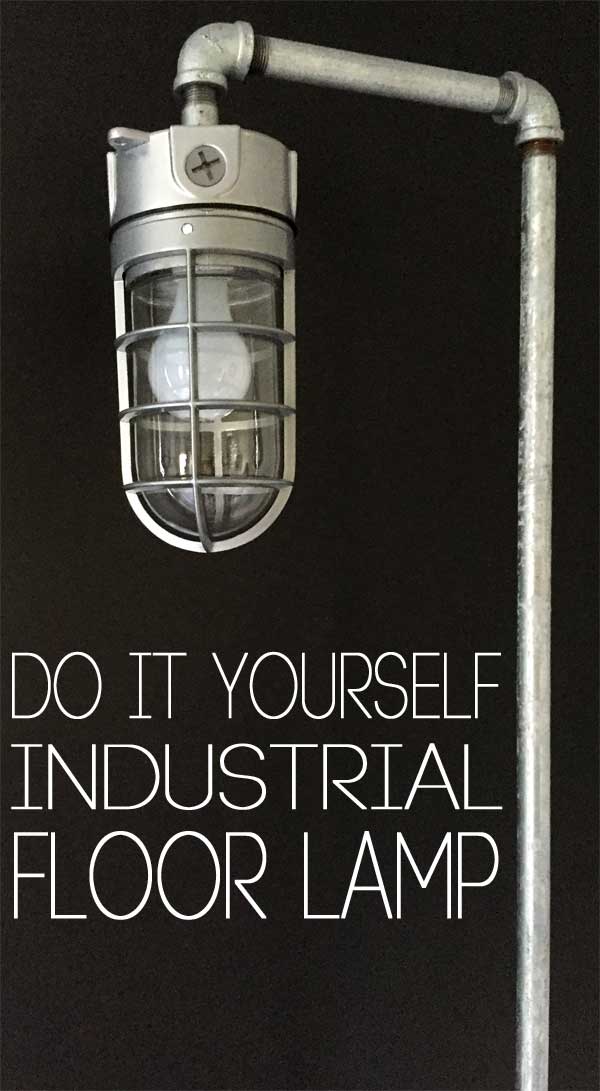
A few weeks ago I shared my new Holla Sign and a few of you asked about the DIY industrial floor lamp – so that’s what we’re gonna talk about today. This project has a TON of steps – but it really is very easy to make. In about an hour of hands on time, plus about 48 hours of waiting in the middle, you can make this easy lamp for around $50. Want to make one? Let’s do it!

To make a DIY industrial floor lamp,
you will need:
- a five gallon bucket
- an extra bucket to mix concrete
- quick set concrete mix
- water
- a stick to mix said concrete
- one 6 ft. stick of galvanized pipe that’s 1/2 inch in diameter
- 1 bolt with a wing nut
- drill bit the size of the bolt + a drill
- painter’s tape
- 1 scrap of 1×4 (maybe 2 ft long?) just barely longer than the bucket is wide
- a pencil
- jigsaw
- 1/2 inch hole saw or drill bit
- four 1 inch wood screws
- box knife
- 2 galvanized elbows, 1/2 inch in diameter
- one 8 inch galvanized pipe, 1/2 inch in diameter
- one 2 inch galvanized pipe, 1/2 inch in diameter
- 2 small wire nuts
- 10 ft lamp cord
- one industrial style light fixture
I found all of this in one trip to Lowe’s* – it looks like a lot, but you probably already have a drill, box knife, etc. – so just look at the supplies on the list and get what you need.
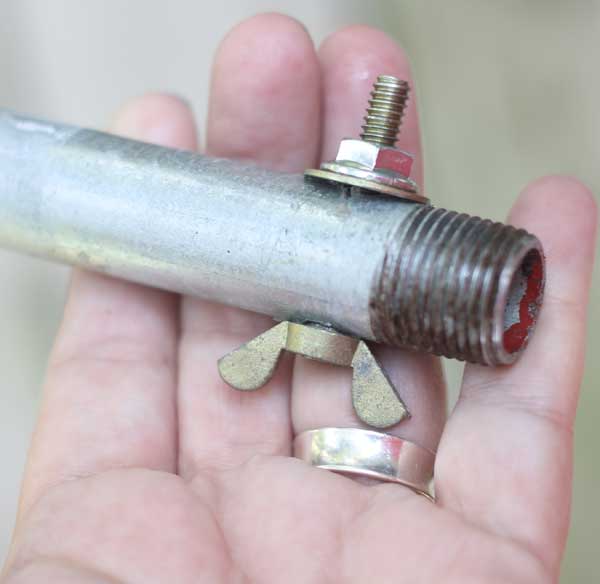
Start by taking the 6 ft piece of pipe and about 2 inches from one end drill a hole through the side of the pipe with a metal drilling bit. Put the nut into the hole and secure it with a wing nut. This will keep the pole from loosening in the concrete base once it’s dry. It will act as an anchor and keep everything secure.
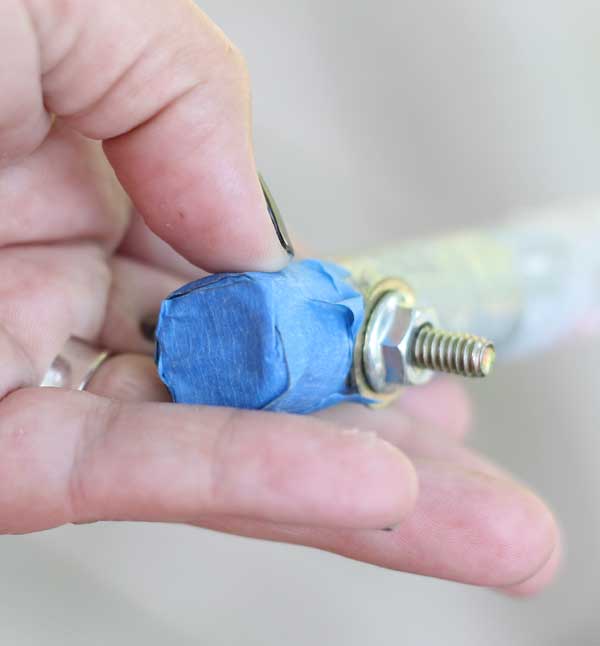
Once the wing nut is secure, completely cover up the opening of the pipe on that end with painter’s tape. Give is a couple of layers to ensure that no concrete will seep into the pipe. This is now the bottom of the lamp.
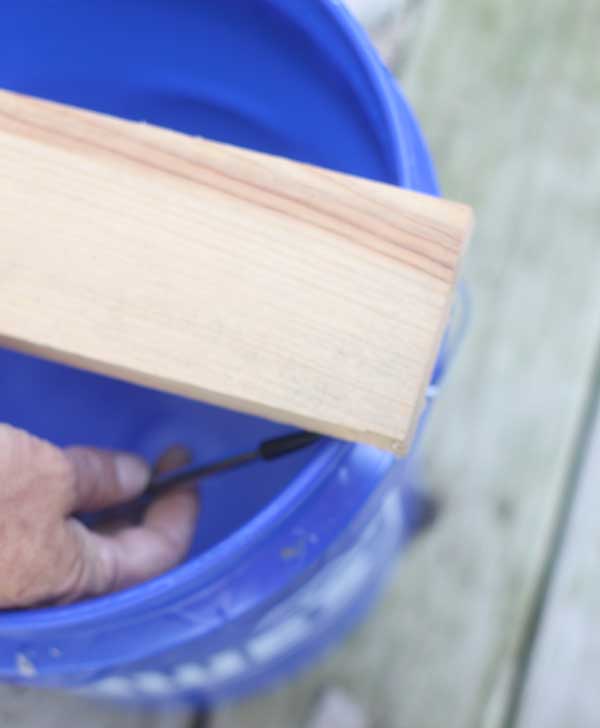
Lay the 1×4 on top of the bucket and use the pencil to trace on the edge so you have the curve of the bucket. Once you have it out, use a jigsaw to cut the line so the board fits perfectly into the bucket. Use a 1/2 inch hole saw or drill bit and drill a hole right in the center of the board (use a tape measure to get it right.)
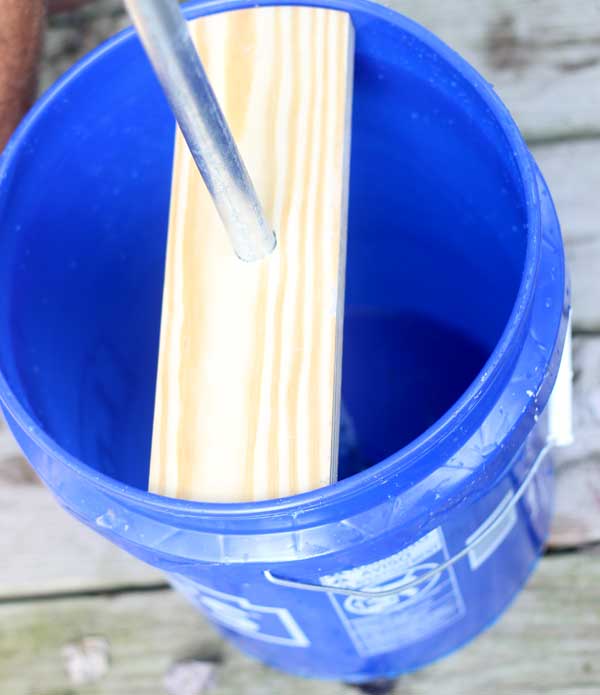
Slide the board onto the pipe, then put it into the top of the bucket. Secure the bucket to the board by screwing in two screws on each end of the board, going through the bucket. Once the board is attached, mix up your concrete according to directions.
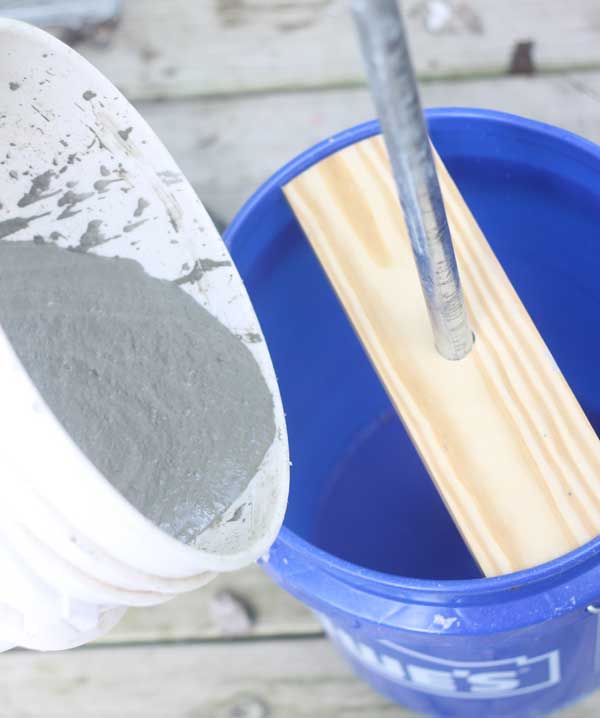
Slowly pour the concrete into the bucket, then use a level to make sure the pipe is straight. Now is the time to adjust it before the concrete starts to set up. Work quickly! It starts to harden within just a few minutes. You want a layer of concrete about 6 inches thick – so it will hold the weight of the lamp without tipping over.
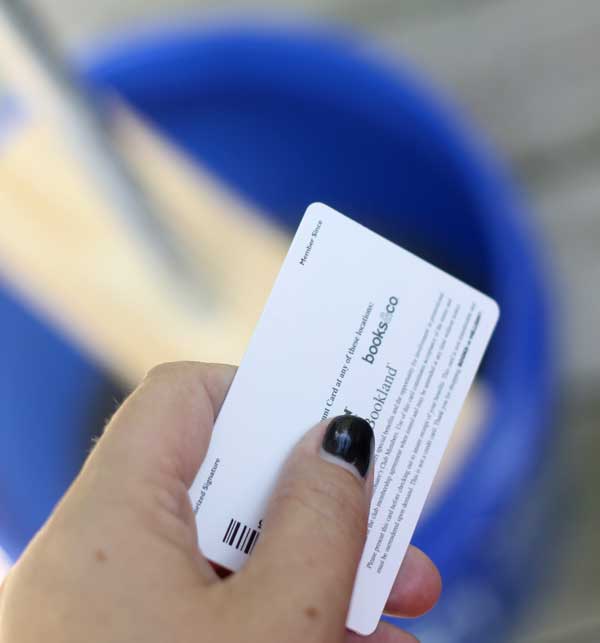
As soon as your pipe is straight, use an old gift card (or store program card) to smooth out the top of the concrete in the bucket. Let it dry for 48 hours before moving on to the next step.
Once it is dry, cut carefully down each side with a box knife, scoring 4-5 times until you cut through, then pull the bucket off of the concrete base. It’s gonna be HEAVY. Two people makes it easier, but I did it by myself, so it can be done alone if you can’t find help 🙂
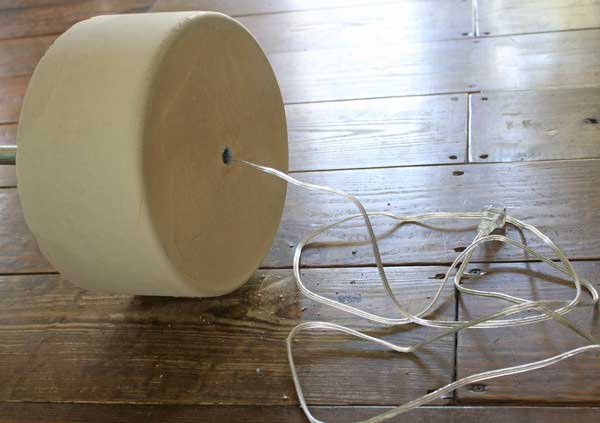
Take a small screw driver and punch through the tape covering the bottom of the pipe. Now run the cord through the pipe – but remember that the bolt is in the bottom end, so you’ll have to be careful and work around it. If you have problems threading the cord, try using a straightened wire coat hanger to make it a little easier (it’s not always needed, though.)
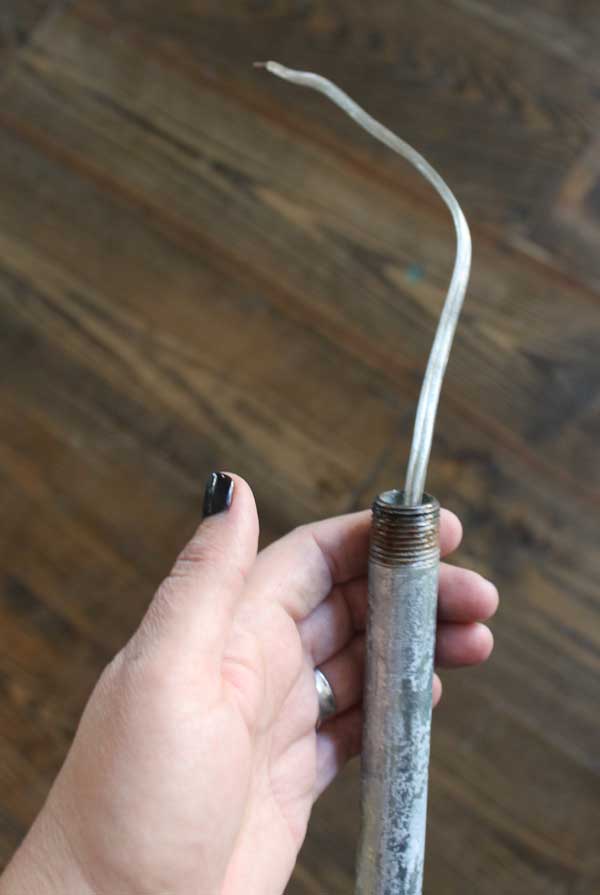
Once you have the wire all the way through, pull about 2 feet extra out so you can thread on the other galvanized pipe parts.
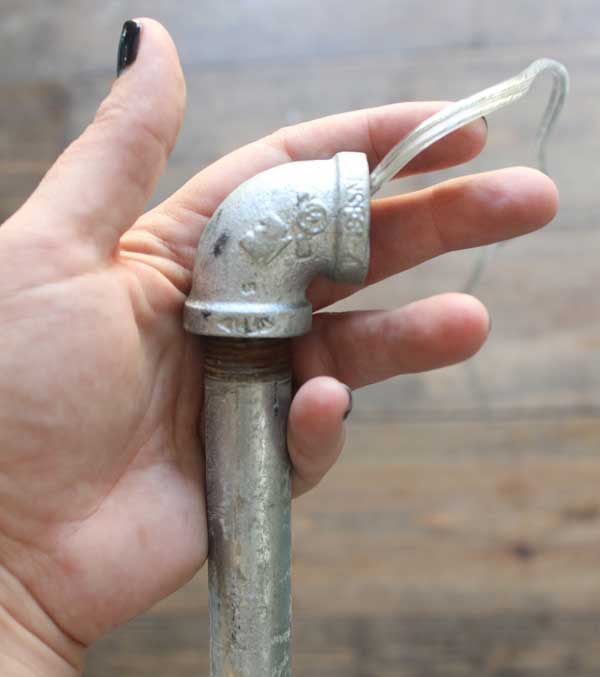
First an elbow – just feed the wire through, then use the threads on the pipe to screw it on.
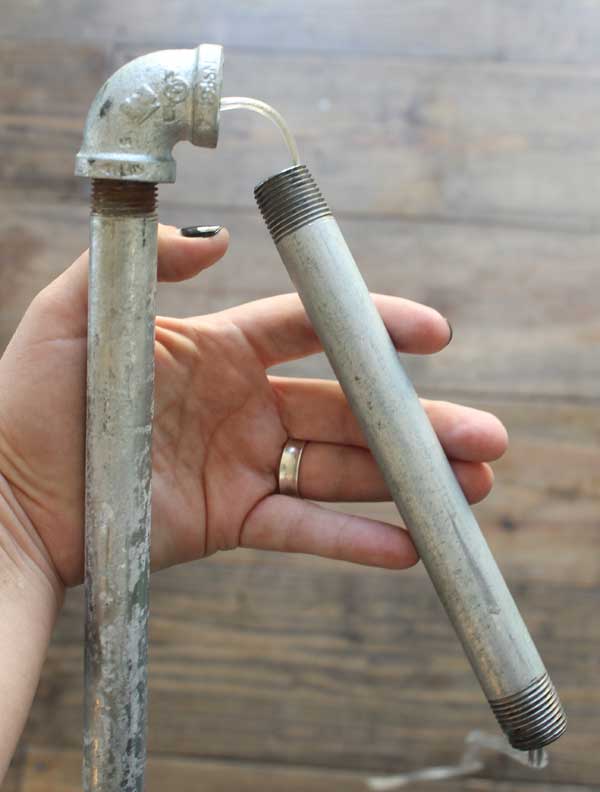
Next the 8 inch piece goes on the same way.
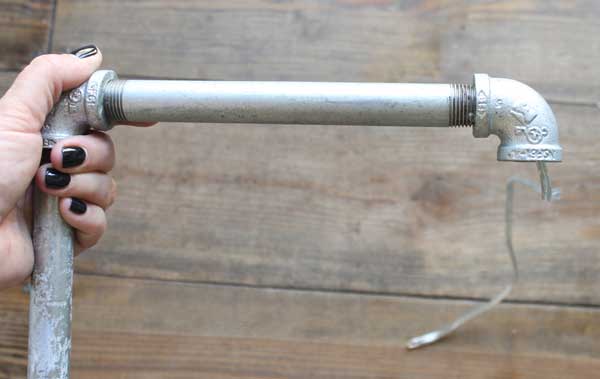
Then another elbow…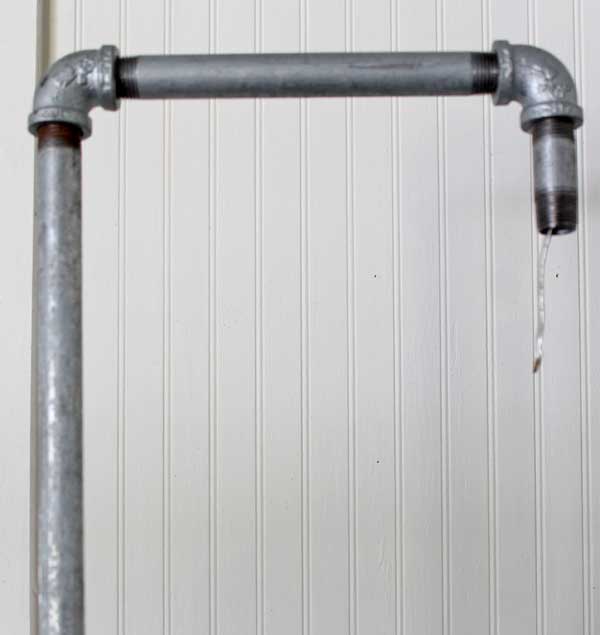
And lastly the two inch part.
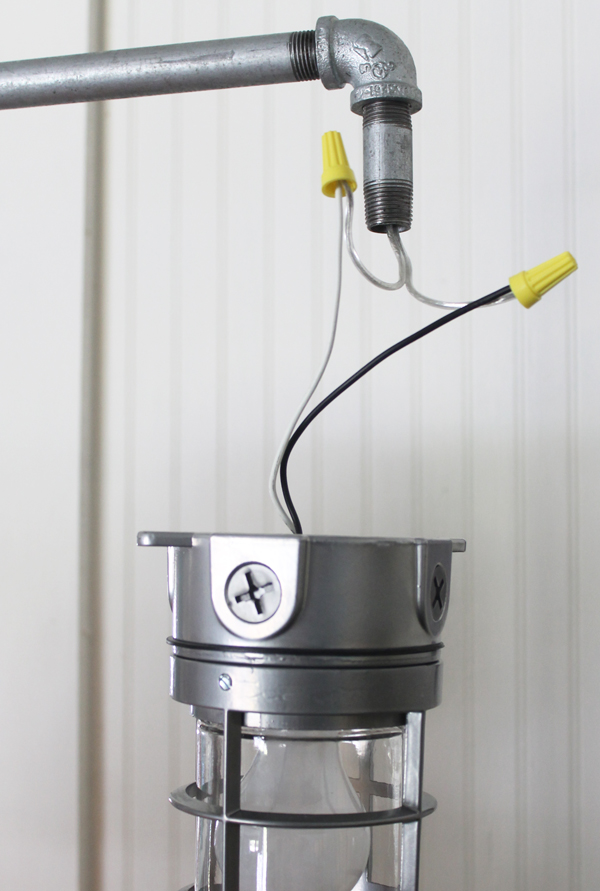
There’s three wires inside the light fixture, but you only need two of them. Attach either side of the power cord – one to the white wire, one to the black, using wire nuts. (Smaller ones make the next step much easier.) I tucked the ground wire into the top of the light itself to keep it out of the way.
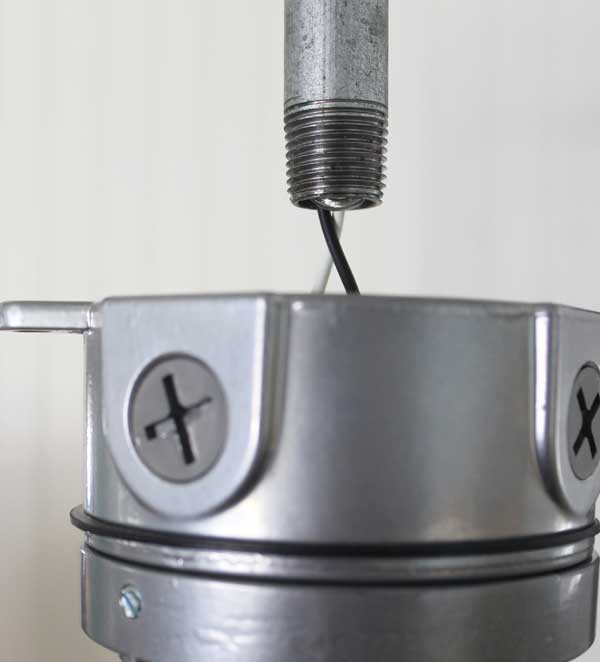
Now put the wires up in side of the pipe and screw the light fixture onto the pipe. Mine will plug into an outlet that has a switch to it, but you can also add a interrupter to the cord so you can turn it on and off.
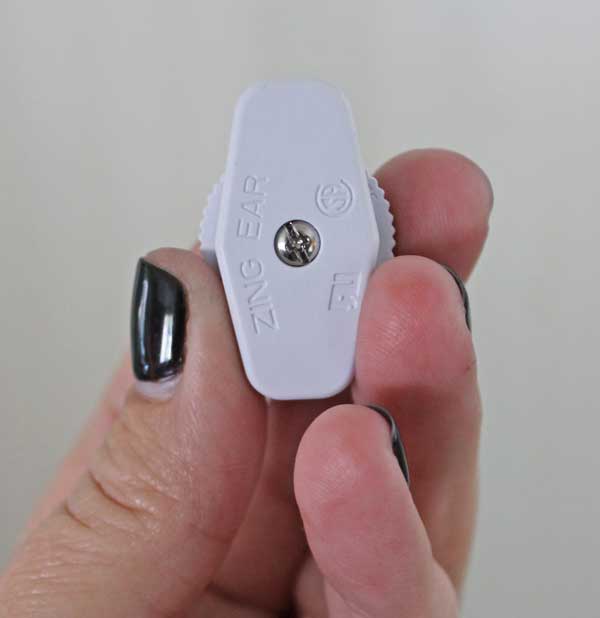
Just follow the instructions in the pack that it comes in (it’s found in the lamp building section, too.) It takes about 2 seconds to install and then plug up your lamp.
Pretty cool project, huh? Want more ideas? Be sure to check out this month’s Lowe’s Creative Ideas app for even more bright ideas!
 *Thanks to Lowe’s for partnering with me on this post. All ideas, words, opinions and photos are 100% my own.*

I love the industrial look and this is just amazing! So clever and unique. Thanks so much for the inspiration!
That’s awesome! How much did this whole project cost approximately?
It was about $50
Gina, do you worry about the rough/sharp edges inside the pipe rubbing through the wire coating and shorting out or exposing electric current to the pipe
Thank you for the post. I love it. Will be building a couple of these for my new house.
Hi Gina. This may be a stupid question and obvious to anyone but me, but the step at the end, you say to screw the fixture to the pipe. I can’t see into the fixture from the pics so I’m not getting this part. Would any fixture work? How do you know it will do this? All I have experience with are the kind you would put on the ceiling or wall and they attach with mounting plates. This may be really simple…I’m sure it’s a “duh” moment on my part!
You have to buy a fixture that is a screw on fixture you can get them in the industrial lighting section at Lowes.
This may be a dumb question but does the concrete base sit on top of the cord? And if so doesn’t it wobble?
Yes but mine sits on carpet so its not really a big deal but if you have wood floors or something similar you can use those felt furniture pads under the base.
About how much did this whole project cost?
It was around $50
It was about $50.
Wow! this is amazing! What a great idea! I have to go to Lowe’s NOW. Thanks for sharing!
I showed my husband and now he thinks we need one 🙂 I guess I know what my next project is!
Would this work?
http://t.homedepot.com/p/Lithonia-Lighting-1-Light-Gloss-with-Gray-Utility-Vapor-Tight-Pendant-VP150I-M12/205566502/
I can’t find one on Lowes.com
OMG! Amazing! I loved it! Here in Brazil is very dificult to find galvanized pipes.. I will try with PVC pipe anda paint it of black. What do you think?
That sounds awesome Ivy, have fun!
I would like to share my tutorial on how to make a Galvanized Pipe Lamp…
https://youtu.be/IL7X6Eme8qw