*This post is in partnership with 3M*
Jewelry organizing has always been a challenge for me. I don’t have a crazy amount of it, but I never know where to store it all. I’ve tried a few different methods, but necklaces specifically are really difficult to keep organized so I can find what I want, when I want it. One morning as I was getting ready, I realized that there’s this “dead space” behind my bedroom door that never seems to get used, so it seemed like the perfect place to display all of my jewelry, yet keep it all organized all at once. If you had a larger closet you could do it in there, too. Oh, and I made a super easy sign to make it even prettier!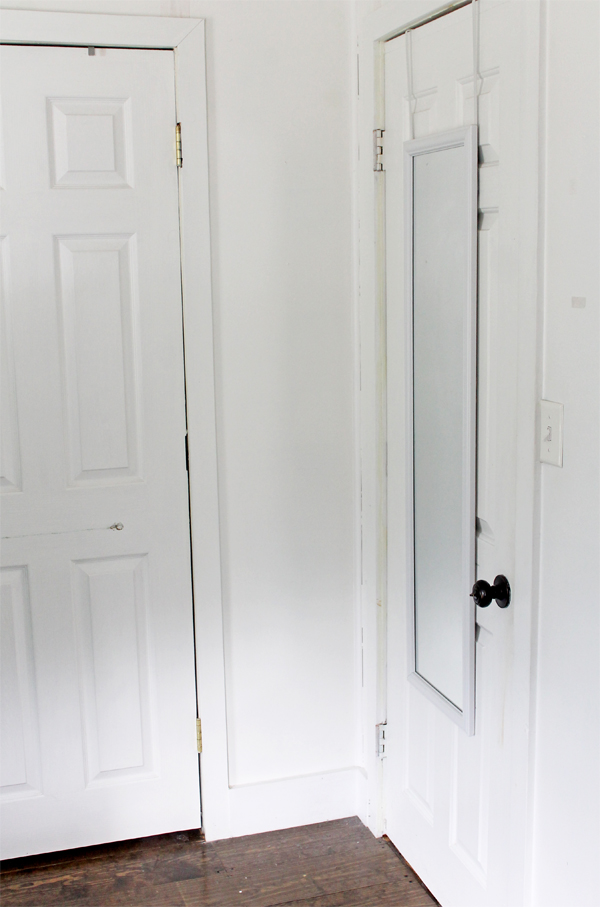
 Gather all supplies and determine where you want to create the project. Follow all surface prep instructions on the back of the packaging.
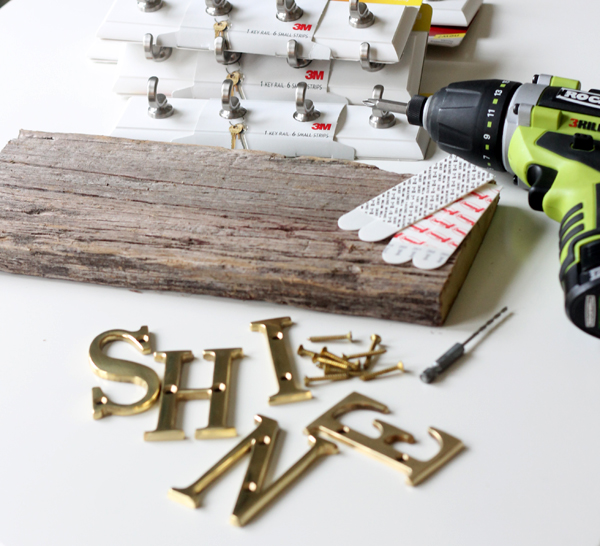
You’ll need:
- Piece of wood (painted and smooth on the backside)
- Metal address letters to spell SHINE with screws
- Drill and drill bits (with Phillips head bit for screws)
- Command™ Medium Picture Hanging Strips
- Command™ Quartz Key Rails – this project used three
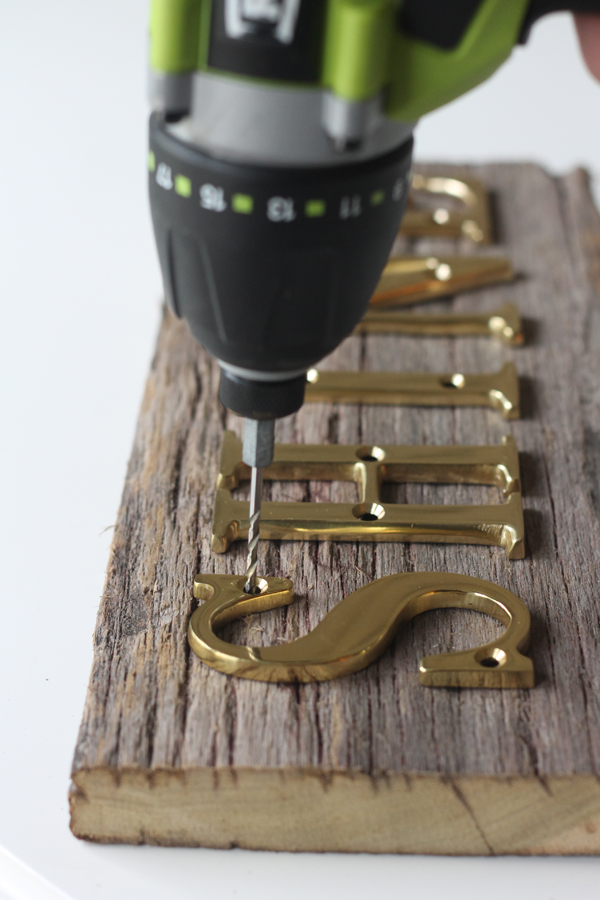
To create the ‘SHINE’ sign, space out the metal letters on the front of the piece of wood (I used a scrap of barn wood). Then, use a drill bit to pre-drill the holes in the letters to keep the wood from splitting. Be sure to follow all manufacturer guidelines and safety instructions when using the drill.
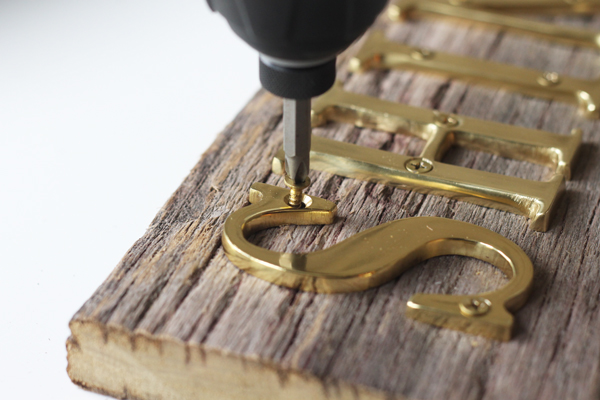
Next, use the screws that came with the letters to drill the letters into the wood.
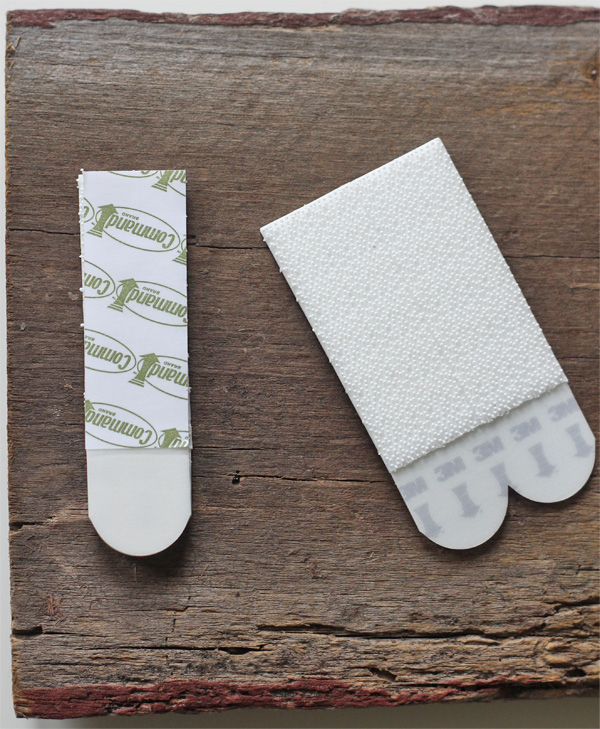
Once the letters are secure, turn the wood over, exposing the smooth back side. Following package instructions, apply one set of Command™ Medium Picture Hanging Strips on each side of the wood and mount on the wall.
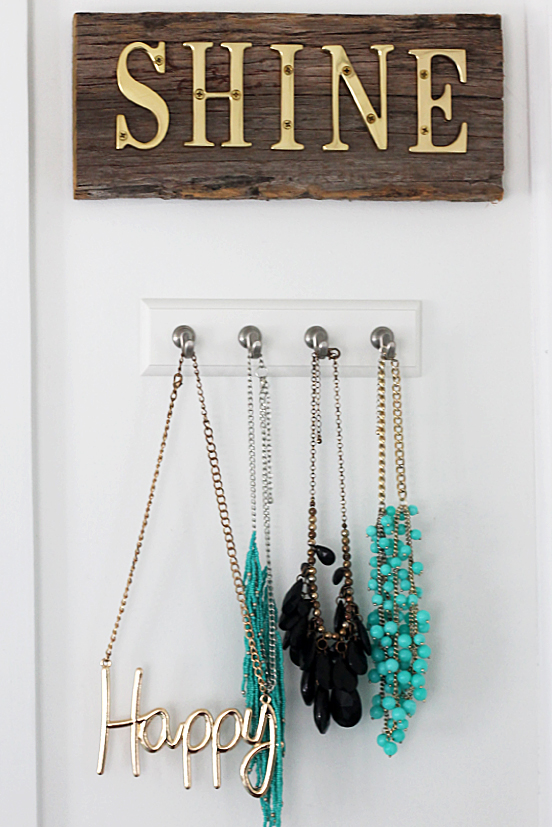
Following package instructions, adhere the Command™ Quartz Key Rail below the sign to hang necklaces, accessories and other items that help you ‘SHINE’ throughout the year. Repeat to add additional key rails as necessary and be sure that the full weight of the items hung on the key rails does not exceed two pounds.
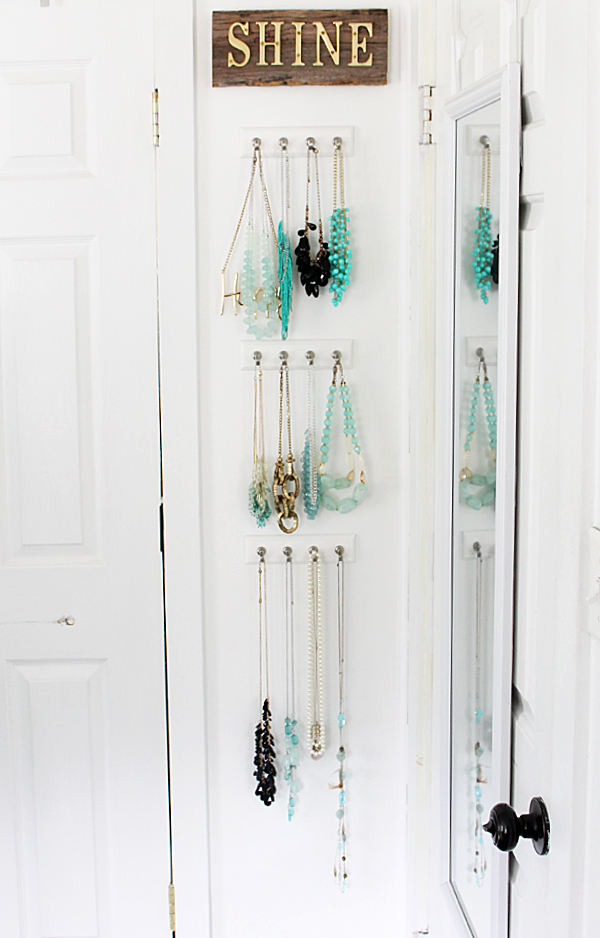 Once all your jewelry is hung up, then you’re done. The entire jewelry organizing project took less than 15 minutes from start to finish.
*Thanks to 3M for partnering with me on this post. All ideas and opinions are 100% my own.*
I love your Shine sign and your DIY jewelry organizer — great idea! Love the bling the shine sign brings!
Beautiful! I want to try this
Thanks for sharing.
Perfect in every way! Thanks for sharing and the Inspiration..Smiles.Cindy
I understand the issues of storing it all. I have a lot and I finally came up with a way to keep mine in order…the problem is me, putting it back in place is my issue…lol….Great job.
Those metal letters are impossibly adorable! I’ll need to find some of those stat. Same with the cool key ring product. I didn’t know that even existed!
Nicely done, Gina! I love what you did for necklace storage, it looks very nice. I have this same problem, so I used some small, clear command hooks and hung 6 of them staggered on the side of a narrow white bookshelf I have in my bedroom, and keep my necklaces there. It’s not ideal, as I’m running out of room – the bookcase won’t hold more hooks so I think I need to narrow down my collection of jewelry! Love your collection of aqua and turquoise colored jewelry – your favorite color is also mine! Wish I was brave enough to do the bright aqua stripe in my hair, but working in a conservative law firm, they’d probably frown on that!