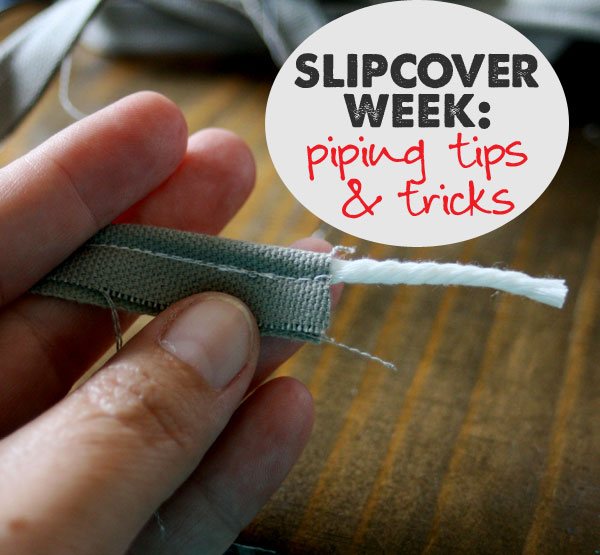
All week I’m sharing all the tips and tricks I have about how to make slipcovers. The first real step to making slip covers is to make your piping. It’s super easy, but some folks are still intimated by it. Never fear, I’m going to walk you through the step by step on how to make piping with lots of tips and tricks.
When you learn how to make slipcovers, the first thing you are going to need to do is measure for your piping. Of course, you can skip the piping, but it does look much more finished when added. It’s a little more work, but totally worth the effort. It helps to hold your slipcover in place.
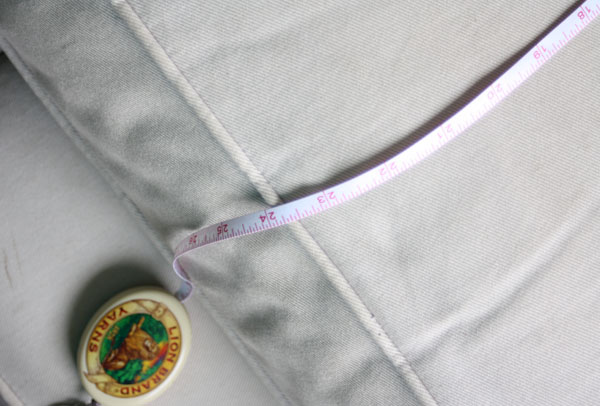
To get the amount of piping you need, take your largest cushion, measure the longest side, then multiply that by 8 (four sides of the cushion, then top and bottom sides.) Multiply that number by the number of cushions you have. Then measure the arms (and wherever else you want the piping detail.) Add up all the numbers, then multiply it by 10% to get your total.
In total, I needed 45 yards of piping. Instead of measuring the piping, I measure the fabric, then use the piping off of the spool.
The first cuts on the bolt of fabric I make are the ones to make the piping. I go all down the length of the bolt, so basically I cut across all 15 yards of fabric. Because I needed 45 yards of piping, I cut three strips, adding up to the total length I needed.
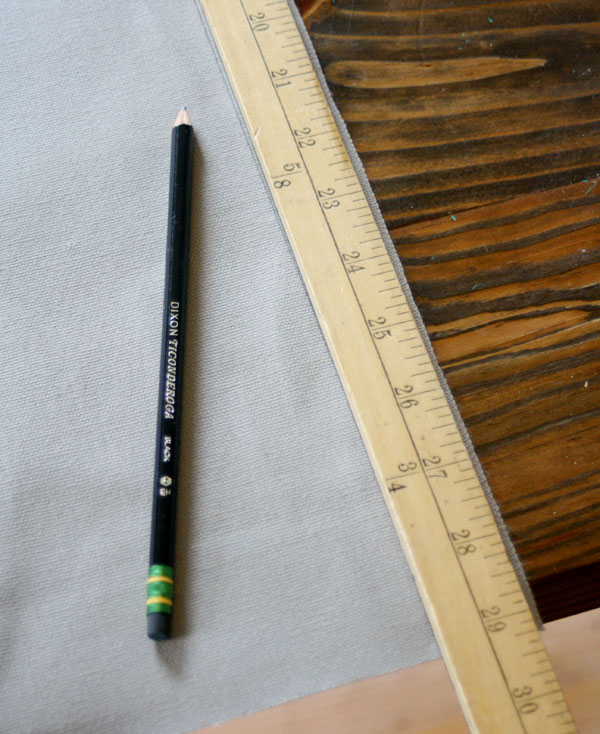
I use the width of a yard stick to be a guide for cutting. Using 4/32 piping works beautifully with the width of the yard stick, however if you use larger cording you will need to make yours wider.
Starting on the selvage edge, draw all the way down the yard stick, then repeat until you have three rows.
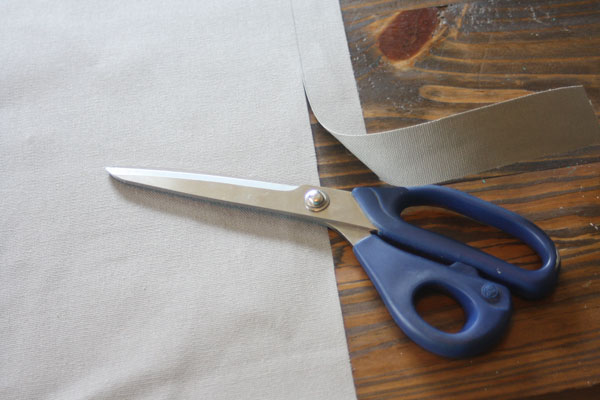
Cut out each individual strip, as you mark it. Draw your line, then cut, draw and cut, all the way across the bolt.
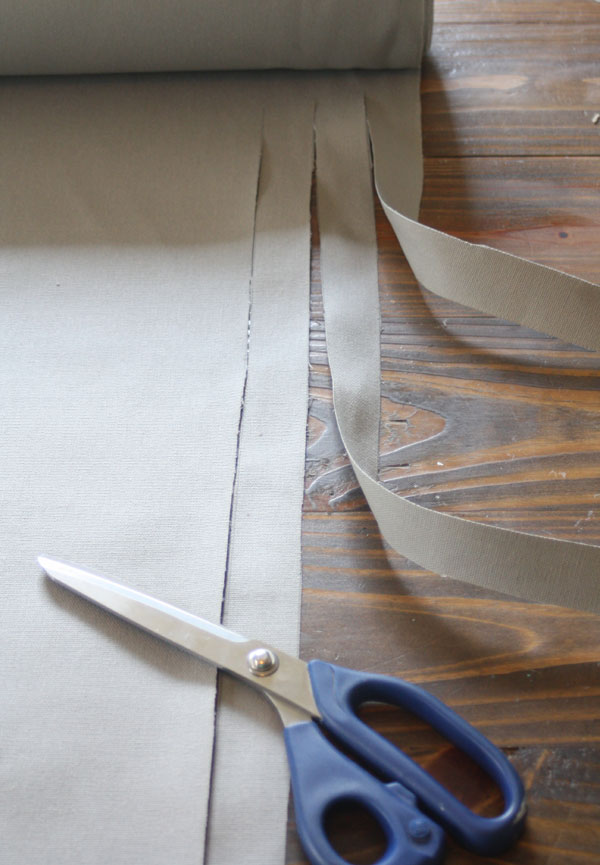
If you draw and cut while unrolling the fabric, you will only have to handle the fabric one time, not two or three times.
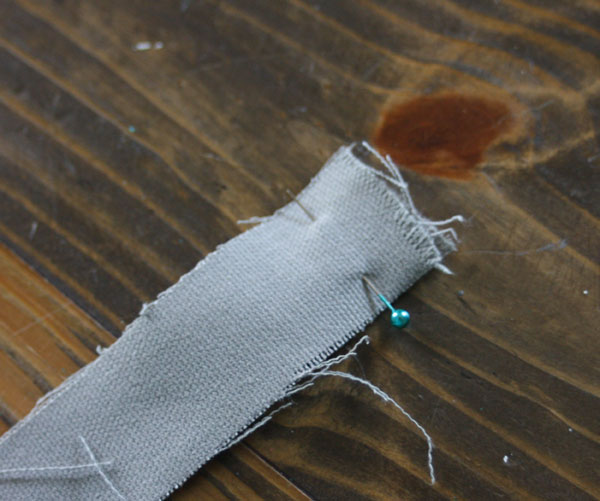
When all the strips are cut, sort them out and pin them end to end to make one long strip.
Make sure to back stitch when beginning & ending, and sew the pinned ends together to connect them all.
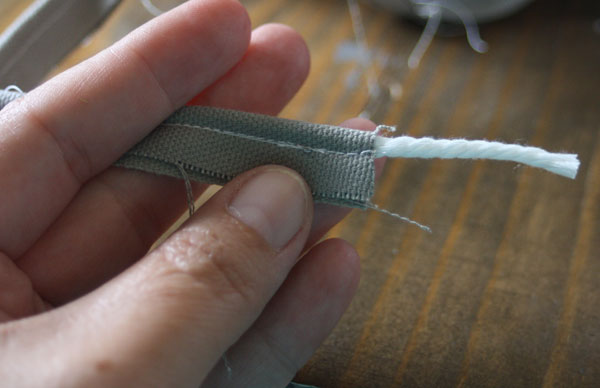
Once your long strip is complete and all sewn together, start by stitching the cord in the center, long ways together, so it will not pull out and cause problems while you’re sewing.
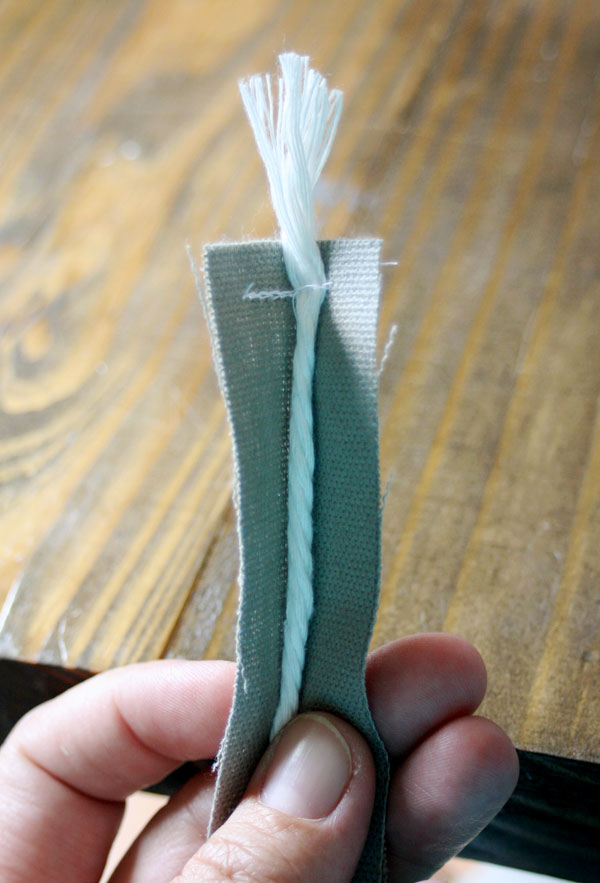
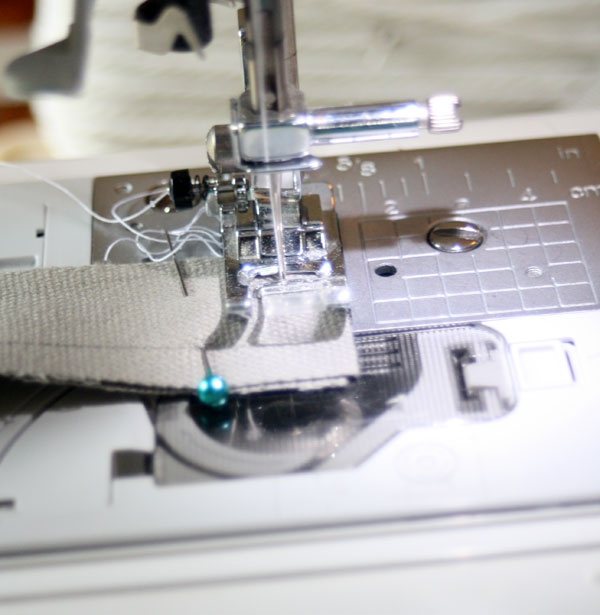
To start the piping, you want to fold the strip in half, sandwiching in the cord.
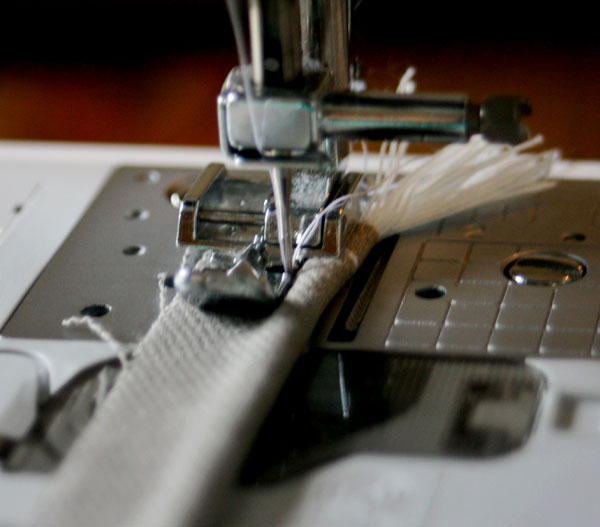
Use a zipper foot, and get it as close to the cord as possible. Start by back-stitching to lock everything in place, then fold and sew as you go.
I put my spool of cording in the floor, then drape the fabric strip over my shoulder so I have them coming from different directions and can keep them from getting tangled. I do not pin them together – I just fold as I sew and keep it all aligned. (Because who in their right mind wants to pin 45 yards of piping?!?)
As I sew, I pull slightly (this is exaggerated for the photo) the piping towards the needle to get it good and tight.
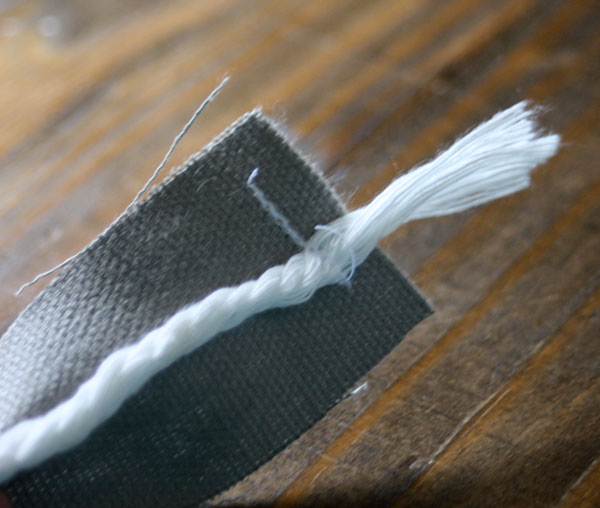
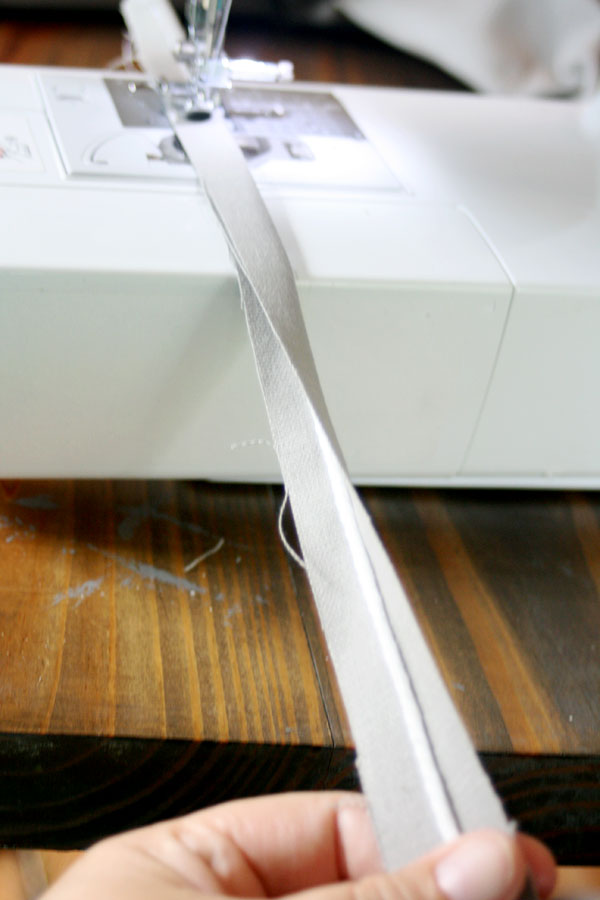
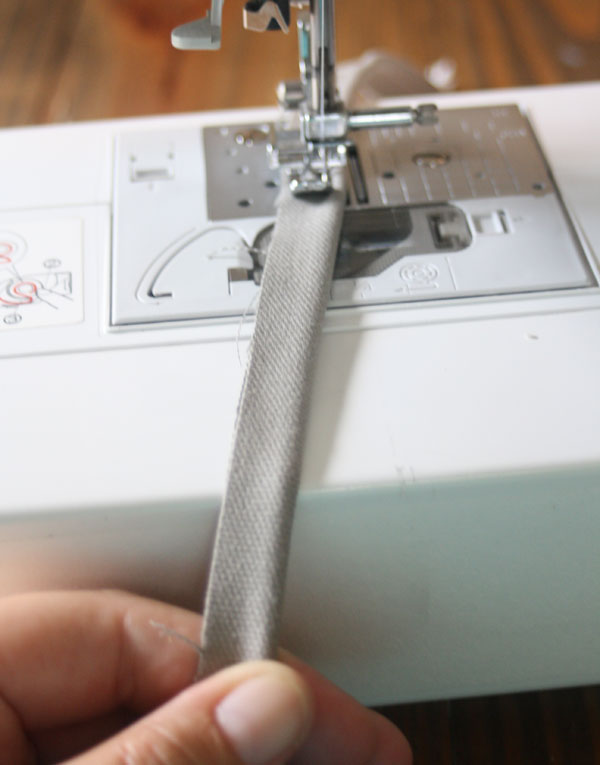
 Once you’ve sewn all of the cording into the fabric, give yourself a little overhang and trim it off. Be sure you back-stitched it at the end for security. And, please use coordinating thread! I used contrasting so you could see all of the stitches on this slipcover, but using coordinating will look ten thousand times better, m’kay?
Got questions? Let’s have them in the comments. Any questions you have on how to make slipcovers will hopefully be addressed this week!
Want to see all the slipcover posts? Here ya go!
Part Five: Beginning the Frame
Part Seven: Finishing the Frame
Part Eight: Final Tips & Tricks
So am I reading it right that every single edge of both sofa cushions needs to have piping added? Wow, that’s going to be lots of piping. No wonder you’re creating it on an industrial scale at the start of the project.
Our sofa seat cushions aren’t square, they have an odd arm added to the front of one side of them, so that both cushions together make a t-shape. How would I measure for this?
Thanks for posting this great series of ‘how-to’ post this week. Wouldn’t have a clue for where to get started with this handy guide!
Yep, it’s going to be a great quality slipcover when we’re finished. To get the measurement for the piping for oddly shaped cushions, run a flexible tape measure all around the edge (where piping probably is now) to measure it up, then double it to get what you need for one cushion. Be sure to measure all of the areas where you need piping and add at least 10% for error.
Just for clarification, you cut your strips of fabric for the piping down the LENGTH of your fabric, right? In essence, you cut about 3 – 4 inches from the width of your fabric?
Yes, you are cutting it along the length of your fabric, so you are losing a few inches from the width.
Thanks for a great question!
I thought piping fabric had to be cut on the bias, so it will accommodate corners, curves, etc. Is this not correct?
Yes – if you want to do it the proper way, on the bias is correct. I go the easy route, but it still worked beautifully for me.
Thanks – I dread the thought of making the cording, but my chairs have a lot of curves, so I searched around and found a great shortcut for making bias cut piping. http://www.addicted2decorating.com/sewing-basics-how-to-make-continuous-bias-for-welt-cord.html
Gina, thanks so much for doing this tutorial this week! I’m sharing it with friends and pinning it for later! I noticed on entry one I didn’t see a link to entry two yet. Are you going to be adding those links later so we can click trough without searching??? Would make coming back to this later a lot easier. Thanks so much! 🙂
Yes! I’ll be linking them all together at the end of the week so it will all flow from one to the next.
I’m following along carefully and also book marking each post. I am only covering a bench but I know these instructions will help me go on to more intricate furniture pieces.
thanks so much for these detailed instructions.
Sonny
Very nice. I just realized that piping is what all slipcovers are missing that makes them look unfinished. LOVE the color and the piping. Can’t wait to see what’s next.
Great idea for a series. Good, easy to follow instructions Gina.
Love this series. It is so helpful to have step by step instructions and photos. Thanks!
I get the piping, but when I add it to the pillow, cushion or whatever I am making if you are taking a 5/8 inch seam where do you place the cording? Stumped.
thanks so much.
If you look at the 4th installment of the series you can find out how to install the piping.
Great tutorial and I really need it! I always thought you had to cut the piping fabric on the bias? Your way seems much easier.
I’ve made slipcovers before but not for about 30 years so your tutorial is great. Just a comment about piping/cording. Isn’t it recommended to cut it on the bias? It gives it ease or stretch, plus the seaming where you put the long pieces together will be less bulky.
Yes, this was my question too. I have been taught to cut on the bias and to miter the two pieces together so you cannot see the seems. However, There won’t be many seems doing it this way either. Do you ever have trouble adding the piping around odd shaped pieces because it does not stretch as well?
Technically you should cut on the bias, but there are so few turns on a slipcover that it’s really not all that difficult. I never use bias cut strips, I just try to keep the strips as long as possible to avoid seams. I didn’t have any issues installing it, just use the snip method around curves and you’re good to go.
Great question!
I am replacing a wing chair slip cover with hard plastic piping. The guy at the fabric store said that was the best kind and I should re-use it. It seems like it was kind of stiff, and hard on the fabric casing it. What do you think of this plastic piping. Should I replace it with cotton piping? My second question is about the bias issue. I’m using striped canvas and I think stripes on the piping will look better. Do you have advice on this? Thanks so much for your website. I think it will be a lifesaver!
Sorry I meant to say the stripes on the piping wouldook better in angle so I was thinking I should cut on the bias.
All piping fabric strips should be cut on the bias, not the length of the fabric. Otherwise, the fabric will bunch or pucker when you sew around a curve. Bias strips will stretch and curve perfectly.
Can’t I purchase piping for this?
Sure! I tend to make everything – but purchasing it sure would be a lot easier!
Hi Gina! I know I’m late to the party, but hopefully you’re still responding! 🙂
I’m measuring out the length of the cushions & couch for the piping, but as per your directions, I’m not understanding why you multiply your measurements by 10%? (I’m also somewhat new to sewing, crafty in all areas, but I haven’t sewn anything since I was a teenager.)