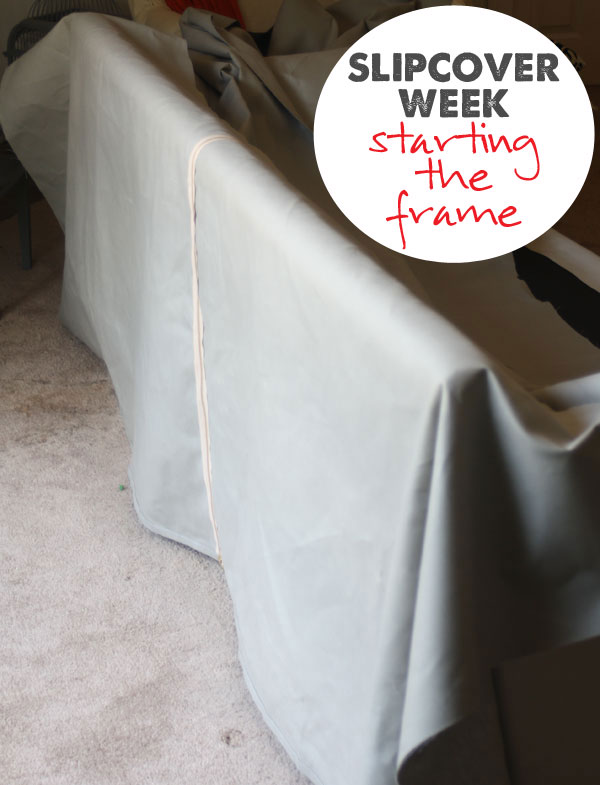
Welcome to Slip Cover Week! It’s your step by little step guide to learn how to make slipcovers. If you’re just joining in, we’ve already talked about the tools and supplies you’ll need, learned how to make piping, started cutting fabric, and have covered our cushions. In this post we’re going to start covering the frame.
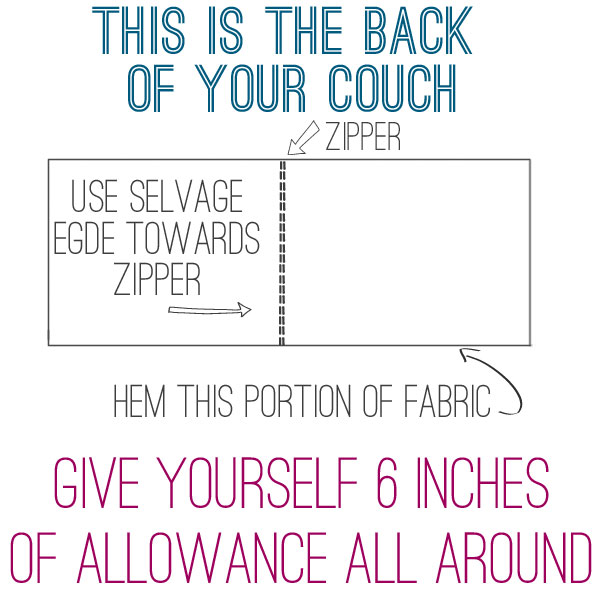
For this portion in learning how to make slipcovers you’re going to cut three pieces: two for the very back of the sofa (one for each side of the zipper) and one of the portion on the other side where the cushions rest.
First you want to cut two pieces, using the salvage ends to go on each side of the zipper. You want to have a straight edge on each side that goes towards the floor, so if you need to straighten up your lines with a yard stick and trimming, this is the time.
Give yourself PLENTY of allowance all the way around, so you have mega-room left to get everything right. It’s better to have some scraps than to cut it short and have to re-cut an entire piece.
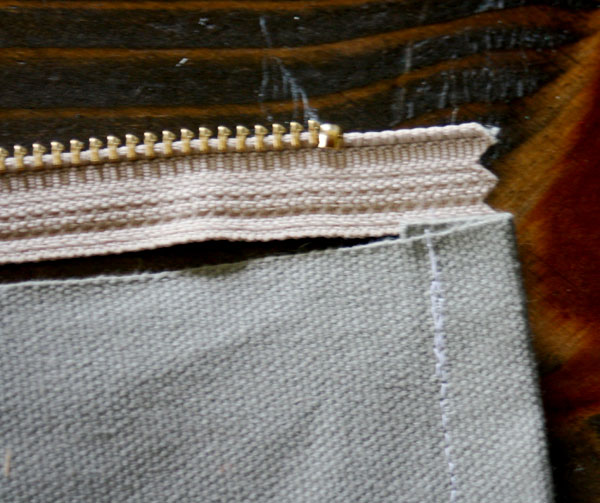
You’re going to install the zipper very similar to how you did the zippers on the cushions, but first you need to hem the bottom pieces.
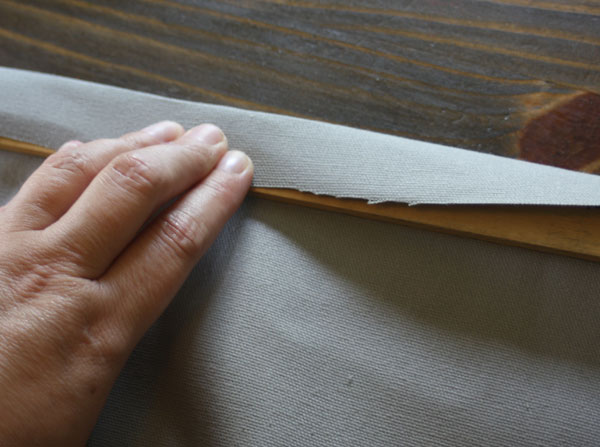
Start by going all along the bottom of the fabric that lines up with the floor, using your yard stick to create a crease the width of the stick all the way down the piece.
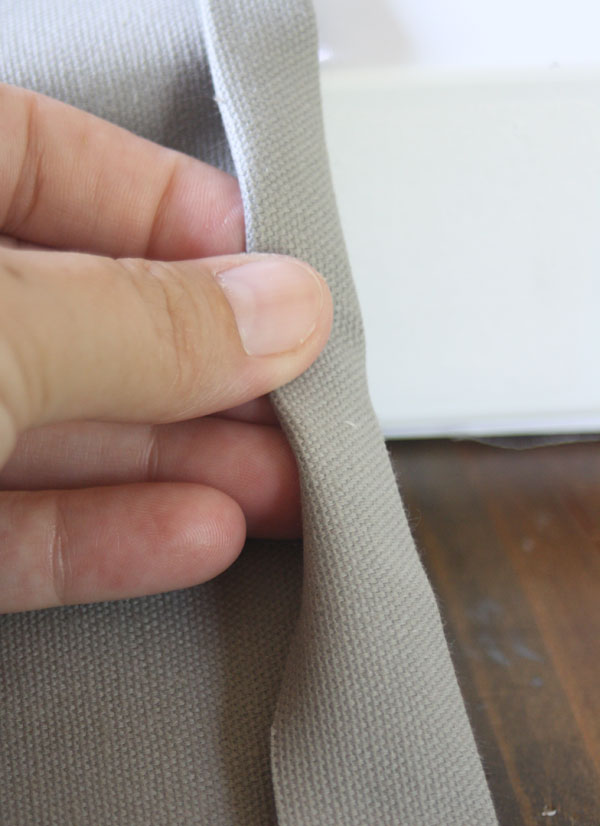
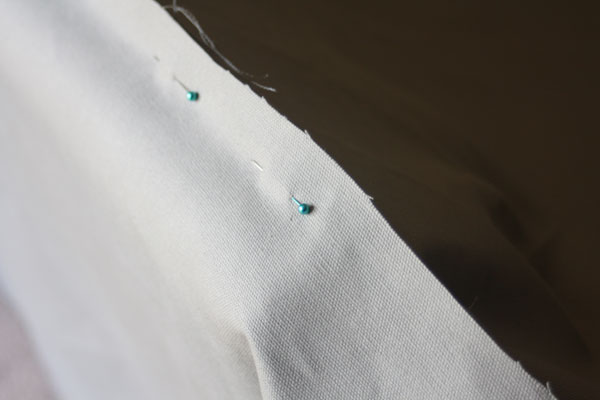
Next fold it in, using the first crease as a guide and flipping the fabric under and in to create a hem. I didn’t pin it down (because I use this method a lot), but you can certainly use straight pins to help hold it all together.
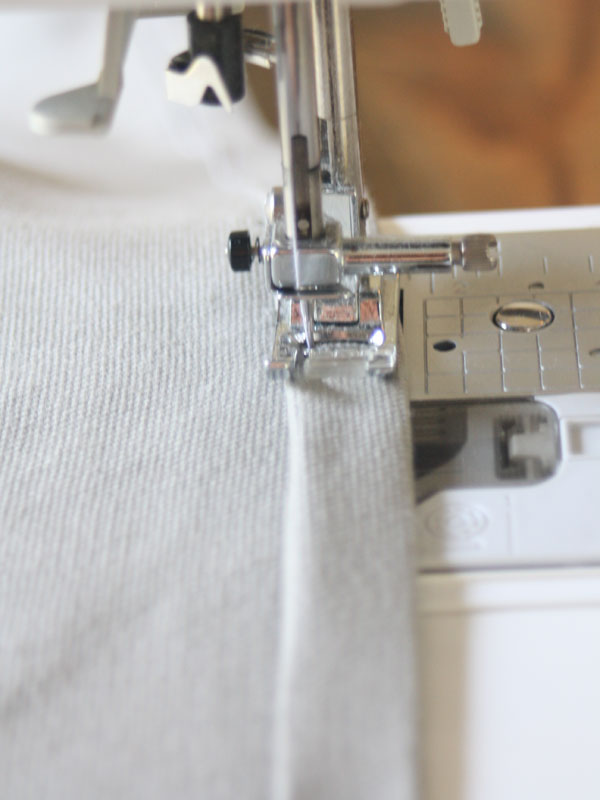
Hem it all the way down, going from selvage end to the other end (which will end where the arms are on your couch.)

Then sew in your zipper and you’ll have one huge piece for the back of the couch. The zipper will allow you to remove the cover and put it back on easily for cleaning once complete.
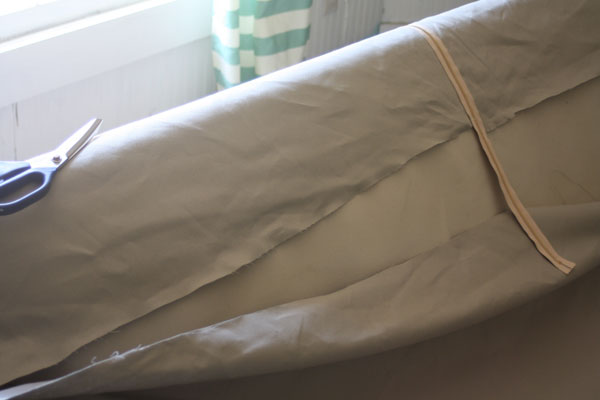
See all that overhang? You’re going to want to trim it up a bit, giving yourself a couple of inches for overhang to help pin it all together.
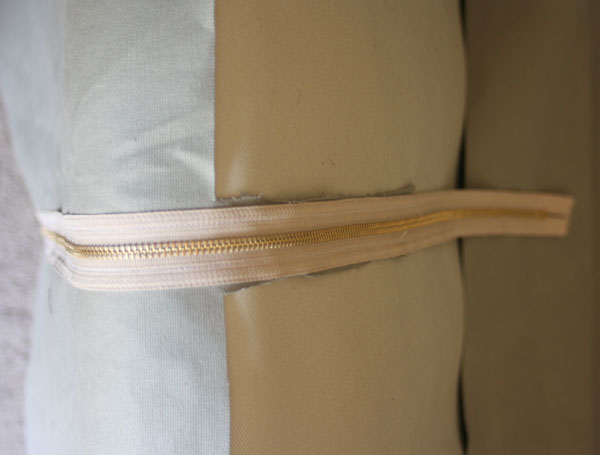
Trim around the zipper so it will hang off until you get it stitched into place.

Once this part is all trimmed, cut another piece for the opposite side of the back, going from end to end so you can pin them together.
Then you want to pin all along the top part of the back of the couch, getting as close the the frame as you can. Be sure to keep an eye on the hem (and remember to do this inside out). You are lining up the hem with the floor here, so take your time to get it in the right place.
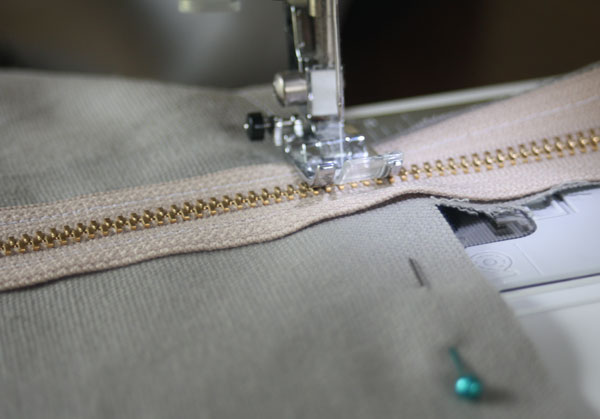
Sew right over the zipper, being sure to be careful around the zipper.
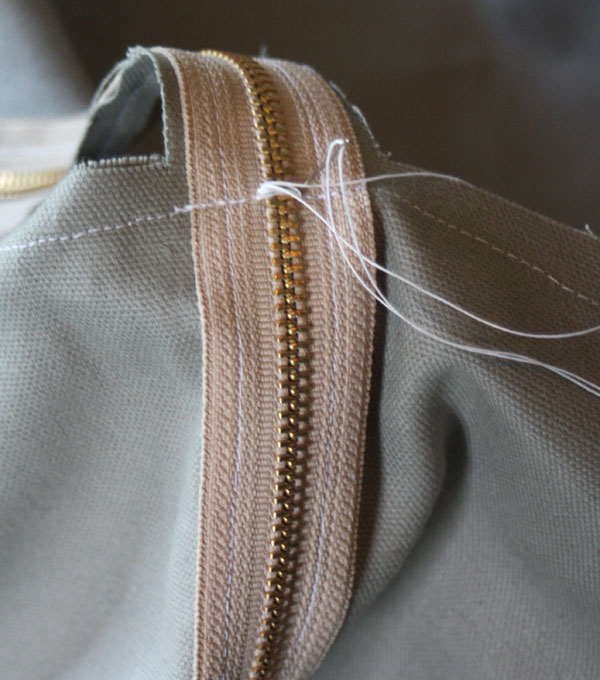 Then stitch around the zipper a few times with a needle and button thread to keep it all secure and in place. Trim off the zipper with side cutters and you’ll be ready to work on the arms.
Want to see all the slipcover posts? Here ya go!
Part Five: Beginning the Frame
Part Seven: Finishing the Frame
Part Eight: Final Tips & Tricks
*Thanks to my friends at Online Fabric Store for providing with me supplies for this series*
Hi Gina,
Using your tutorial and your encouragement, I’ve just finished making a slipcover for my sofa. I could not be more proud of how it turned out and appreciative of your tutorial. I used 3 heavy duty canvas painters cloths, size 9′ x 12. I washed each cloth, dried part way in the dryer and hung on the line.’ Even though the cloth was heavy, I underlined most of the pieces to add body. The cushions on the sofa were a bit out of shape so I stuffed the insides of the original covers with tons of duck feathers, zipped them back up and pulled the new slipcover over each cushion. Puffy and huge…just what I wanted.
Lori
Been wanting to do a slipcover forever! Its so much thinking yikes! So many confusing crossroads of fabric. I wondered about a walking foot/zipper foot combo. I have some bunching while sewing piping to cushions with all the layers. Do you use any such foot? Thanks.
Hi Lonie, no I don’t but I wish you luck and no bunching 🙂