Way back at Christmas, I bought some gorgeous globe string lights online and used them in my kitchen. I truly adore them (they’re still up long after the tree was taken down.) I was sort of surprised when the company, Lights for All Occasions, found my post on Instagram, then reached out to see if I’d like to collaborate with them on a project, and this sign quickly came to mind. I love the look of a good marquee sign, yet all the tutorials I’ve seen are super complicated and buying them pre-made can get pretty pricey. When my daughter recently moved out, she keeps asking me to help her create some art for her new house, so I thought this was a great way to bring a little light to her life 🙂 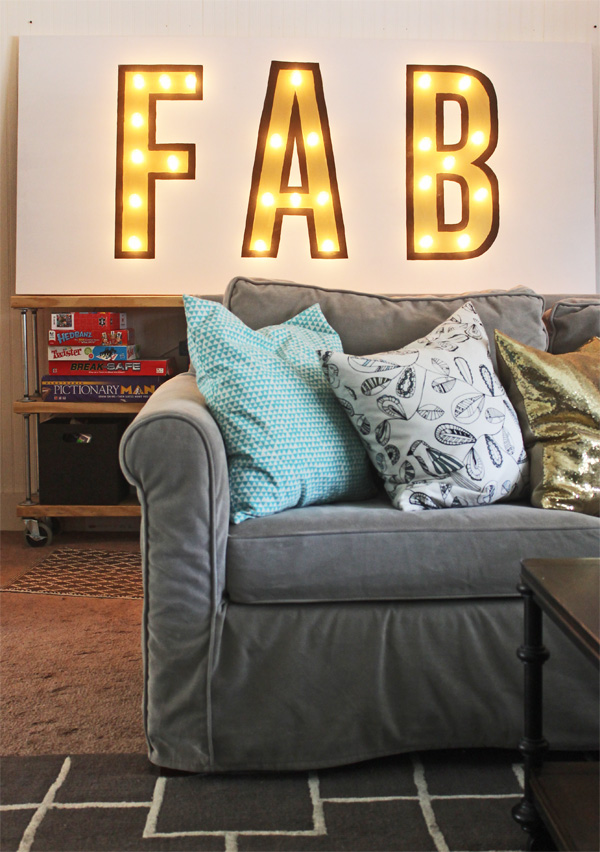 My daughter picked the colors and the word for this particular piece, but you could use any short word and colors you’d like so you can completely customize it.
 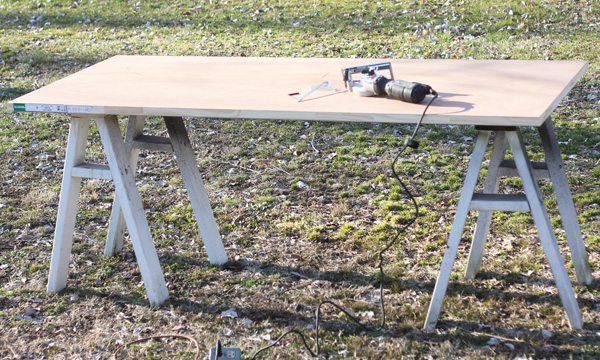 Start with a hollow core door. I find these pretty inexpensive at Lowe’s, but I’ve also seen them at Habitat Restores, too.
 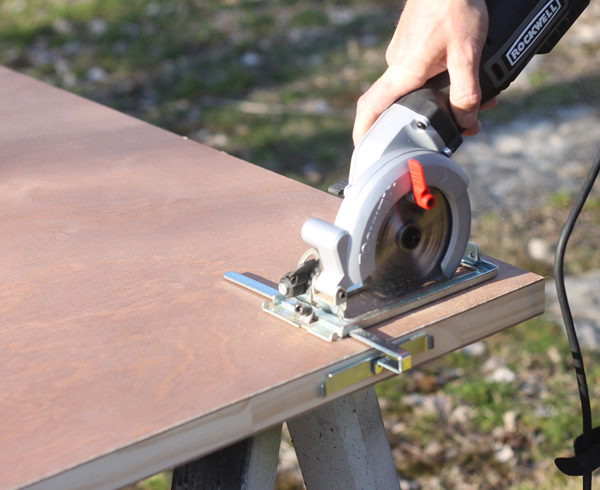 Start by cutting out one side of the door, use a circular saw with the blade set to about 1/3 of an inch thick and trim two inches from the edge all the way around.
 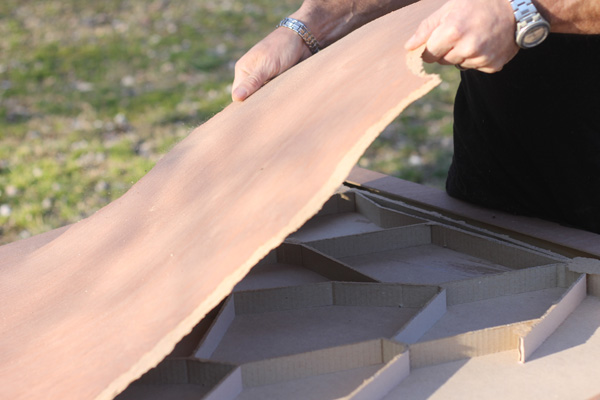 Peel off the layer that was cut (it will most likely break around the corners, just keep working it will all peel off. Underneath will be cardboard pieces that are spacers.
 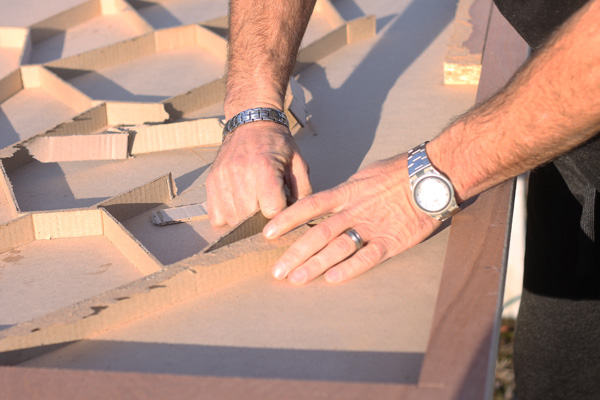 Using your hands, simply bend the cardboard pieces and they’ll break right off. Be gentle, because you don’t want to break the other layer.
 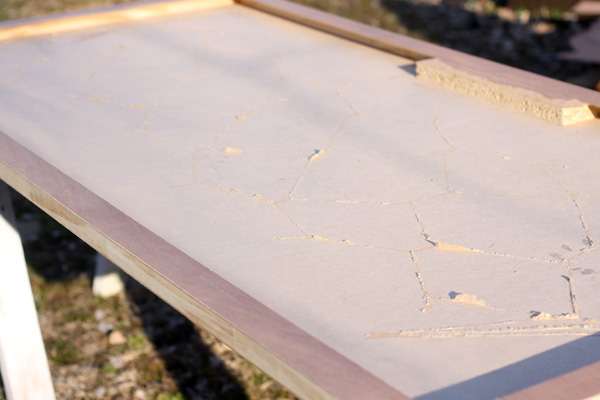 Once it’s all gutted, then flip it over. I did all of this outside on sawhorses to make it easier to paint.
 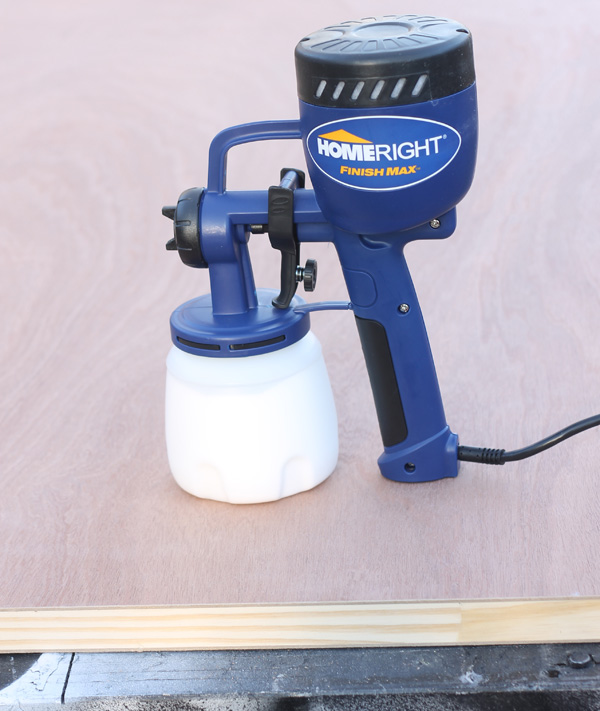 Using regular white wall paint, I used a sprayer to cover the door with a couple of coats of paint, making sure it was covered well.
 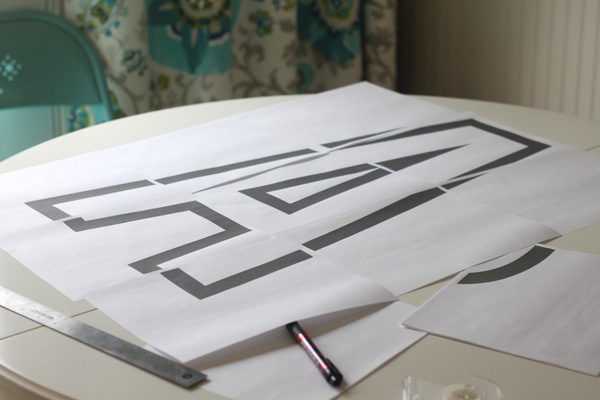 Once the base coat is all dry (give it 24 hours after the final coat before moving on to this step), I created an image of each letter in the font Gobold (using the hollow option), then used BlockPosters.com to blow up each image to be three pages tall. It will allow you to blow it up and open in a pdf so you can print it.
 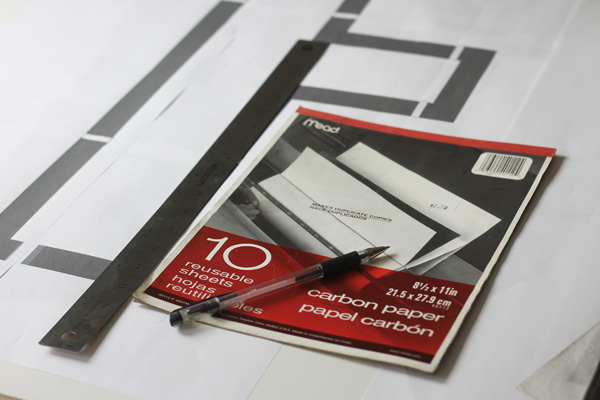 Once printed, there might be gaps (it happens for a mac anyways) so tape the pages together and use a ruler to attach all the lines so you have a solid outline. Space them out on the door and put carbon paper beneath. Trace each of the letters so you get an outline. TIP: Make sure the spacing of the letters will allow the cords from your globe string lights to reach from letter to letter. You’ll get there in a minute, just keep it in mind.
 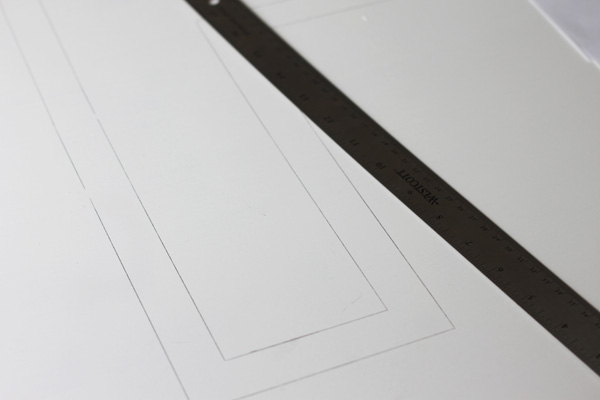 When tracing your letters, use a ruler on the straight bits to help keep your lines straight and make it go faster.
 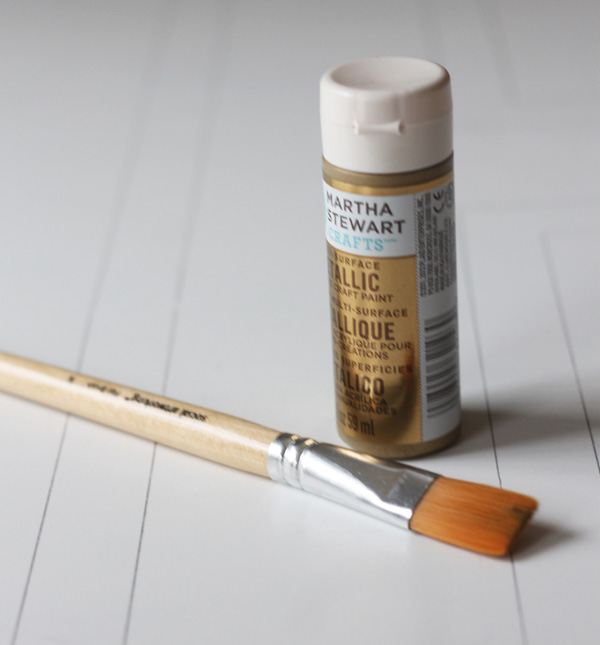 Then use acrylic paint to fill in the centers with color one (I used gold) and the outline with color two (I used black). If you need help doing this, be sure to see my post on Lettering Tips and Tricks.
 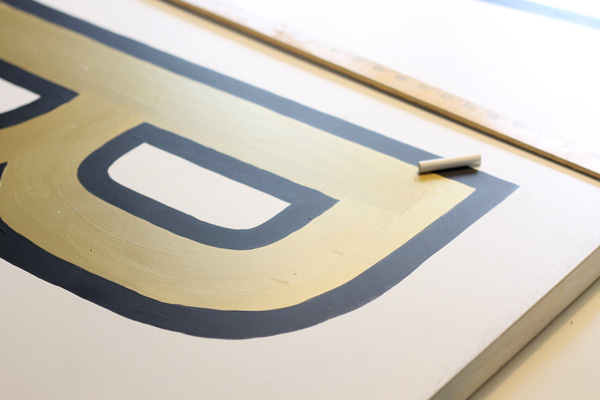 Once your letters are completely dry (give them another 24 hours to be sure) use chalk to plot out where you want the lights to go.
 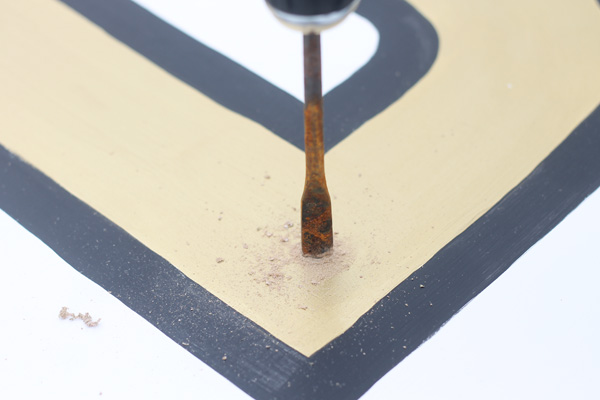 Using a 3/4 inch spade bit, drill through the sign on the chalk marks.
 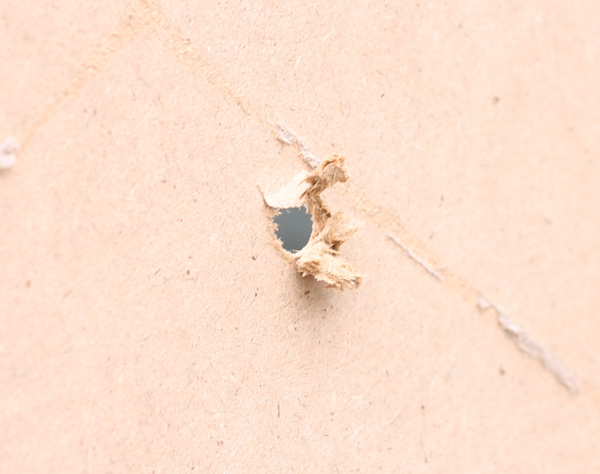 Clean up the back side of the sign, and then clean up both sides with sand paper.
 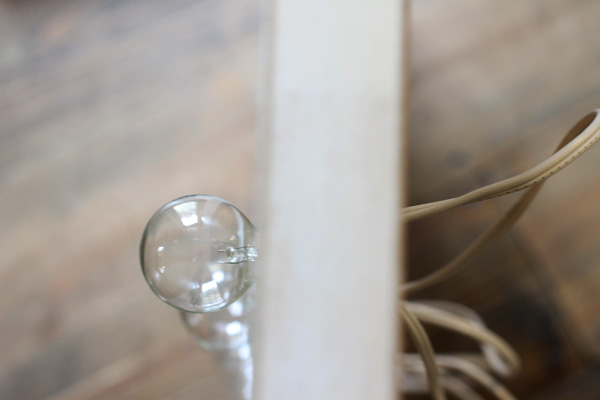 Next I used these lights from Lights for All Occasions (thanks to them for sending me the lights) and put the socket on the back of the sign then screwed the bulb in through the front. The ultra low wattage bulb means that you can put them onto the wood without fire worries.
  Once the sign was complete, my daughter fell in love with it. I bet a marquee sign would also be gorgeous for a wedding or super cool in a bar.
  *Thanks to Lights for All Occasions for providing the lights for this project. All ideas, words, photos and opinions are my own.*
the art of making life magical
I love this. As soon as I started reading this post I was thinking how great it would be for my daughters wedding reception. You’re the best!
Great job, I really want to get the letter Joy from Michael’s they have small ones you can decorated and are $12.99 but kind of expensive. Anyway great job done on those large letters and to DIY yahoo.
Great tutorial, thanks!
Also, where is the gray sofa from? Is the fabric a velvety material? Exactly what I’ve been looking for!