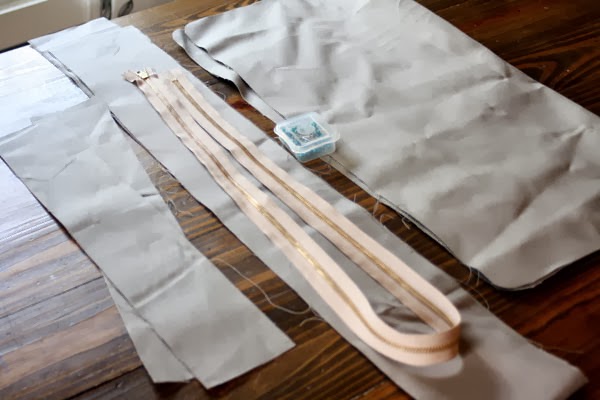

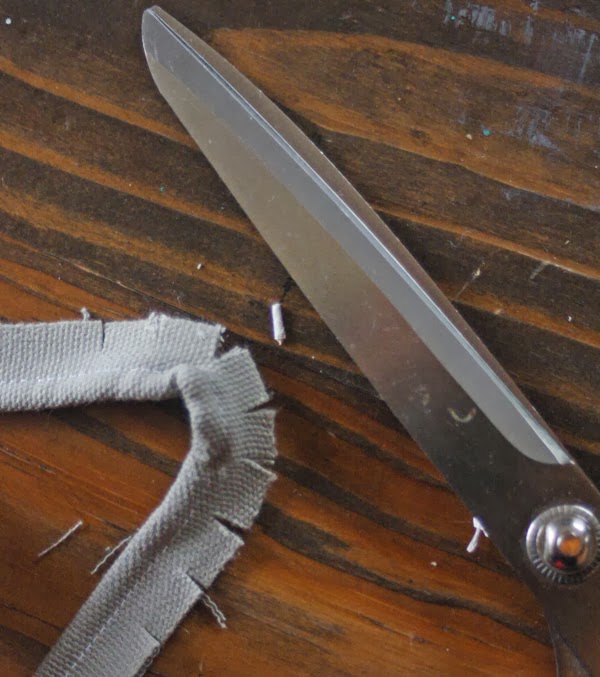
First start with one of your zipper strips (that we learned to cut already). You’re going to want to bring it in an inch or so from the start of the zipper (from the pull.)

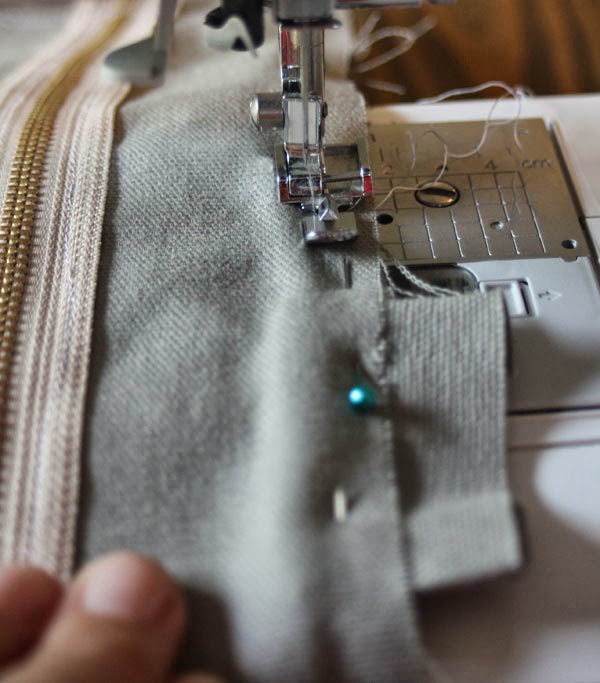
Put the selvage edge next to the zipper, using a zipper foot – you are going to sew on top of the RIGHT SIDE UP of the zipper. Make sure to back stitch when starting and finishing all seams.

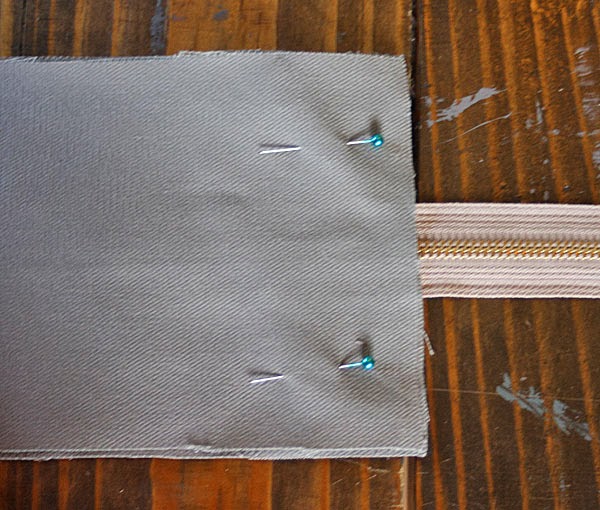
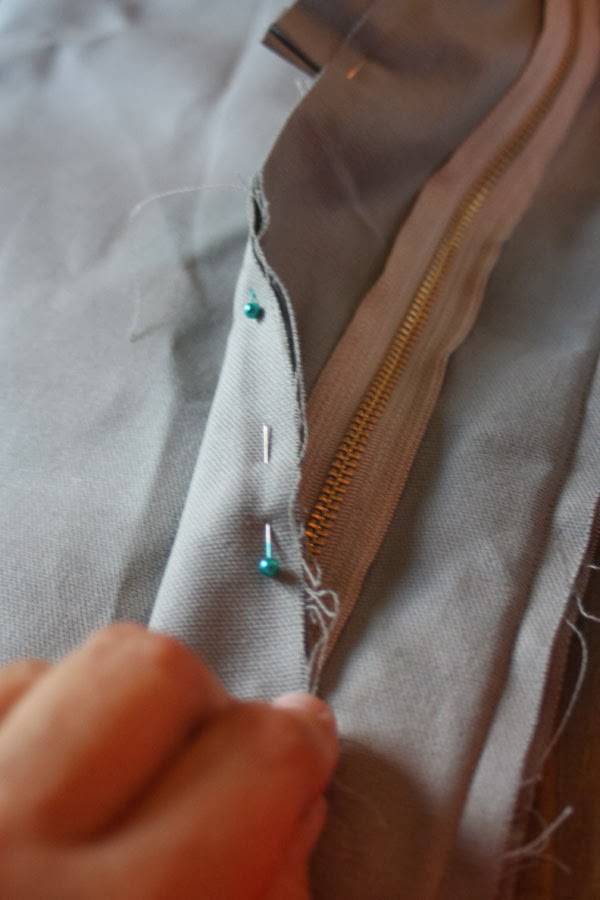
Pin the second side aligned with the first side, so it’s on the other side of the zipper. It should be selvage edge towards the zipper – being sure to use matching thread because this seam will be exposed.
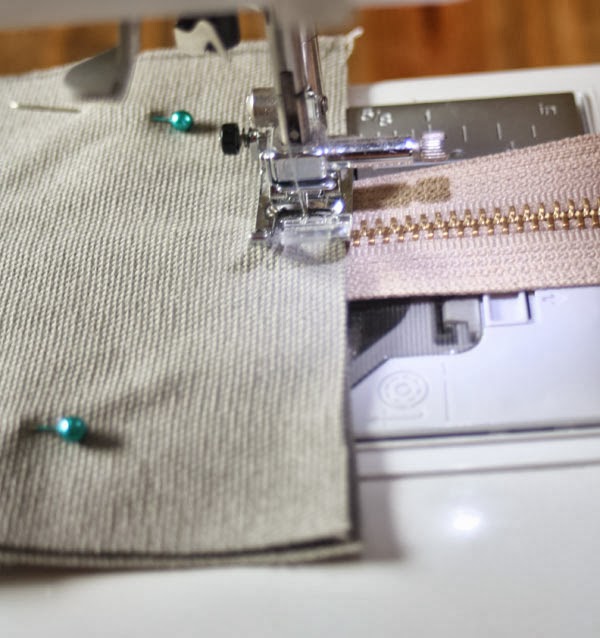
Sew it down so the right sides are together (think zipper pull directed towards the middle of the fabric sandwich.) Stitch it together, and you will need to sew slowly when going over the zipper. If it gets jammed, lift your needle, scoot it just a tad and try again.
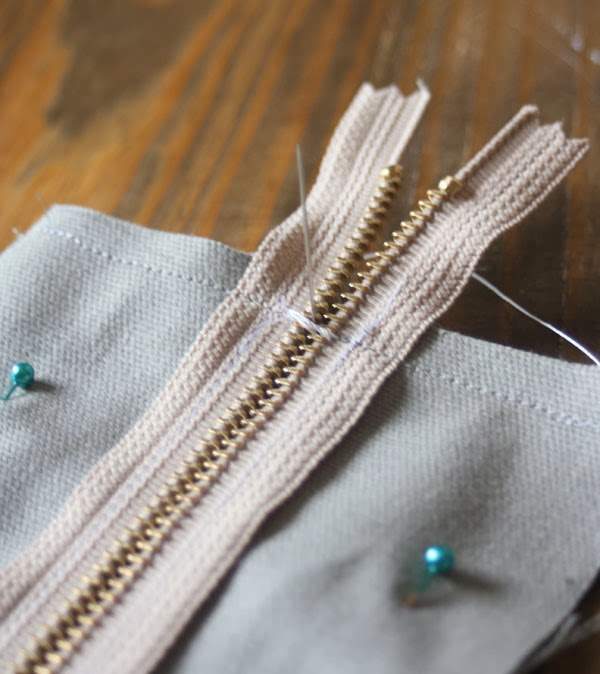
Once you have this seam done, take a needle and thread and sew around the zipper with 8 or 10 stitches – some around the whole zipper, some going in the middle. This will keep your zipper from separating. It may be a little difficult to pull the needle through, so if it is use your side cutters as pliers and grab the needle to pull it through. Please use BUTTON thread for this step. Regular thread isn’t strong enough. Button thread is thicker and stronger.

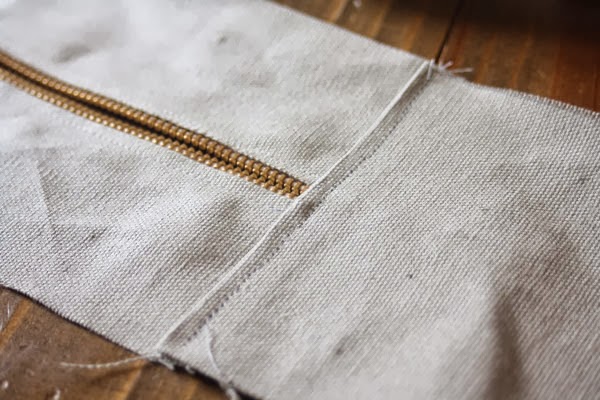
Once your zipper stop stitches are in, trim off the excess zipper by snipping the “fabric” part of the zipper with scissors, then cut through the metal portion with your side cutters.

After your zipper stitches are in and your zipper is trimmed, open up the seam from the inside and smooth it down.
Now stitch right over the top of that seam, so you have a finished seam to hold everything in place. Repeat the steps on the other end of the zipper and it’s installed. Woot!
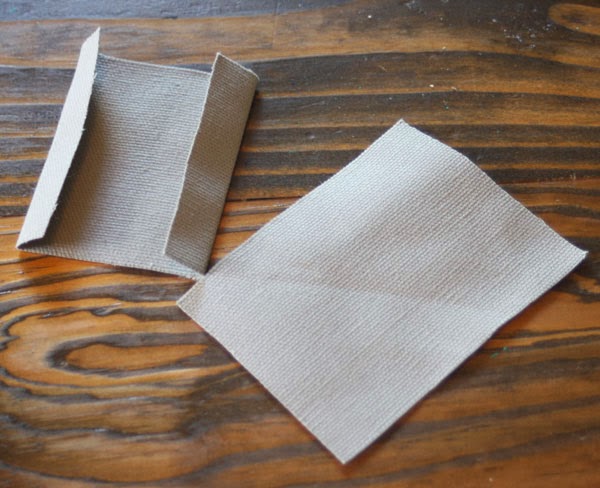
Now let’s pin the cushion! You’re going to start with a bit of your scraps to use to cover the beginning and end of the piping. I used a 2 inch by 3 inch piece, and just finger press the ends in place to create a little channel.

Pin it together all the way around the cushion, making sure to think about how your fabric will go into your machine and pinning so the pins will face out and you can remove them while sewing. (Counter clockwise works best.)
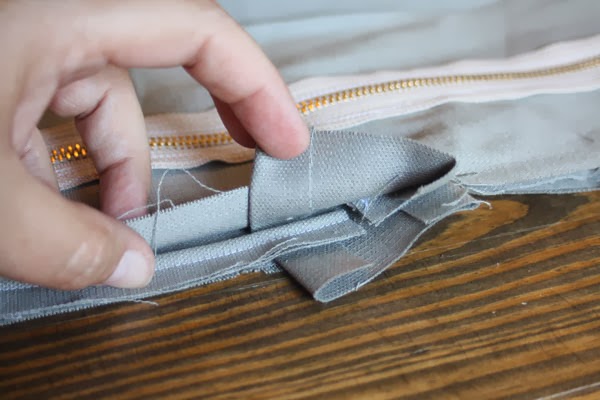
If you have a bit of excess fabric, make tucks in the CORNERS to keep everything neat on the straight sides. Speaking of corners, when you are turning the piping for corners, snip several little slits into the outer edge of the piping so you can get it to curve into corners neatly. Do a couple of inches before and after the fold so you have plenty of working room.
Once it’s all pinned together, use your sipper foot and get right up next to the piping and sew as close to it as possible. You can check your work periodically to see if you need to get closer. If so, go back and stitch again.
After the first side is sewn down, pin on the second side of the cushion and sew it to the other side of the long strip. Be sure to open up your zipper so you do not sew it all shut together.

When that side is all finished, turn it out right, then put it on your cushion. Ta Da!! You covered a cushion! Let me forewarn you that this part takes a LONG time. It takes me 2-3 hours a cushion, and you will get faster as you go. I cut out all of my pieces at once, install all my zippers, then pin and sew the cushions one at a time. It’s a slow process, but taking your time will give you a finished slipcover that looks professional.
Want to see all the slipcover posts? Here ya go!
Part Five: Beginning the Frame
Part Seven: Finishing the Frame
Part Eight: Final Tips & Tricks
Thank you very much for your detailed instructions.
How would you cover back cushions that are attached to the couch?
I’m curious about this too.. I saw one tutorial where she removed them.. but I don’t know if I want to do that..
You could slipcover over them or remove them, either way. Personally, I think I’d remove them.
When do we get the rest of the instructions for fitting the back, sides, arms etc? Love your detail. Have you worked with drop cloths for fabric?
Hi Mimra,
I just published the first part of that section here: https://www.theshabbycreekcottage.com/2013/09/how-to-make-slipcovers-part-5.html
Hi Gina, thanks so much for the detailed instructions you are terrific at this I wish I lived closer cause Id plead for you to come by. lol I’ll give this a try Lisa @Sweet Tea N’ Salty Air
Great detail!
Have you made a video on this? You should! I would love to see that. Thanks for the detail pictures and explanations.
Do you have the rest of the instructions on making the cover and skirt Thank You
Do you actually replace the old upholstery fabric from the cushion or do you cover it (so now there are 2 zippers?)
If you are covering already slip covered cushions then yes, remove them. If they are upholstered cushions that don’t have zippered covers then just cover over them. 🙂
When the original upholstery including cushions has piping/cording, should the slipcover cushions be corded allowing the original cording to show and be felt through the new slipcovers? Or must the original cushion covers be replaced even though we are not intending to “reupholster”?
You can just cover over the originals 🙂
My sister and I are going to slipcover two petite love seats. They have cording on them. We were thinking
of NOT using cording in the slipcovers.
Is that something that is done?
What might be the problems with doing this? Will the cording on the underneath upholstered love seats
leave visible bumps underneath the slipcover?
We’re thinking of using a cotton duck fabric. The upholstered love seats are in an a tapestry like fabric.
Hi Cory, I am not sure, I assume you will see and feel the cording under the new covers. Duck fabric sounds lovely, good luck!