We’re getting close to the end of Slip Cover Week – your step by step guide on how to make slipcovers. Today we’re adding on the arms to the frame. I know it’s going to be a bit different for every style of furniture, but I’m sharing on my sofa, so if you happen to want to make a Pottery Barn Buchanan Sofa Slip Cover, you are in luck 😉 If not, just follow the same basic steps to do any chair/sofas, though.
We’ve already covered the back, do make sure those pieces are on (inside out) and now we’re going to work on the bottom of the seat & arms.
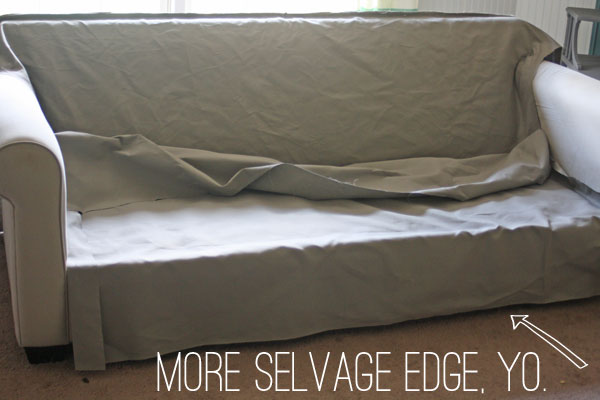
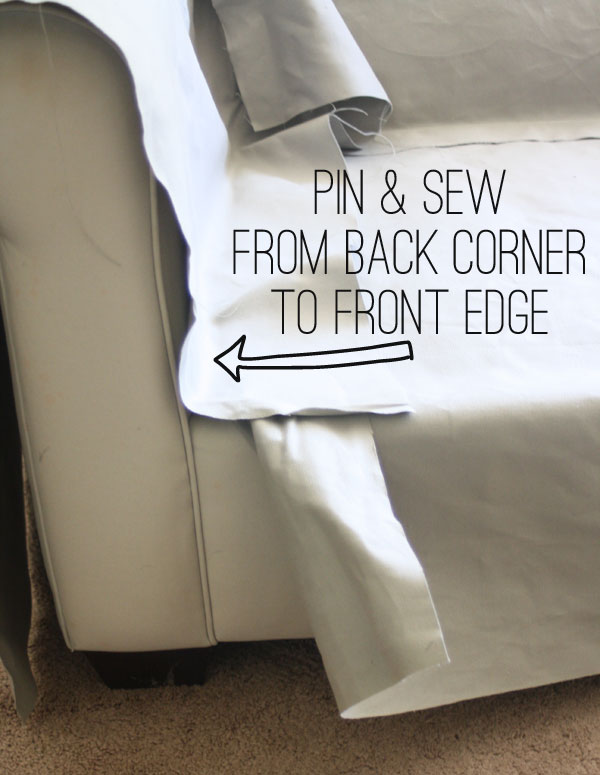
Start by cutting a piece using the selvage edge down towards the floor (to be the hem) and run it up the front edge and across the seat portion into the back crease. Give a couple of inches on each end for seam allowance.
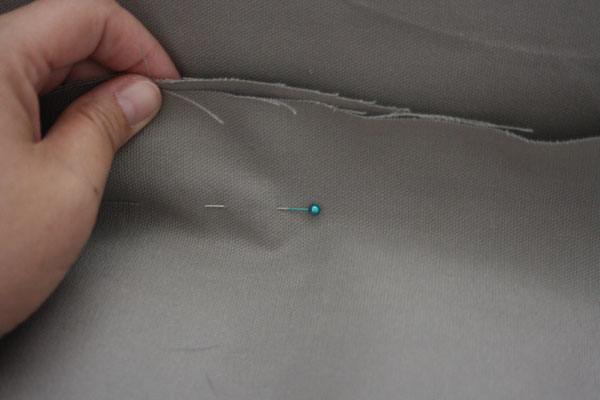
Pin it all the way across the back crease (you know, where all the stuff gets lost). Sew that seam all the way across, using your pins to mark where the corners meet the arms on each end, starting and stopping there.
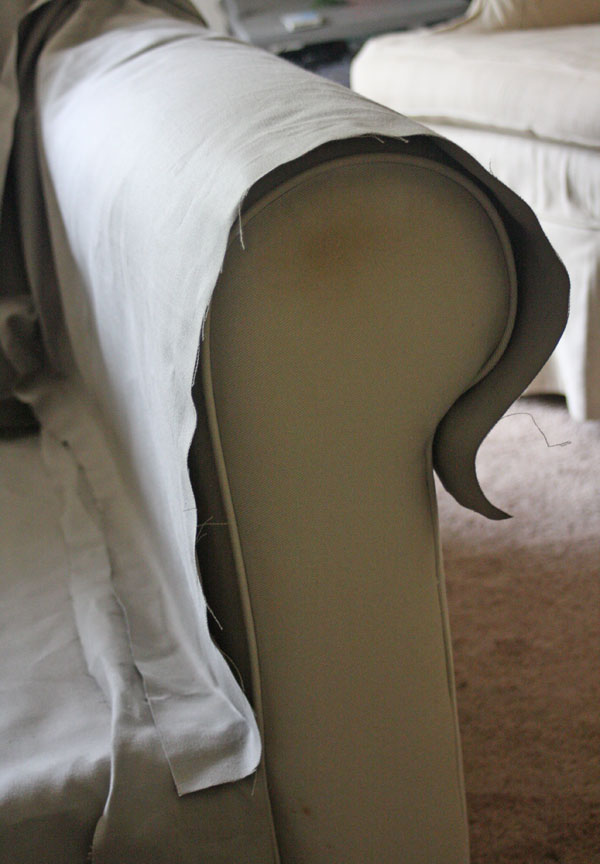
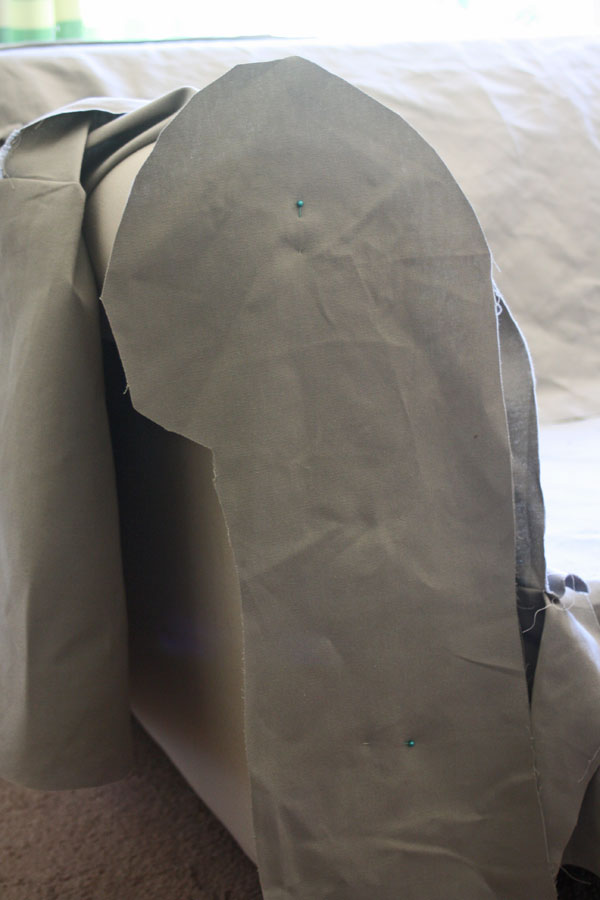
Now let’s move to the arms: Cut a piece that wraps around from the seat to the crease of where the arm curves in on the frame on the outside of the arm.

Then cut another piece that goes from the floor to where the arm begins to curve, from the front of the arm all the way to the back of the sofa. Pin it together along the natural seam in the frame and sew it together.
Notice my big scratch? Yeah, I’m gonna say it again – be careful with those pins!
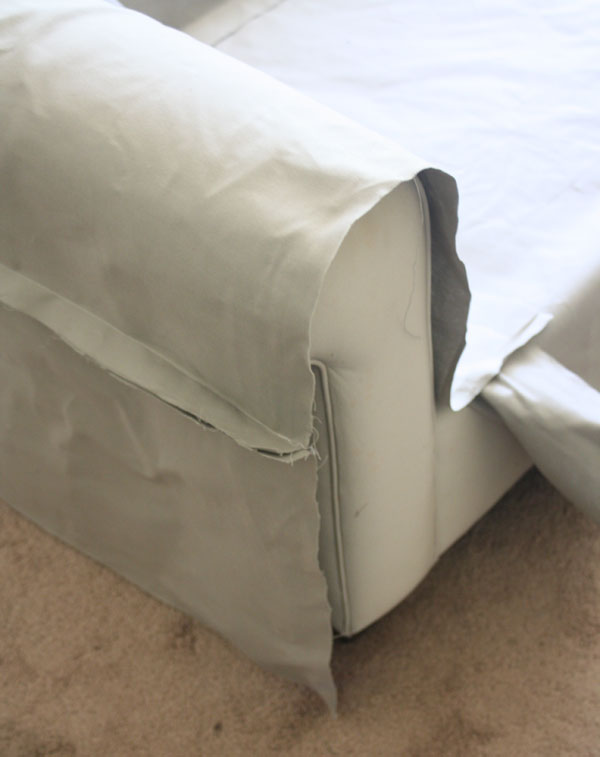
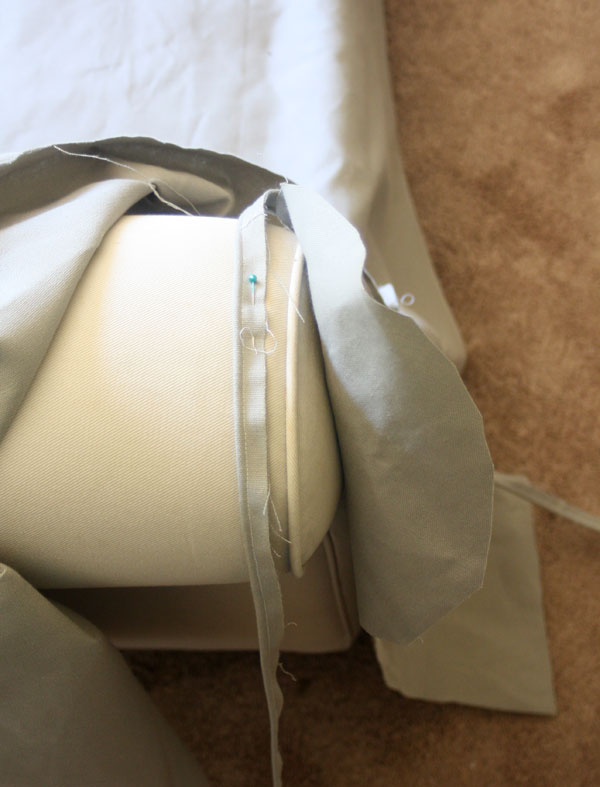
After that seam is sewn, drape it on the arm where it should go, lining it up a little bit out from the arm so you have seam allowance (like 1/2 an inch). Keep an eye on the bottom where it hits the floor to make sure it hits in the right place.
Pin just inside the arm where it meets the seat and sew it down, just like the back portion.
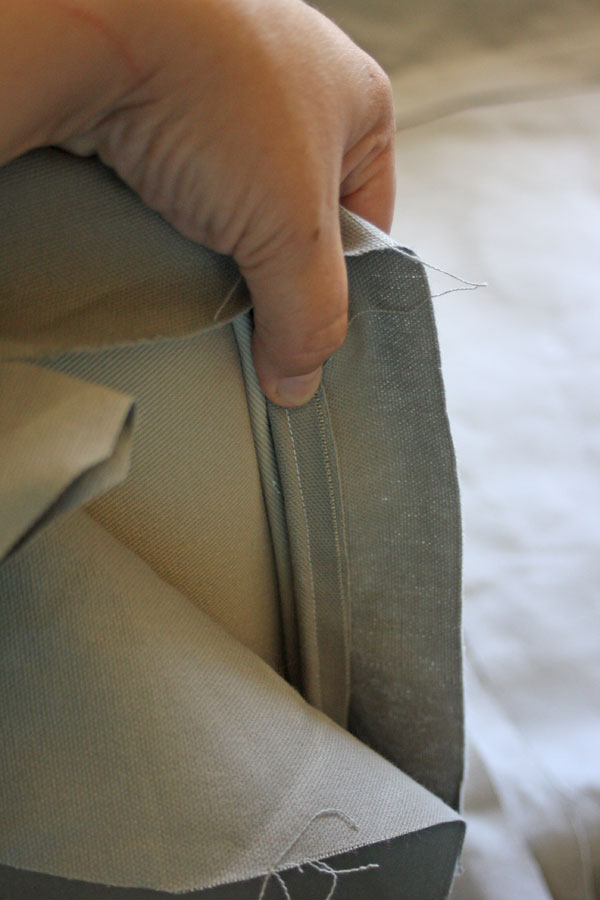
Once the arm is sewn on to the bottom/back combo, it’s time to put the front of the arm in place. Using some selvage edge scraps, pin a piece onto the arm and roughly cut it into the shape of the arm.
Take some piping and measure out more than you need and drape it over the arm from the middle. Pinning from the top and down on each side helps me keep it lined up a bit better.
 Pin it in, just like you did the cushion covers and sew along those pin lines, using the arm as your guide for pinning.
Tomorrow we’re going to finish up the frame and I have a special surprise for you from Online Fabric Store – so stay tuned!
Want to see all the slipcover posts? Here ya go!
Part Five: Beginning the Frame
Part Seven: Finishing the Frame
Part Eight: Final Tips & Tricks
This series is awesome! I still think it is a little beyond my beginning skill set … but who knows, maybe I’ll get the confidence to try it someday.
This is a great tutorial. I have always been a bit intimidated to sew slipcovers, but plan on tackling a project like this now with your helpful instructions! Thanks Gina!
Looks like an easy to follow tutorial I am inspired,definitely going to give this a go.
Go for it Lynn, I am so happy to have inspired you, good luck!