*Thanks to Rockler for partnering with me on this post.*
After I built a new porch this summer, I decided I wanted to build an outdoor sofa for seating. Then that turned into an outdoor furniture set. Which led into more and more… well you get the idea. This project started six long months ago – and I wondered sometimes whether or not I would ever finish 100%. It took a lot of trial and error, mostly because I hadn’t ever built a sofa before, and I was doing it from a simple line drawing that I sketched out. A lot of work, a few tears, and maybe even a little heated discussion between me & the hubs, it was finished. So now, I want to share my plans with you so if you ever decide to build your own outdoor (or even indoor) sofa from my version, then you’re ready to go.

MODERN STYLE DIY OUTDOOR SOFA
CUT LIST:
- 2 pieces – 1″ x 12″ x 73 1/2″ – cut with 45 degree miter on both ends
- 2 pieces – 1″ x 12″ x 28″ – cut with 45 degree miter on both ends
- 4 pieces – 1″ x 12″ x 72″ – straight cut ends
- 2 pieces – 1″ x 12″ x 28″ – straight cut ends
- 6 pieces – 4″ x 4″ x 11 1/4″ – straight cut ends
- 3 pieces – 2″ x 4″ x 19 1/4″ – straight cut ends
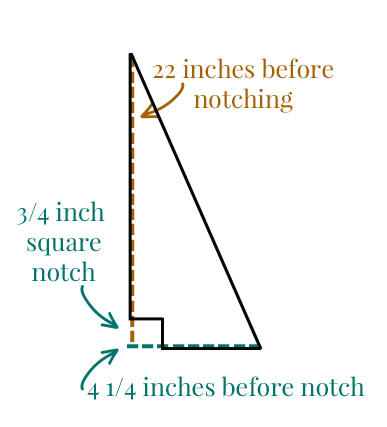
- 3 pieces – 2″ x 6″ x 22″ – cut as shown on diagram below the lists
- 2 pieces – 1″ x 4″ x 33 5/8″ – straight cut ends
- 6 pieces of scrap 1″ x 4″ x 4 for building support only
Additional supplies:
- Wood glue
- Wood filler
- Wood stain
- Helmspar polyurethane
- Beadlock joinery stock
- 2″ brad nails
- 1 1/4″ Kreg Jig Screws
- proper safety gear
Tools:
- Rockler BeadLock Pro (with 3/8″ tenon stock)
- Kreg Jig pocket hole system
- Palm Sander
- Brad Nail Gun
- Drill with screw driver bits
After building:
- Foam
- Pillow inserts
- Fabric
- Zippers
Before we start – I just wanted to let you know this is a long post, with a ton of steps. But don’t be scared! With just basic building know how you can do this project. If you’re too scared to tackle this one first, try a simple project found in my project gallery then move on to more complex ones. But if you’re courageous – even a beginner can do this project.
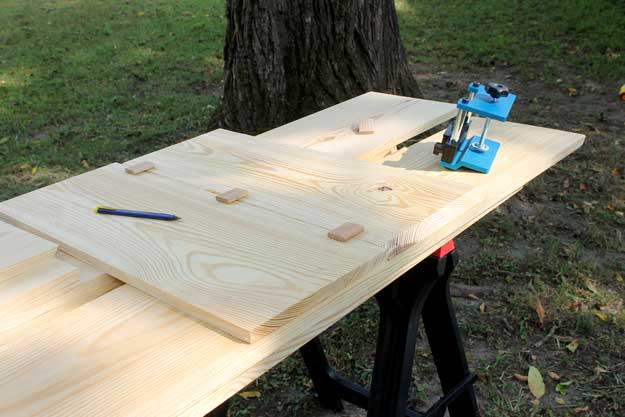
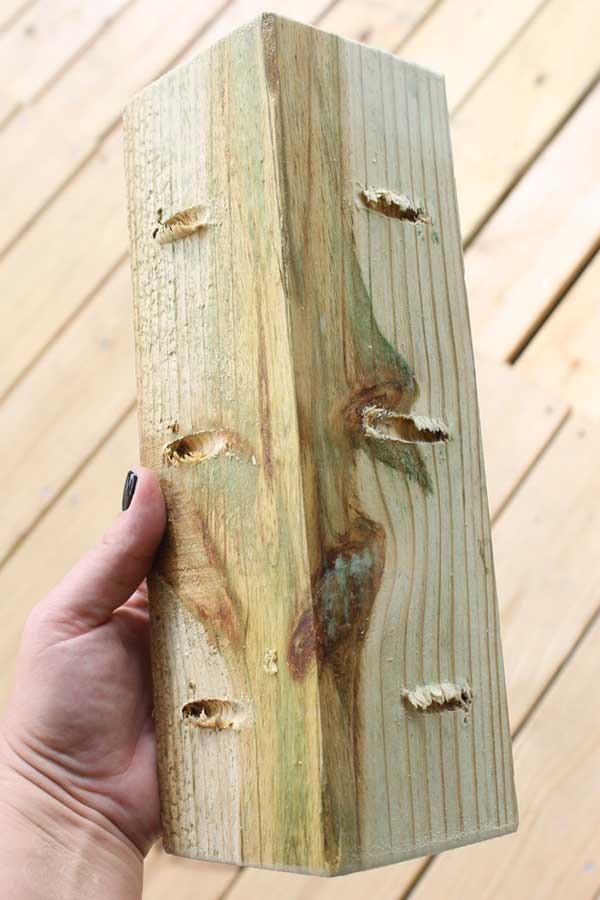
Once you have all of your pieces cut, prep them. Start by using the pieces cut 1″ x 12″ x 28″ inches, pairing them up to be one miter and one straight end cuts together. This will create the arms. Put them side by side, lined up together, then use the Beadlock stock pieces to trace out the pieces to use the system for creating the arms.
You will also need to use the BeadLock to secure the back pieces together by prepping two of the 1″ x 12″ x 72″ pieces together.
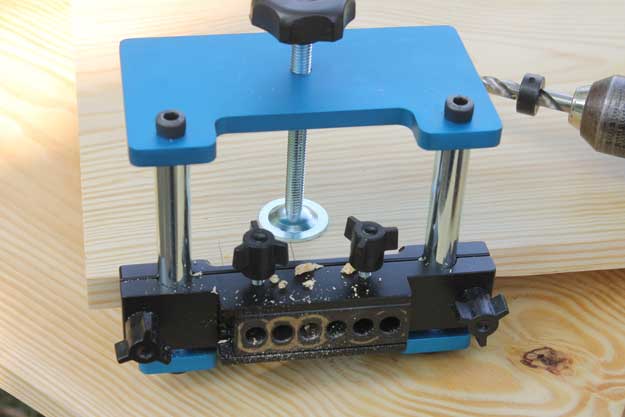
The BeadLock Pro jig is pretty simple to use, and can easily be understood by reading the instructions. But, I’m including a video to make it a bit easier:
Once all of your joint are pre-drilled, you’re ready to move on to the other parts.
On the 4″ x 4″ pieces, you’ll need to do two of them with Kreg Jig pocket holes in each side, both pointing to the same direction for the center legs. On the other four, you’ll need to create pocket holes so it can go into the corners like shown above.
You’ll also need to put pocket holes into the ends of each 2″ x 4″ so they can be attached to the legs later.
Once all your parts are pre-drilled, sanded and ready to build, start by putting the corner legs on each end, on top of the 1″ x 4″ scrap supports, then put the center legs in between.
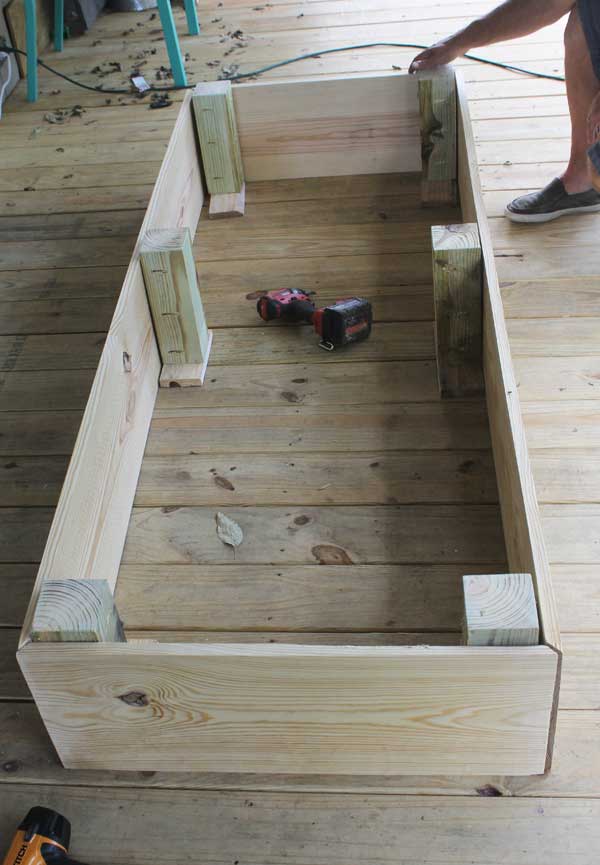
With an engineer square to keep everything in check, use wood glue and pin nails to put together the miter cut pieces to create the skirt of the sofa, making sure the pieces go all the way to the floor. Using pocket hole screws, secure each leg in where you pre-drilled all of the holes on the 4″ x 4″ legs. At this point, the sofa is upside down, so the reveal of the legs above are where it will be up off the ground once built.
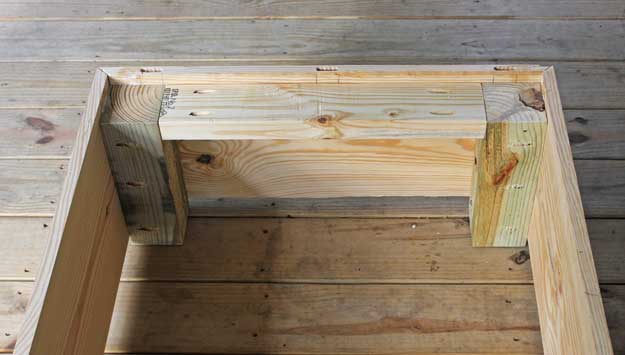
After the skirt is secured, flip over the entire box, then add in the 2″ x 4″ x 19 1/4″ inch pieces in between each set of legs (front to back) so it helps keep everything nice and square.
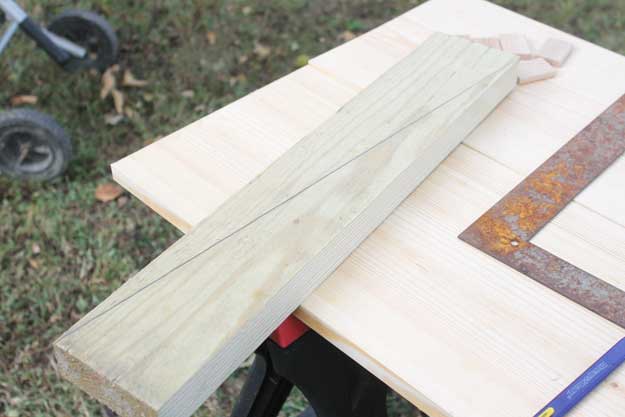
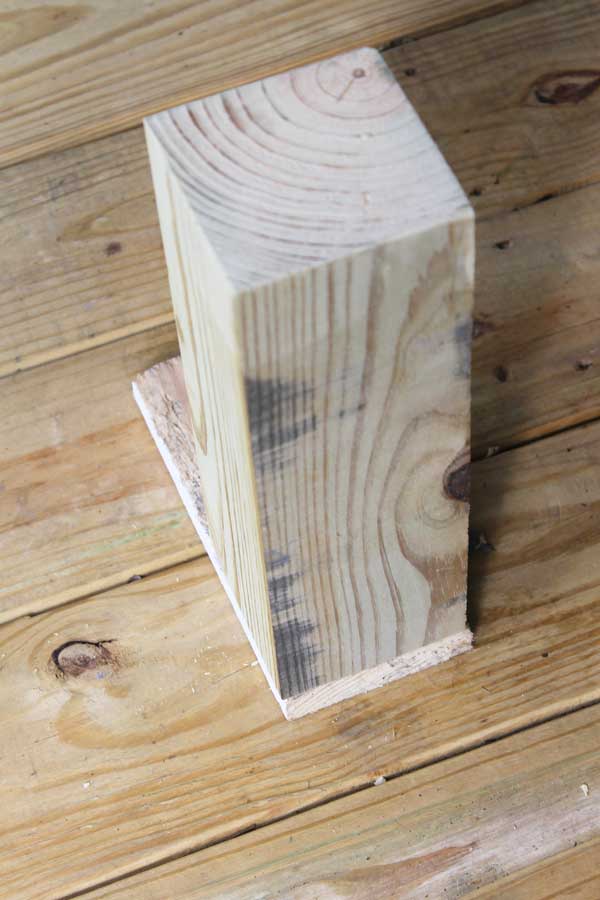
Cut the back supports by ripping a 2″ x 6″ piece of wood so it is 4 1/4″ wide and 22″ long, then draw a line from corner to corner.
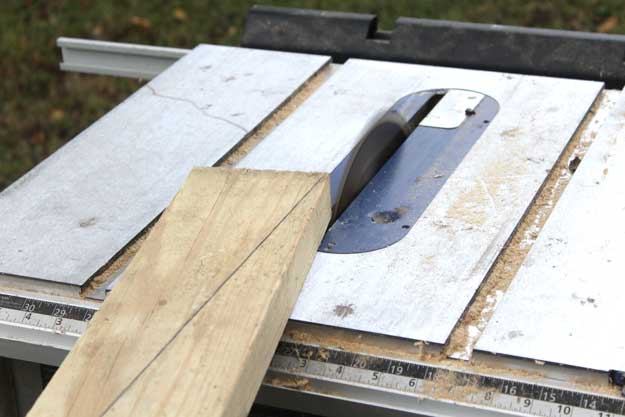
Using GREAT caution with a table saw, carefully cut directly on the line from corner to corner.
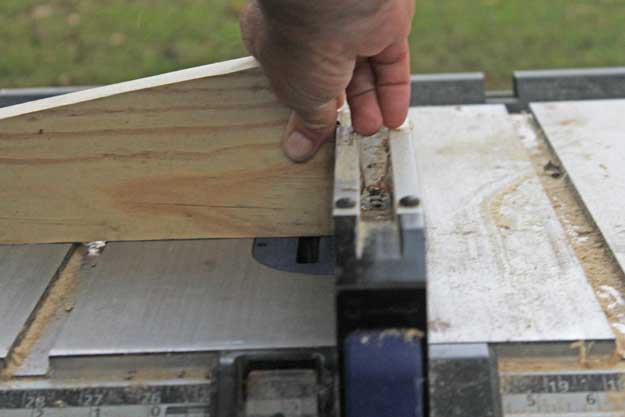
Then set the blade to 3/4″ tall and run the corner a pass one way to cut it, then turn it upright to cut the other direction to create the notch. You can also do this part with a jigsaw if you are more comfortable (but it is more precise with a table saw.)
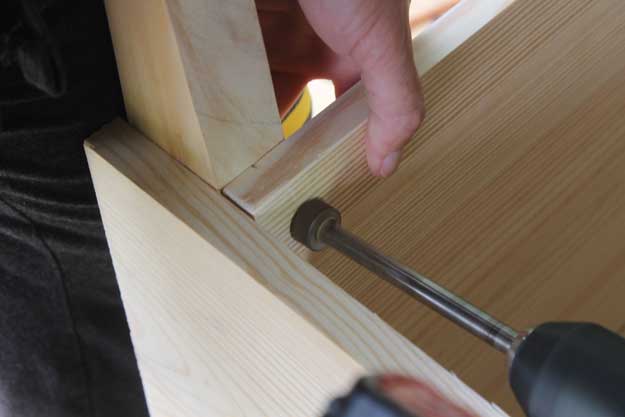
Using the Kreg Jig, put two pocket holes into the bottom, then attach it on top of the legs. On the ends, do it directly in the corner, in the middle you should center it in the 4″ x 4″ leg.
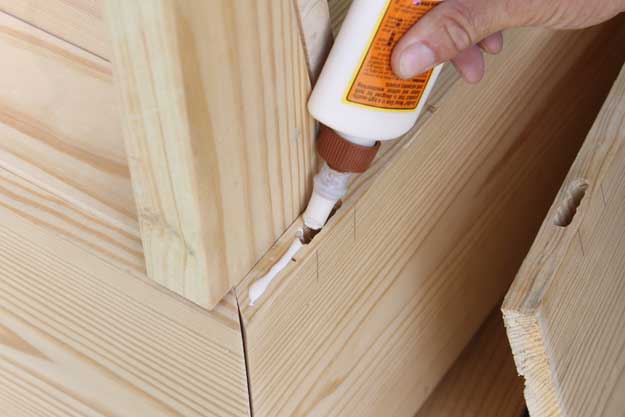
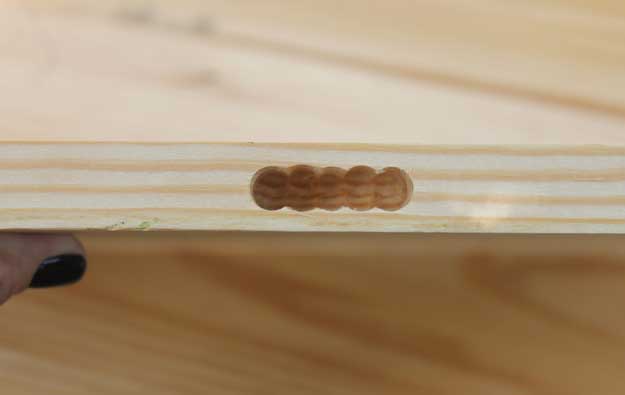
Once the supports are attached, add on the top arm pieces by using wood glue and BeadLock tenon stock. Before you put the arm pieces on, be sure to add a bit of glue to the side of the back support, too.
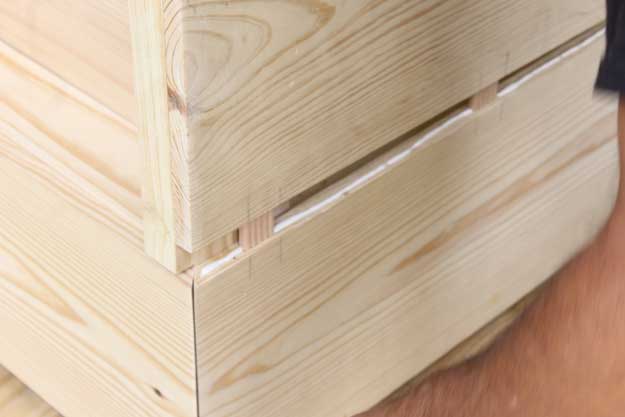
Next, attach the top arm with the tenon stock.
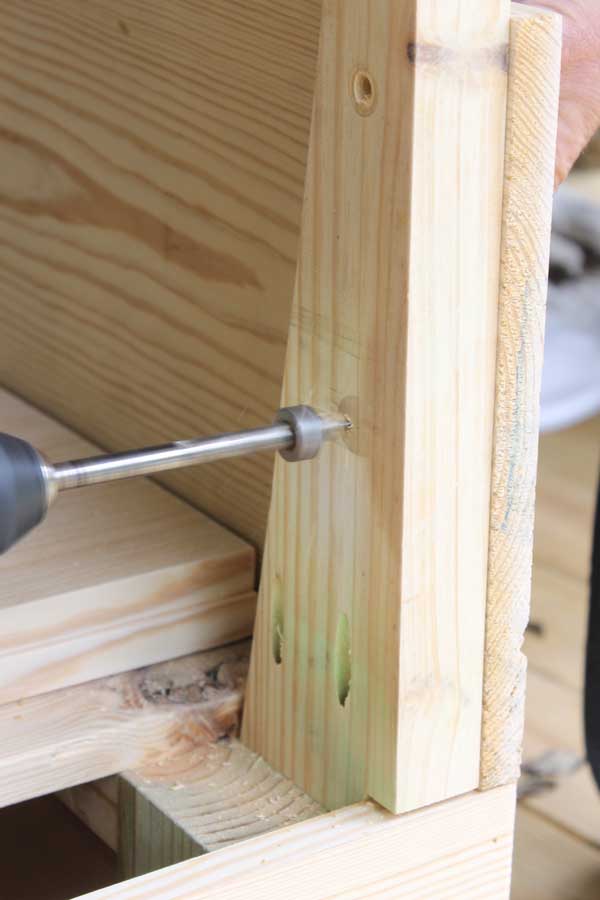
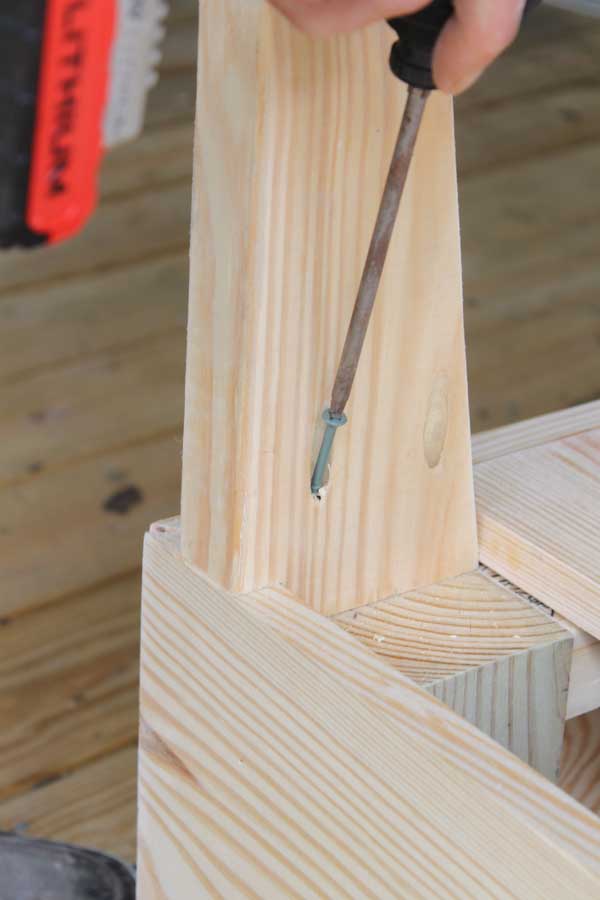
Then countersink and attach the back supports on each end to the top arm pieces with wood screws.
In the gap on the back, insert the 1″ x 4″ x 33 5/8″ between each back support, then attach to the legs from the top by attaching with wood screws and a countersink bit.
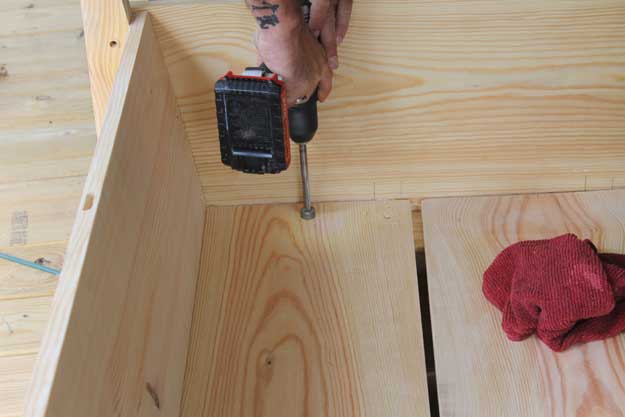
Next, add on the seat boards (the 1″ x 12″ x 72″ that are not drilled for BeadLock tenon) by countersinking and using wood screws. Put the back board all the way to the back of the sofa, and the front all the way to the front, creating a small gap to help with draining if the furniture gets wet.
After the seat is attached, put the first piece on the bottom of the back and secure with wood screws.
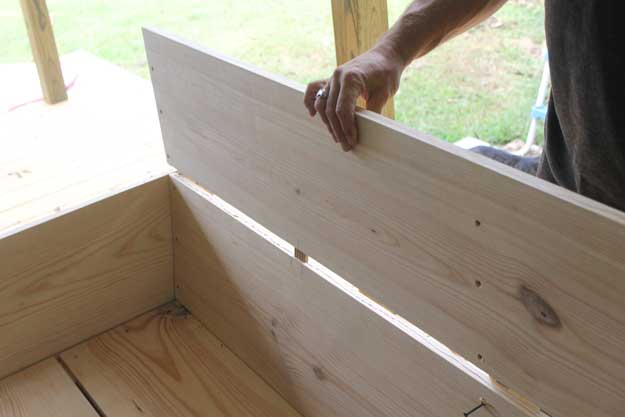
Using BeadLock tenon and wood glue, attach the back pieces together. Countersink and attach to back supports with wood screws to keep it all together securely.
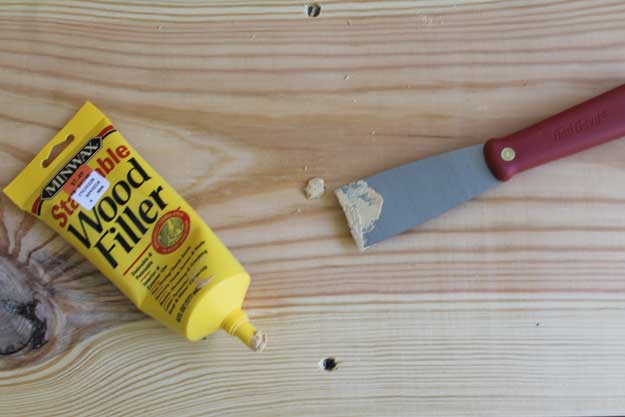
Now that all the building is complete, you need to fill in all of the screw heads with wood filler. You can also use pocket hole plugs to fill in the holes in the supports. If you have a bit of areas in the miter corners, you can fill in those as well. After all filler is dry, sand well – then re-fill and re-sand if necessary.
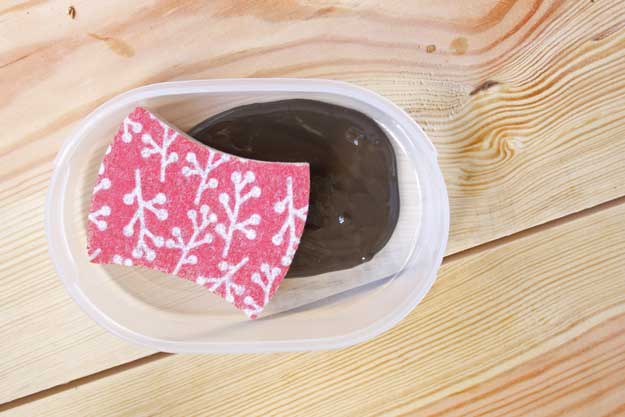
You’ll also need to stain – we used a water based stain. I’ve found that the best way to apply is with a regular kitchen sponge, it tends to work the fastest with this particular stain.
Once dry, the piece will need a few coats of water proof (helmspar) polyurethane – it works great for outdoor furniture.
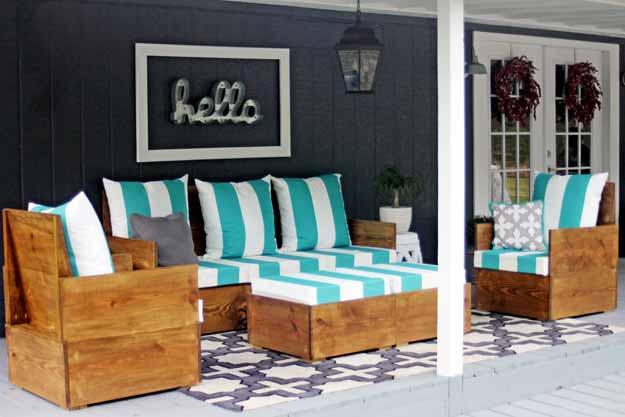
As for the sofa seat and back cushions, I used this Premier Prints stripe fabric in Cabana Ocean. For the seat cushions, I bought this foam and cut it into 24 inch square pieces. Then I bought 26 inch pillow inserts for the backs. I’ve already covered how to make seat cushion covers and how to make zippered pillow covers in previous posts 🙂
*Thanks to Rockler for partnering with me on this post and to Premier Prints for providing fabric. All words, photos, ideas and opinions are 100% my own. Video property of Rockler.*
Wow, that’s really nice. I have been thinking about making something for my porch too. Can you tell us how much the wood cost you? Thanks!
Thanks! I built all the pieces seen for around $200 in wood. It’s not the cheapest option, but I really couldn’t find anything I loved, so I made my own 🙂
Your porch looks amazing! The furniture fits it so well! I dream of having a big porch some day. I think it would be so much fun to hang out on and even more fun to decorate all the time! 🙂