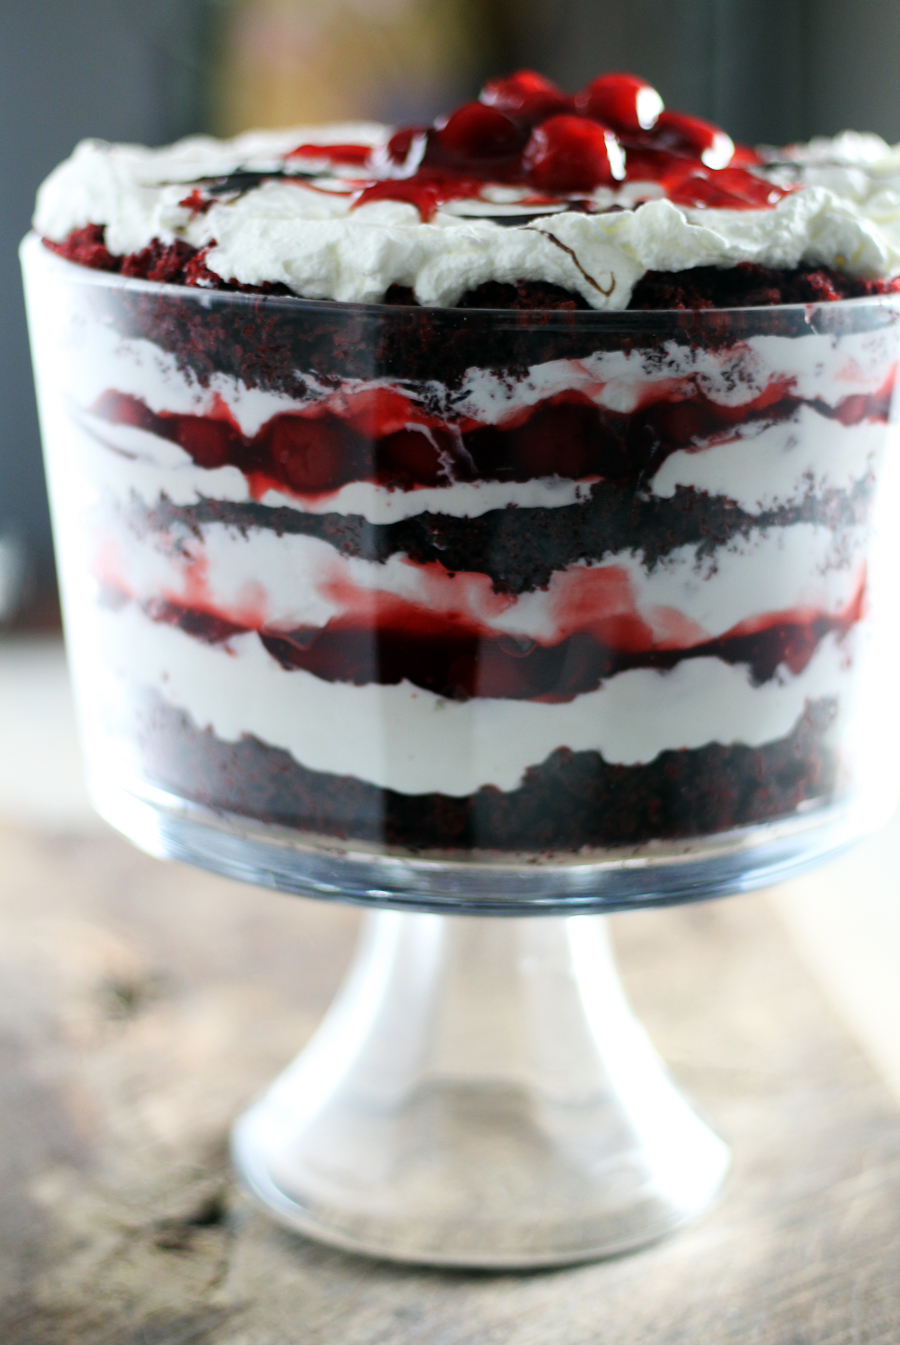
Somewhere in all these heavenly layers of red velvet trifle, I lost my heart.
Guys, this is a recipe to fall in love with. No matter the occasion, this dessert recipe will be a show-stopper. (And everyone will beg you for the recipe.)
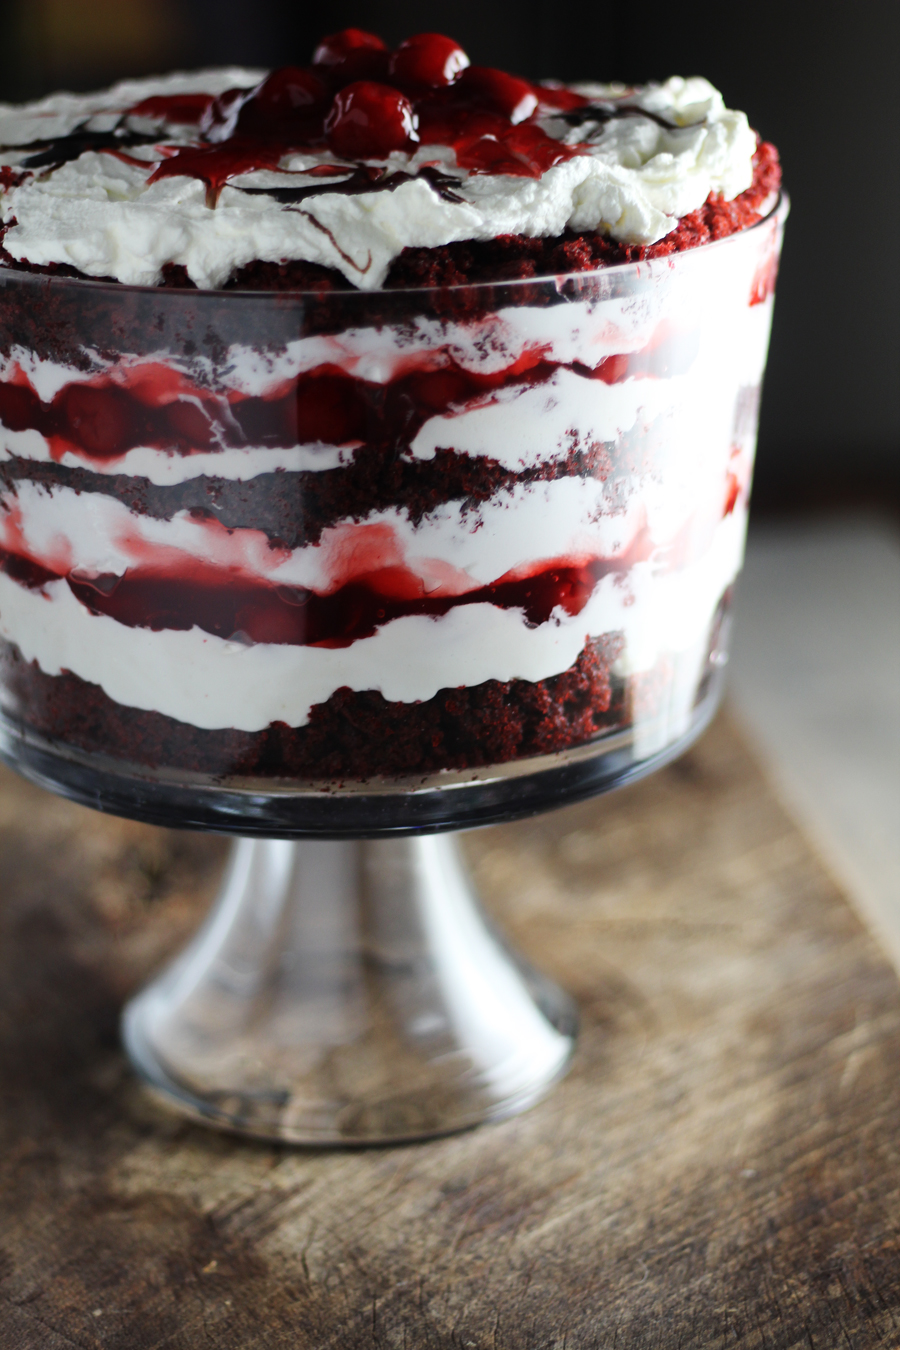
Our Red Velvet Trifle recipe all started from a happy accident. That’s right. We didn’t really intend to make it. Our rich and velvety cake fell apart before it came out of the pan. This red velvet cake was destined for the trifle dish.
The red velvet cake layers are from 100% scratch. You can certainly use a box mix (no shame in a shortcut), but it is worth the extra effort to get this kind of flavor.
For a surprise burst of flavor in this Red Velvet trifle we used our BFF – Cherry Pie Filling. (Have you met her? She’s the best.)
Oh yeah, and only the best whipped cream cheese filling ever. That’s right. I said EVER. Light and fluffy with the comforting-tang of cream cheese that no one can resist, every layer received a generous helping of heaven. The whipped filling is perfectly sweet, not too sugary, and helps all of those luscious red velvet crumbs stick to your fork.
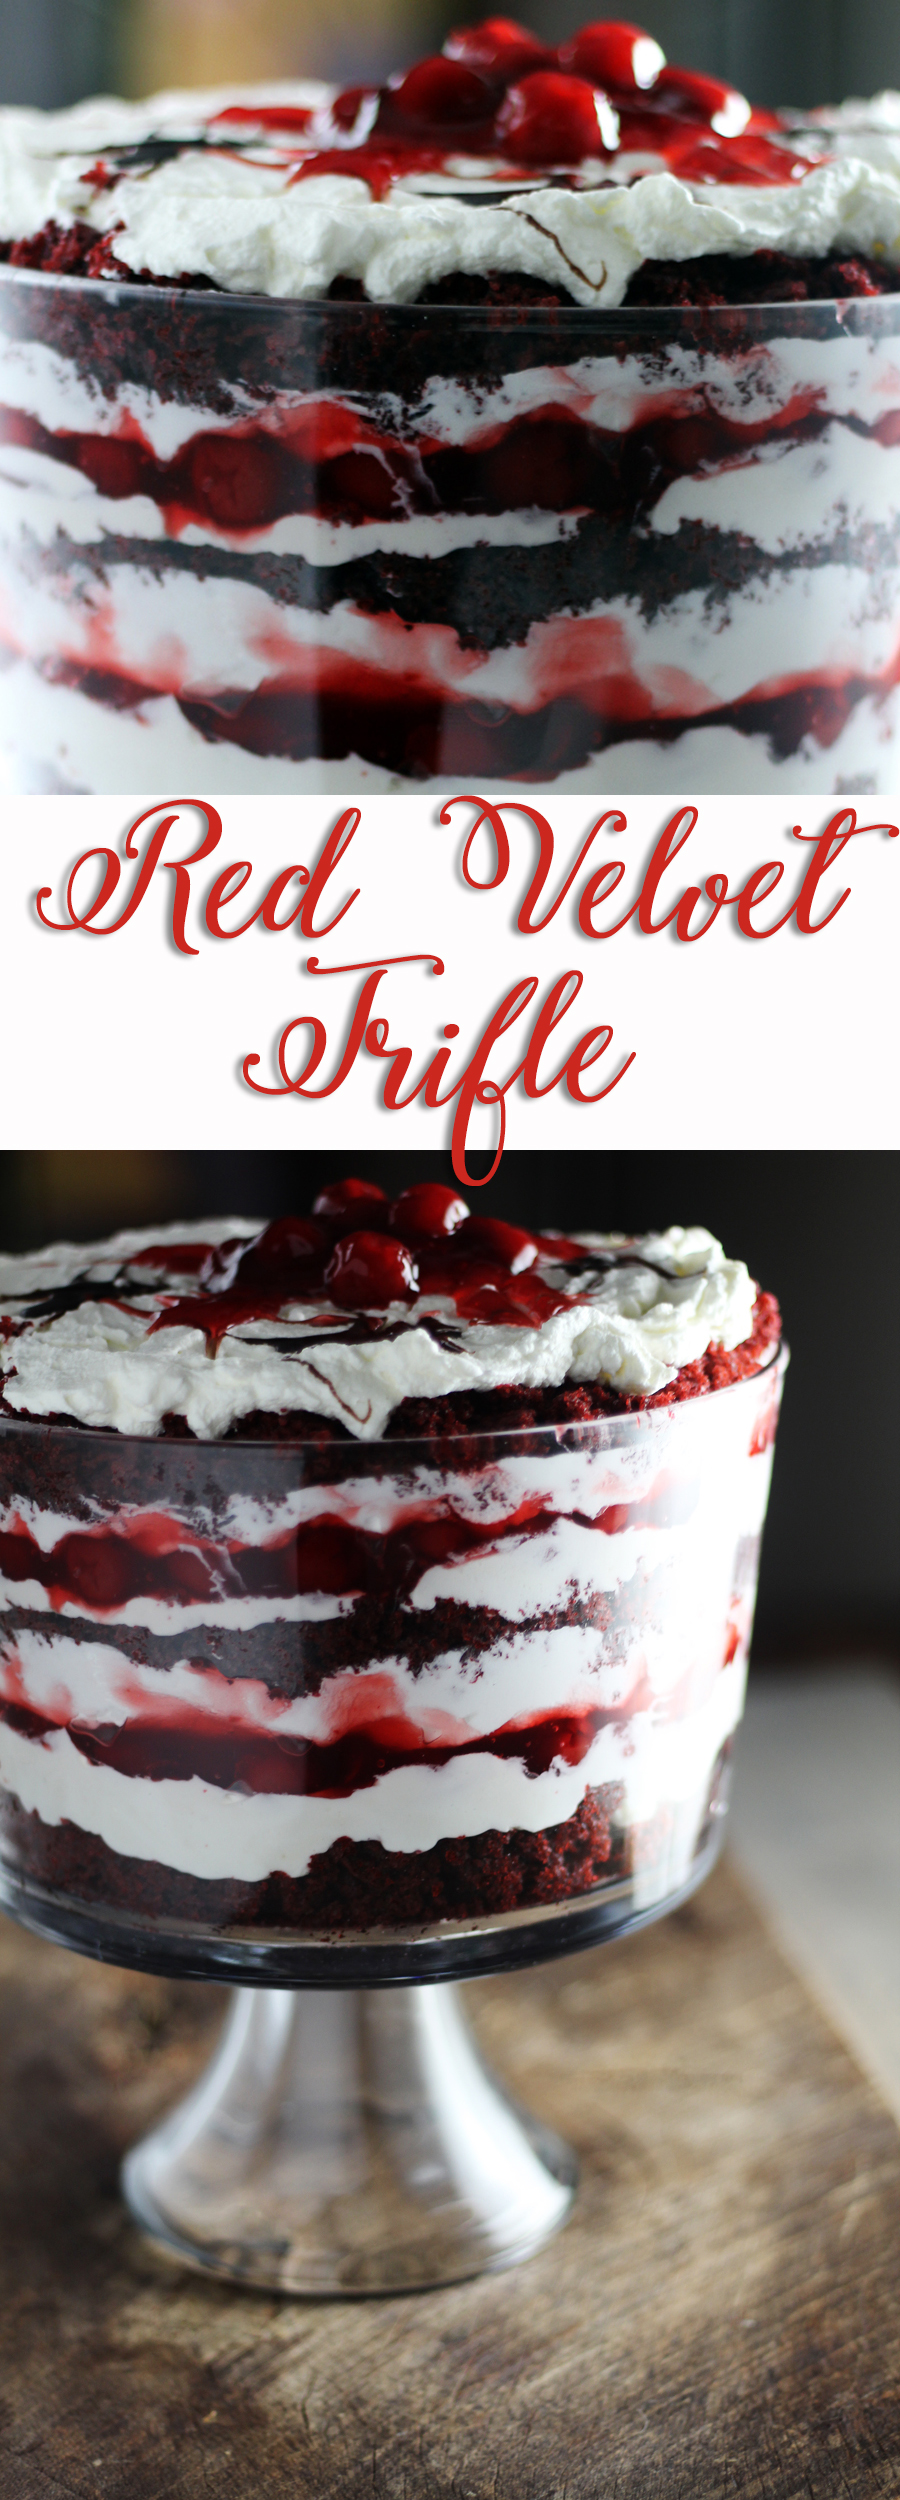
Easy & Delicious Red Velvet Trifle Recipe
Ingredients
For the Red Velvet Cake:
- 2 cups all purpose flour
- 3 tablespoons unsweetened cocoa powder
- 1 teaspoon baking soda
- 1 teaspoon baking powder
- 1 teaspoon salt
- 2 cups white sugar
- 1 cup vegetable oil
- 2 eggs
- 1 cup buttermilk
- 1/2 cup brewed coffee
- 0.5 oz Wilton Red Gel Icing Food Coloring
- 1/2 teaspoon vanilla
- 1 teaspoon white vinegar
For the Whipped Cream Cheese Filling:
- 3 cups cold heavy whipping cream
- 1 cup white sugar
- 8 oz cream cheese softened
- 1 teaspoon vanilla
- 1/4 teaspoon salt
Extras:
- 21 oz can cherry pie filling
- Chocolate syrup or chocolate shavings
Instructions
For the Red Velvet Cake:
-
Preheat oven to 325 degrees. Grease + flour two or three 9 inch cake pans. I used three because I was making a 3 layer cake. You can bake it in two but please note your cooking time WILL change. This is a thin batter and I feel using 3 pans helps it cook more evenly without overcooking the edges.
-
Sift the flour, cocoa, baking powder, baking soda, and salt together into a medium-sized bowl.
-
In a separate bowl, mix the sugar and oil until blended. Add the eggs, buttermilk, coffee, vanilla and red food gel until combined. Stir in the vinegar. Let the batter sit for 5 minutes.
-
*Note, the batter will be thin and very bright red. No worries, the color will deepen when the flour and cocoa mixture is added.
-
Gradually add the flour mixture into the red mixture. Mix on low, and incorporate the dry ingredients until just combined. Do not overmix.
-
Evenly pour the batter into three pans. Bake the cake layers for 35 minutes until the center will no longer move when you shake the pans. Do not overcook. Use a pick inserted in the middle. You want moist crumbs. Remove pans from the oven; cool on a wire rack for about 10 minutes. Remove from pans and let cool. Crumble or chop into pieces.
For the Whipped Cream Cheese Filling:
-
In a large bowl, beat the cold whipping cream on high until stiff peaks form. Set aside.
-
In another bowl, beat the softened cream cheese until smooth. Add the sugar, salt, and vanilla and combine well. Fold the whipped cream into the cream cheese mixture.
To assemble the Red Velvet Trifle
-
In a glass trifle dish or large clear bowl, layer the ingredients in this order:
-
Layer of crumbled red velvet cake
-
Thin layer of cream cheese filling
-
Thin layer of cherry pie filling
-
Thin layer of cream cheese filling
-
Layer of crumbled red velvet cake
-
Repeat layers until the bowl is full. The final layer should be cream cheese filling, topped by a spoonful of cherry pie filling. Top with swirls of chocolate syrup or chocolate shavings.
-
Chill for 30 minutes before serving.
If you like this recipe, check out some of the other yummy things we’ve been up to:
Better Than Your Mom’s Green Bean Casserole
Roasted Vegetable Alfredo Pizza
No Bake Almond Oatmeal Energy Bites
The Chicken Enchiladas You Should be Eating Right Now
This looks delicious! I love the look of trifle cakes but I never know how to eat them. Lol. Do you just take a spoon and scoop it out?
Thanks so much Jamie, it is so good! Yes, just scoop out whatever portion size you like 🙂
I make the same dish, bit I use brownies.
Oh yumm, that sounds delicious Shirley!!
Yum yum and more YUM!
It was a hit at my Christmas Eve eve party! I didn’t have time to bake homemade cakes so I made two 9” red velvet cakes from a box. It still tasted delicious! I suggest adding more heavy whipping cream. I barely had enough to cover the top layer. Lots of compliments! I wish I could share a picture. It looked festive & beautiful!
I made this trifle and ABSOLUTELY LOVED IT!!! I am wondering if I can actually make it as a layered cake?
I’m in the process of making this for a Christmas party tomorrow and wondering if it’s okay to put together the day before? I am using strawberries and raspberries in a strawberry glaze as my husband is not a cherry lover!! I wish I could send you a picture of my cake…..it’s a mess! But I guess it doesn’t matter since its for a trifle 🙂
If its a success, it’ll be my new Christmas dessert for family 🙂
This is the second Christmas I have made this delicious desert! It is the absolute best! It not only looks beautiful and dramatic, it tastes so good!! Love❤️❤️