• Blog
  • Home
  • How to Start a Blog
  • Privacy Policy
    • Facebook
    • Google+
    • Instagram
    • Pinterest
    • Twitter

The Shabby Creek Cottage

Hundreds of ideas for creative ways to eat, make & decorate!

  • Chalk Couture SHOP
  • eat
    • Dessert
    • Drink
    • Dinner
    • Side Dishes
  • make
    • crafts…
    • diy projects
    • cleaning and organizing
    • holiday
      • Christmas
      • Easter
      • Halloween
      • 4th of July
      • Valentine’s Day
    • freebies
  • decorate
  • subscribe

Twig Reindeer Handmade Ornaments

Hi Shabby Creek Cottage friends! I’m Christine, and I blog over at First Home Love Life. A few weeks ago Gina asked if I’d like to make handmade ornaments and share it with her readers…ooooh no pressure! Gina is like the queen of fantastic simple crafts, isn’t she?! So I wanted to come up with something festive, cheap and super simple that even the not-as-crafty like myself can do…

Twig_Reindeer_Cover

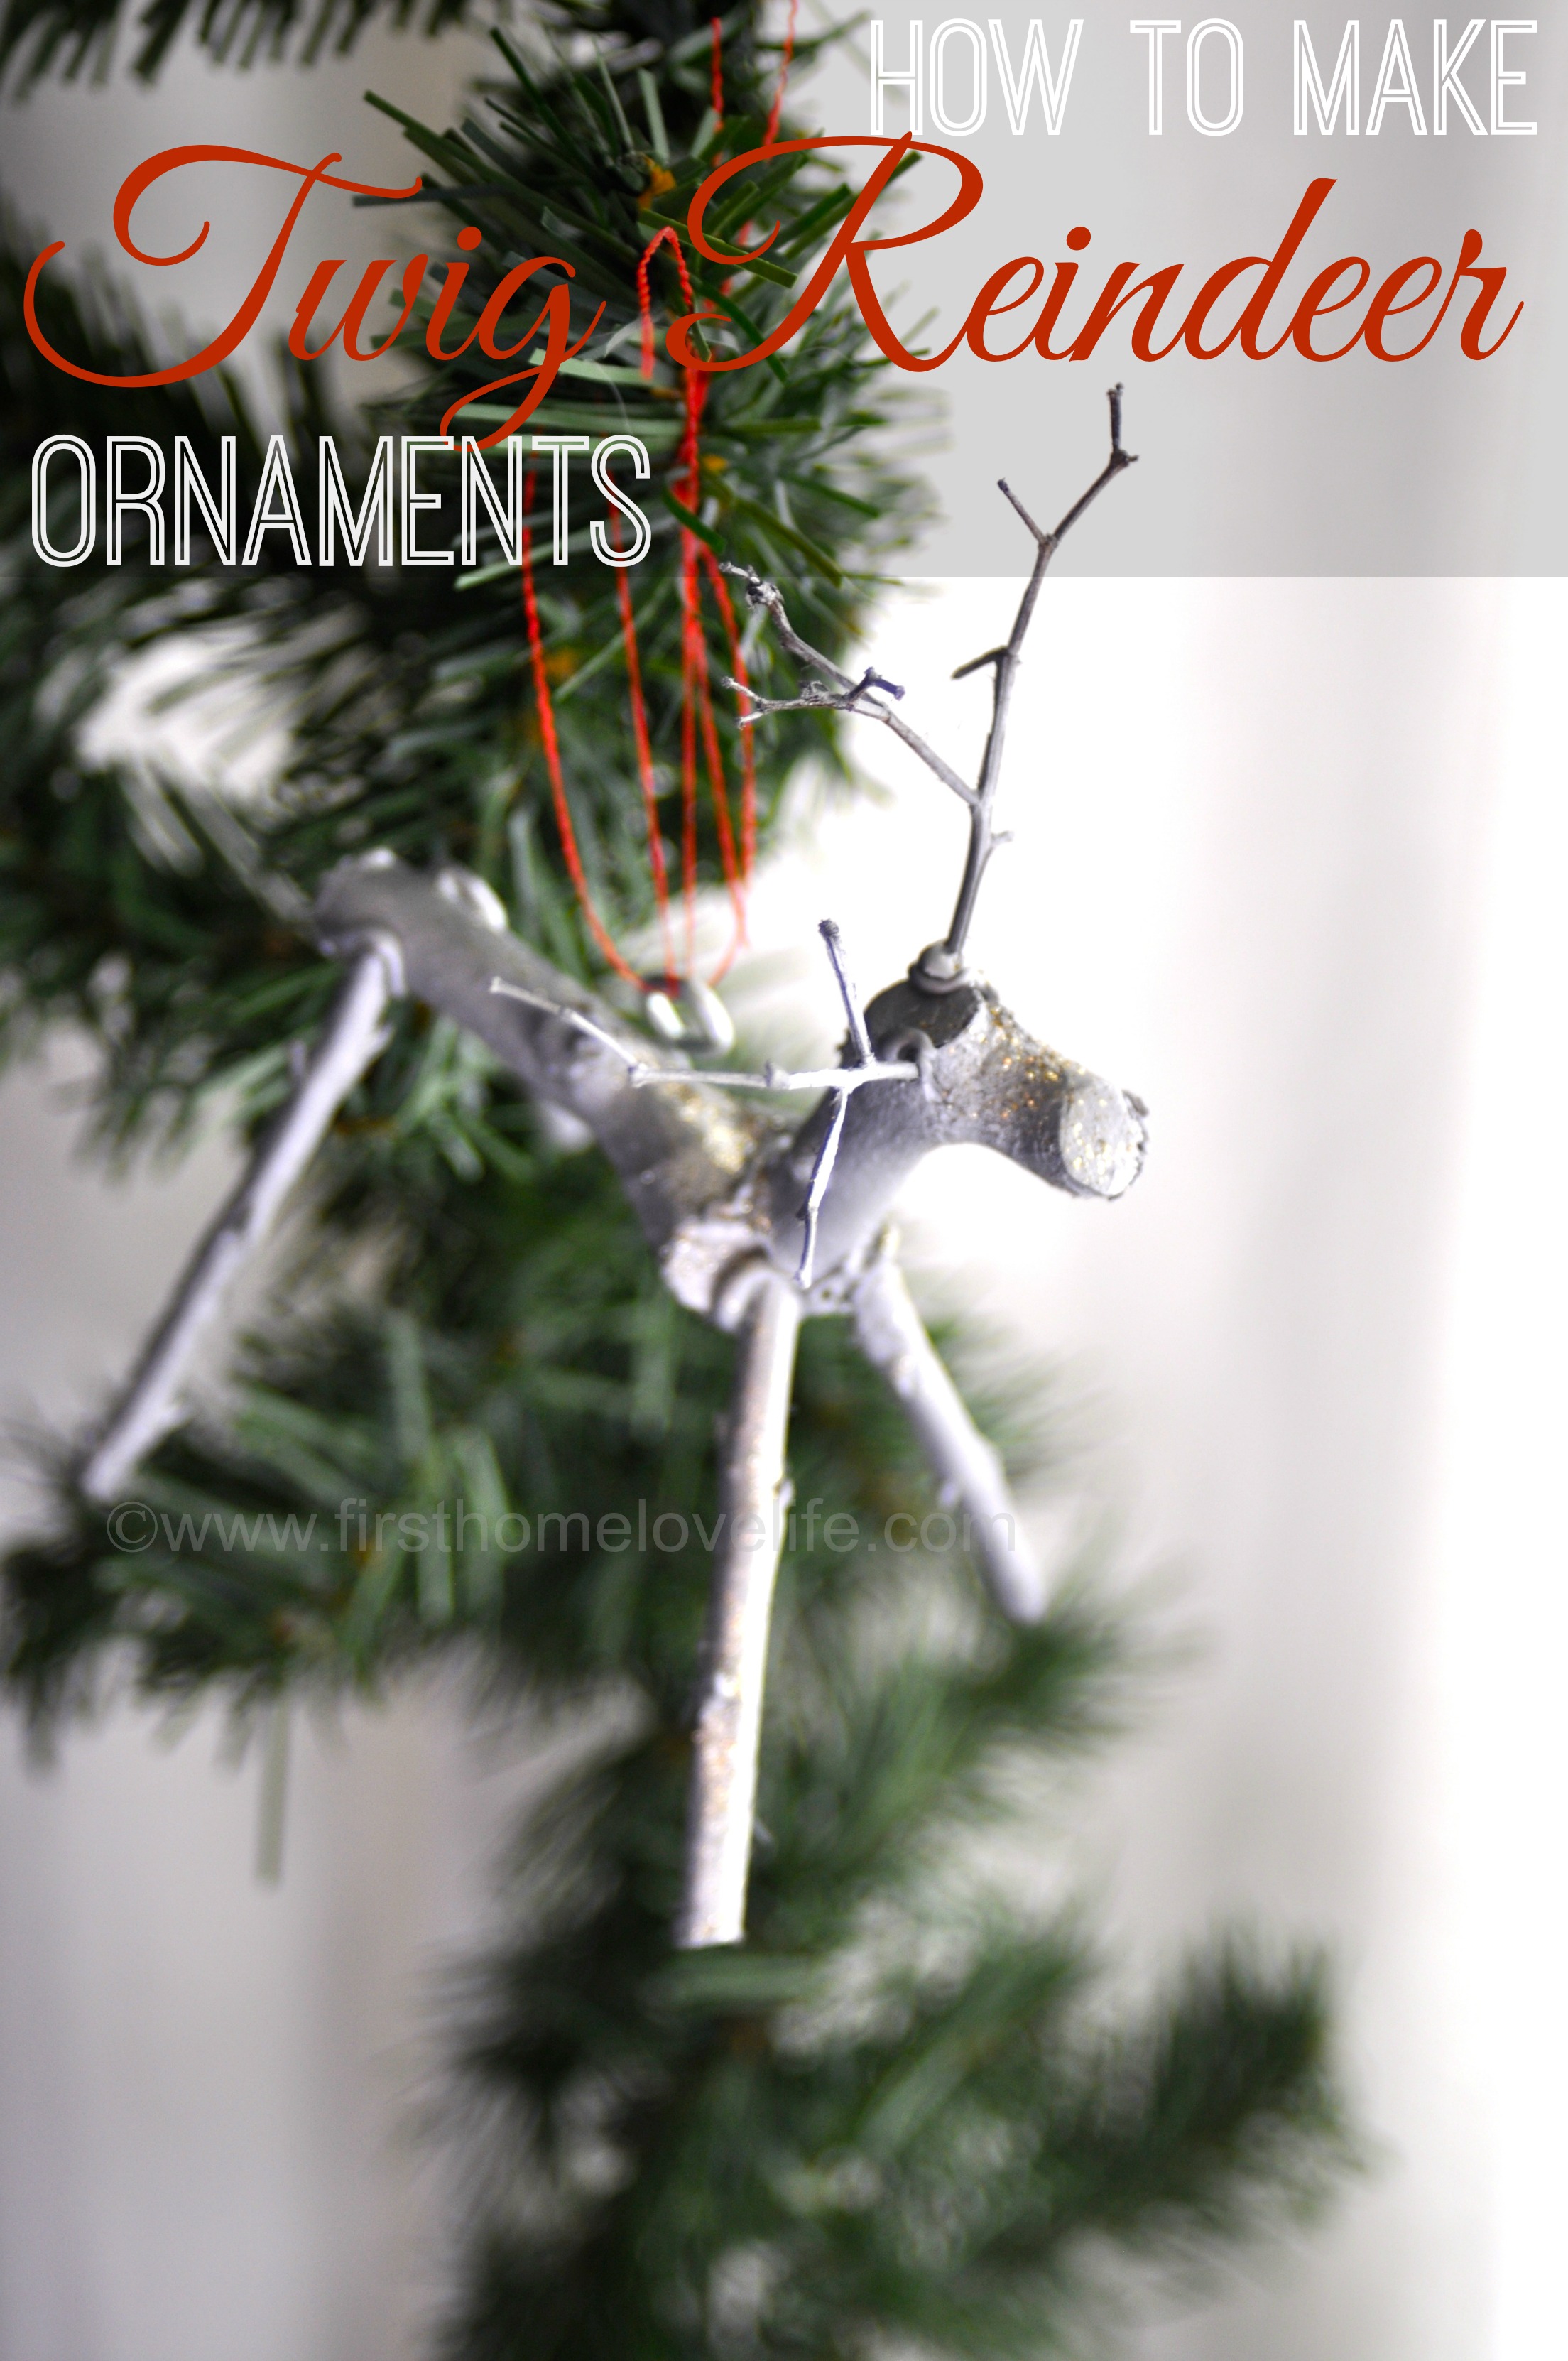
Isn’t he cute!? Here’s how to make him!

reindeer_supplies

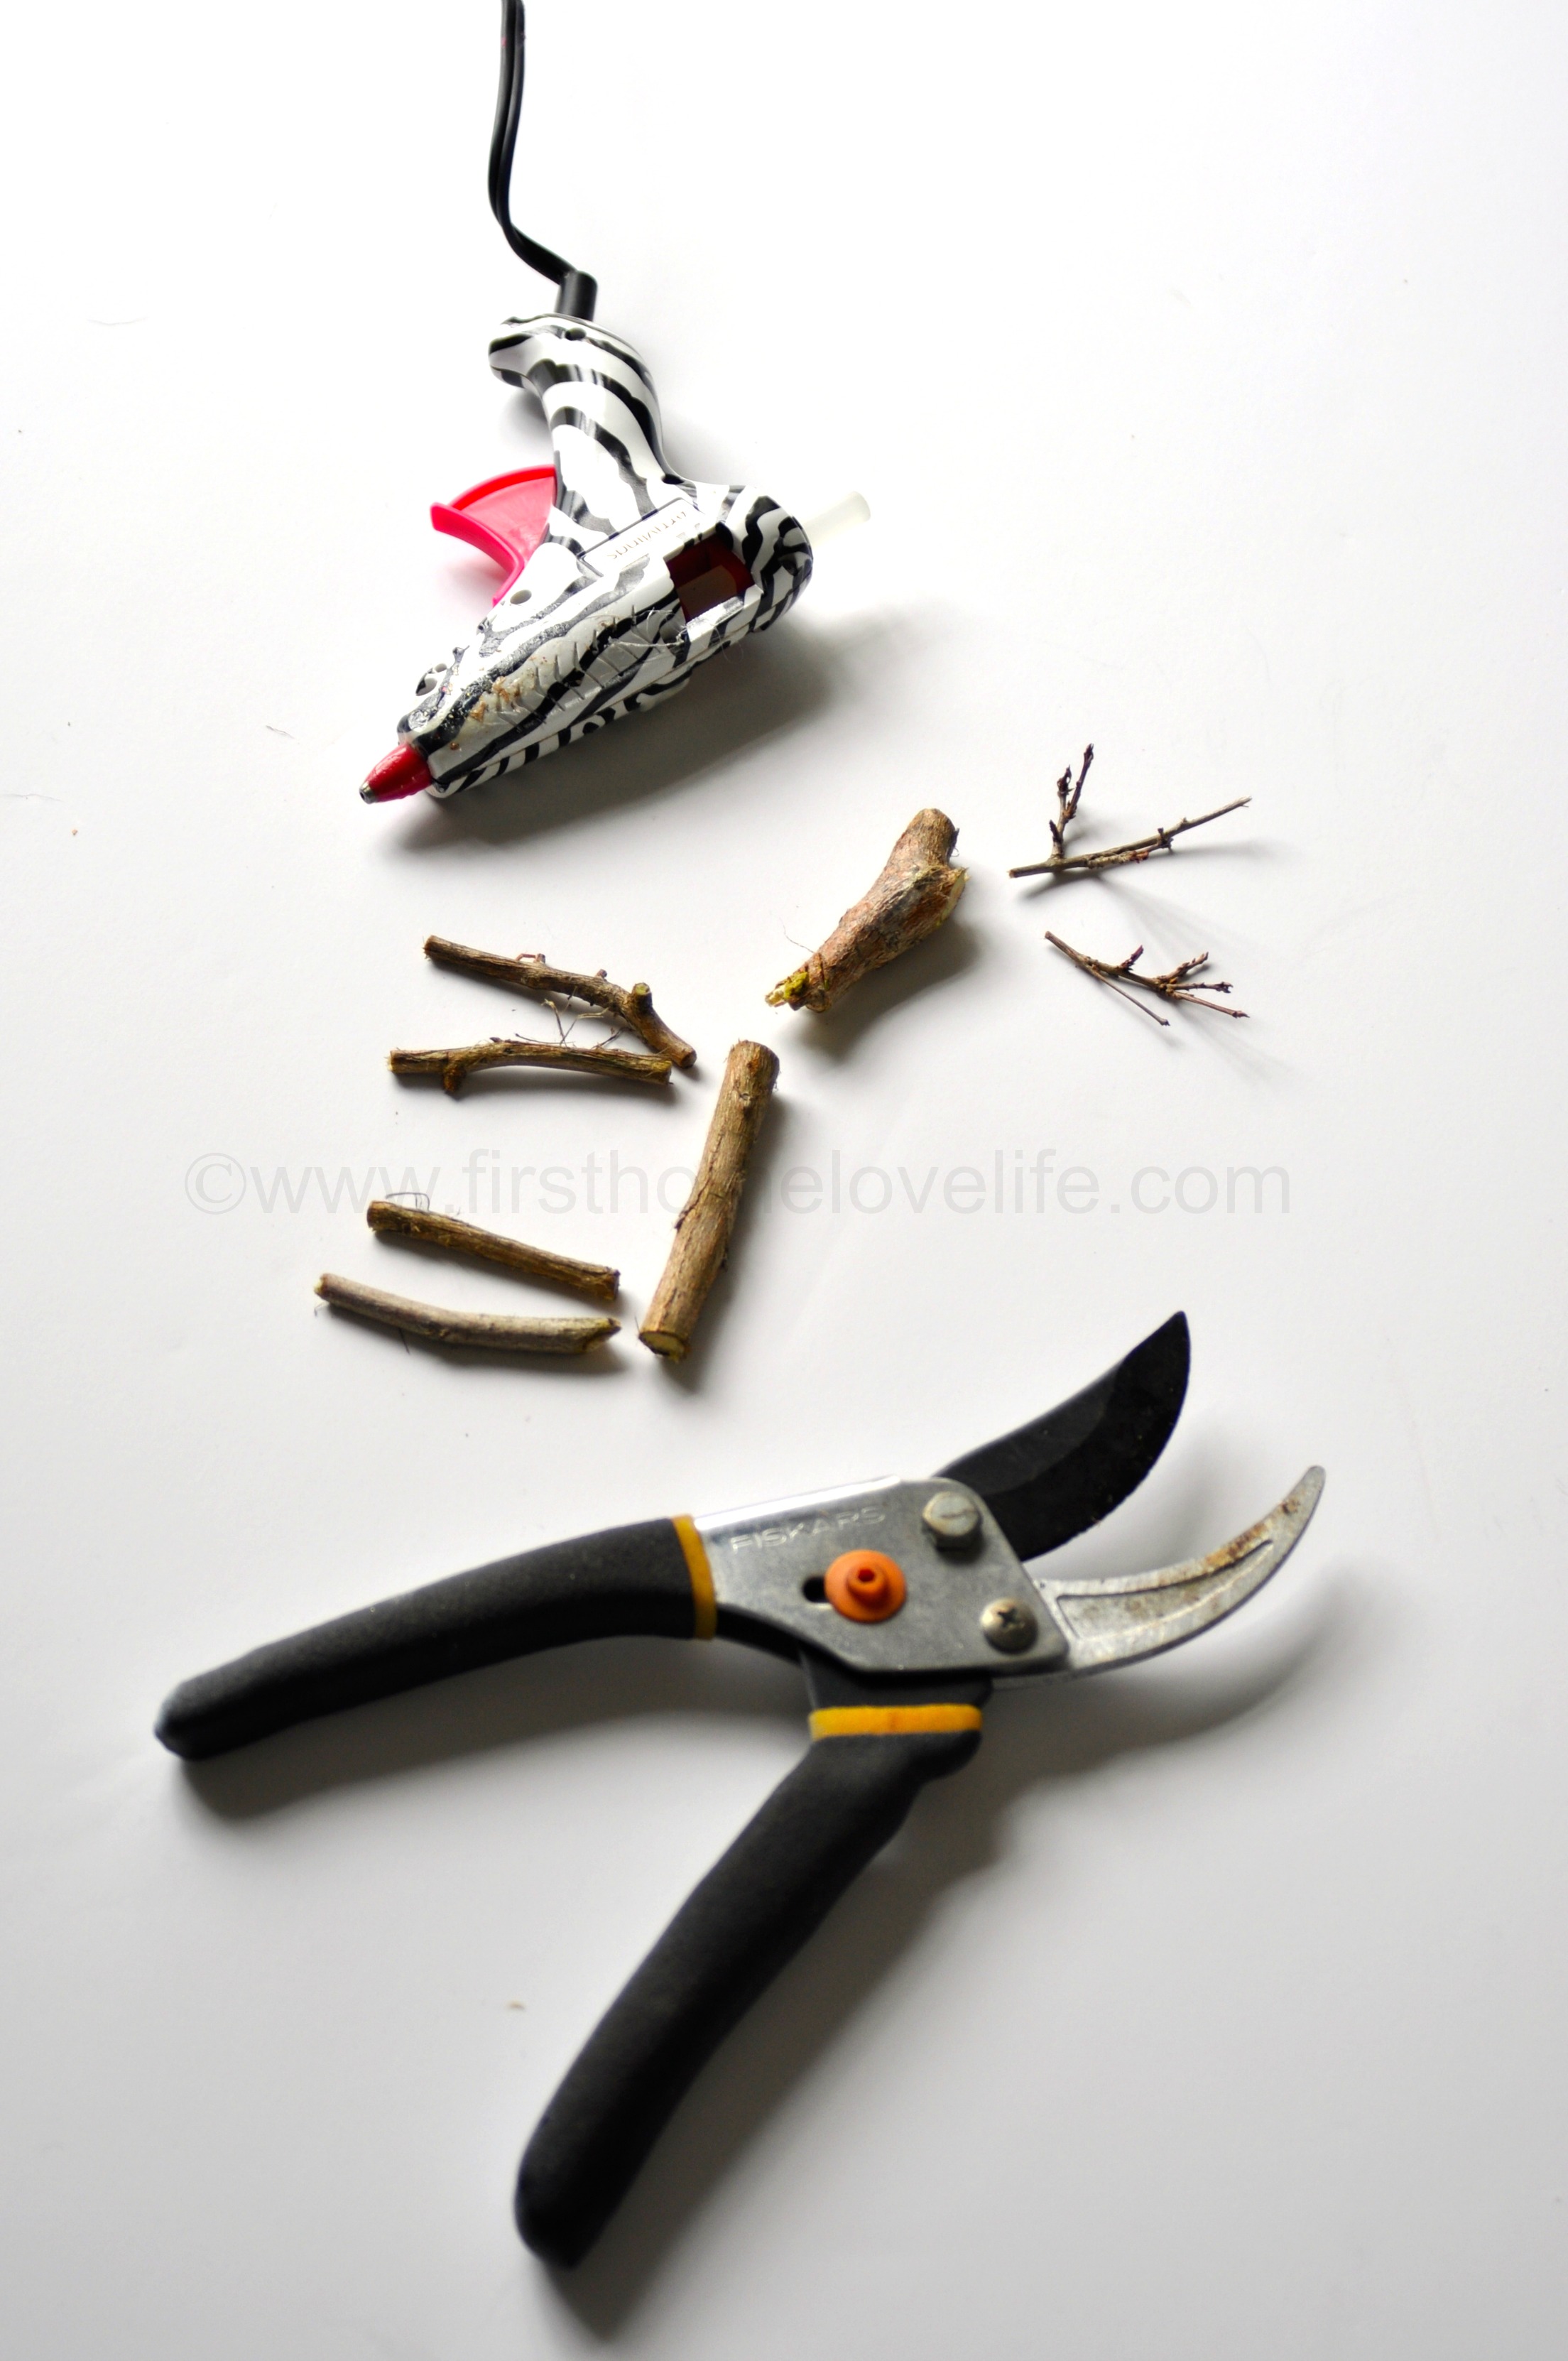
 Go outside and give one of your trees a snip. I trimmed about a 2 ft branch off of my crape myrtle and could easily make 4-5 reindeer with that.

You’re going to need a straight piece for the body, a knotted piece for the head and nose, 4 skinny legs, and two twiggy pieces for the antlers.

Once you have all of the components of the reindeer, its time to glue it together!

anglecut

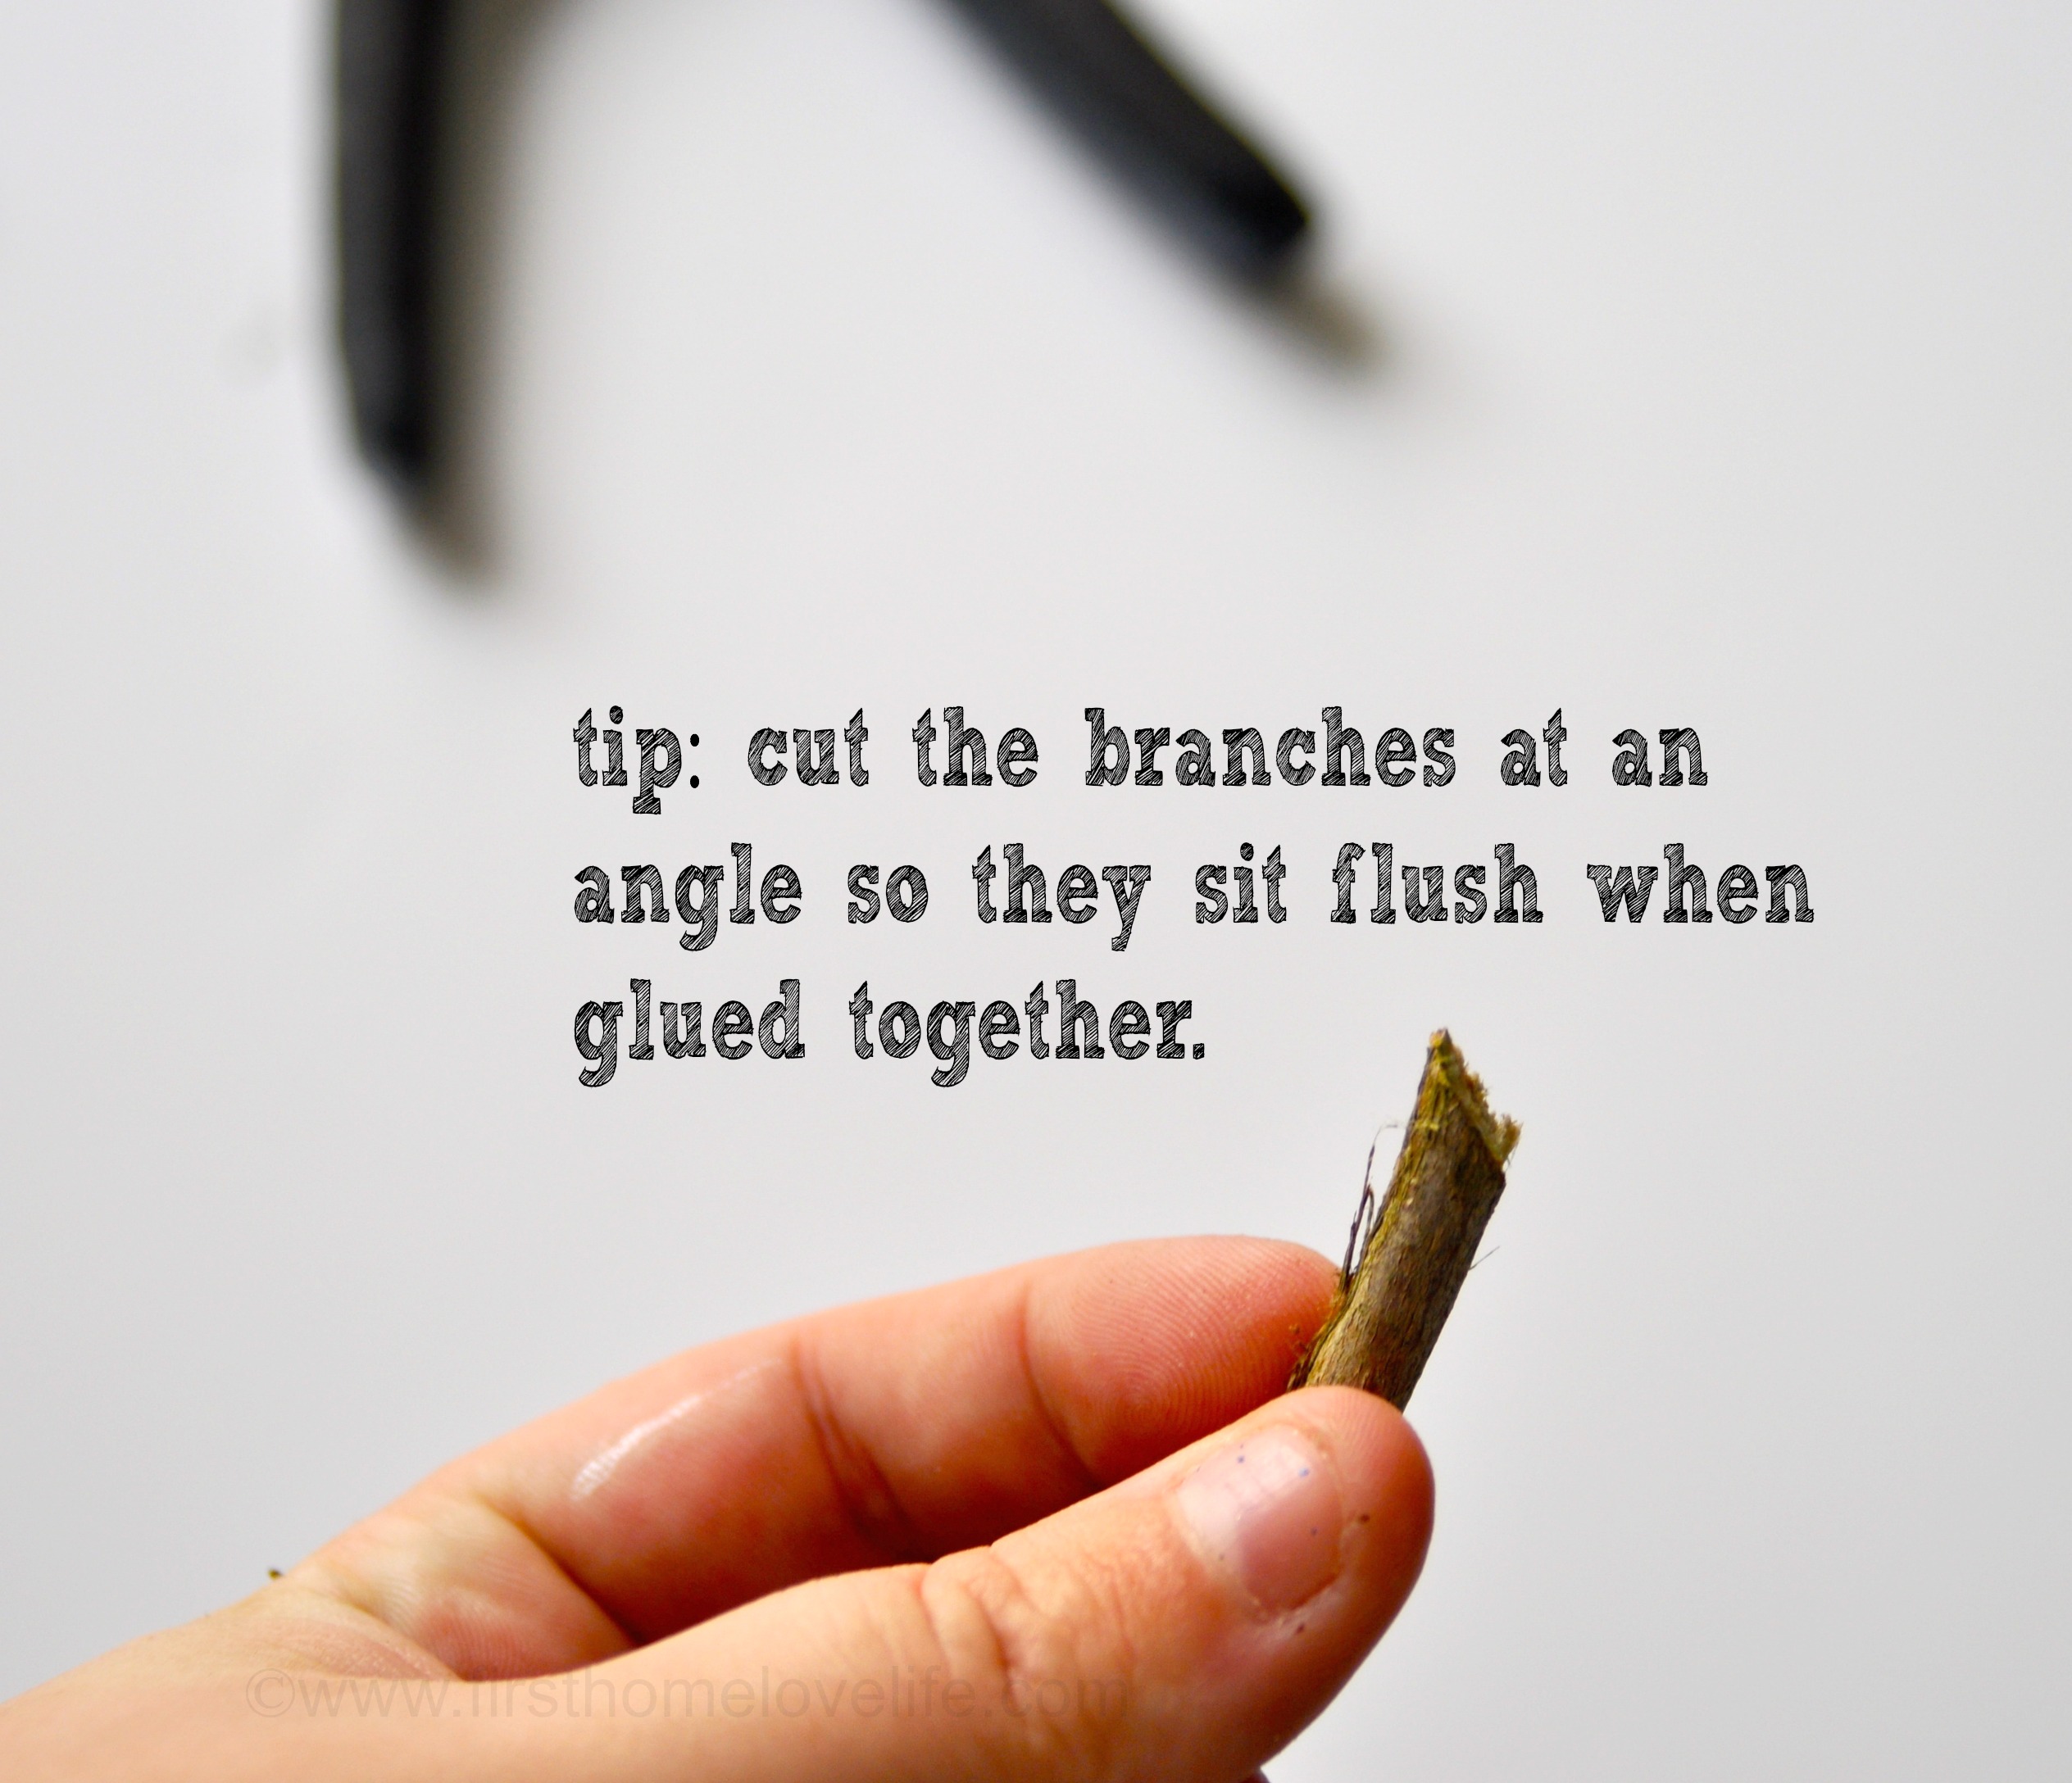
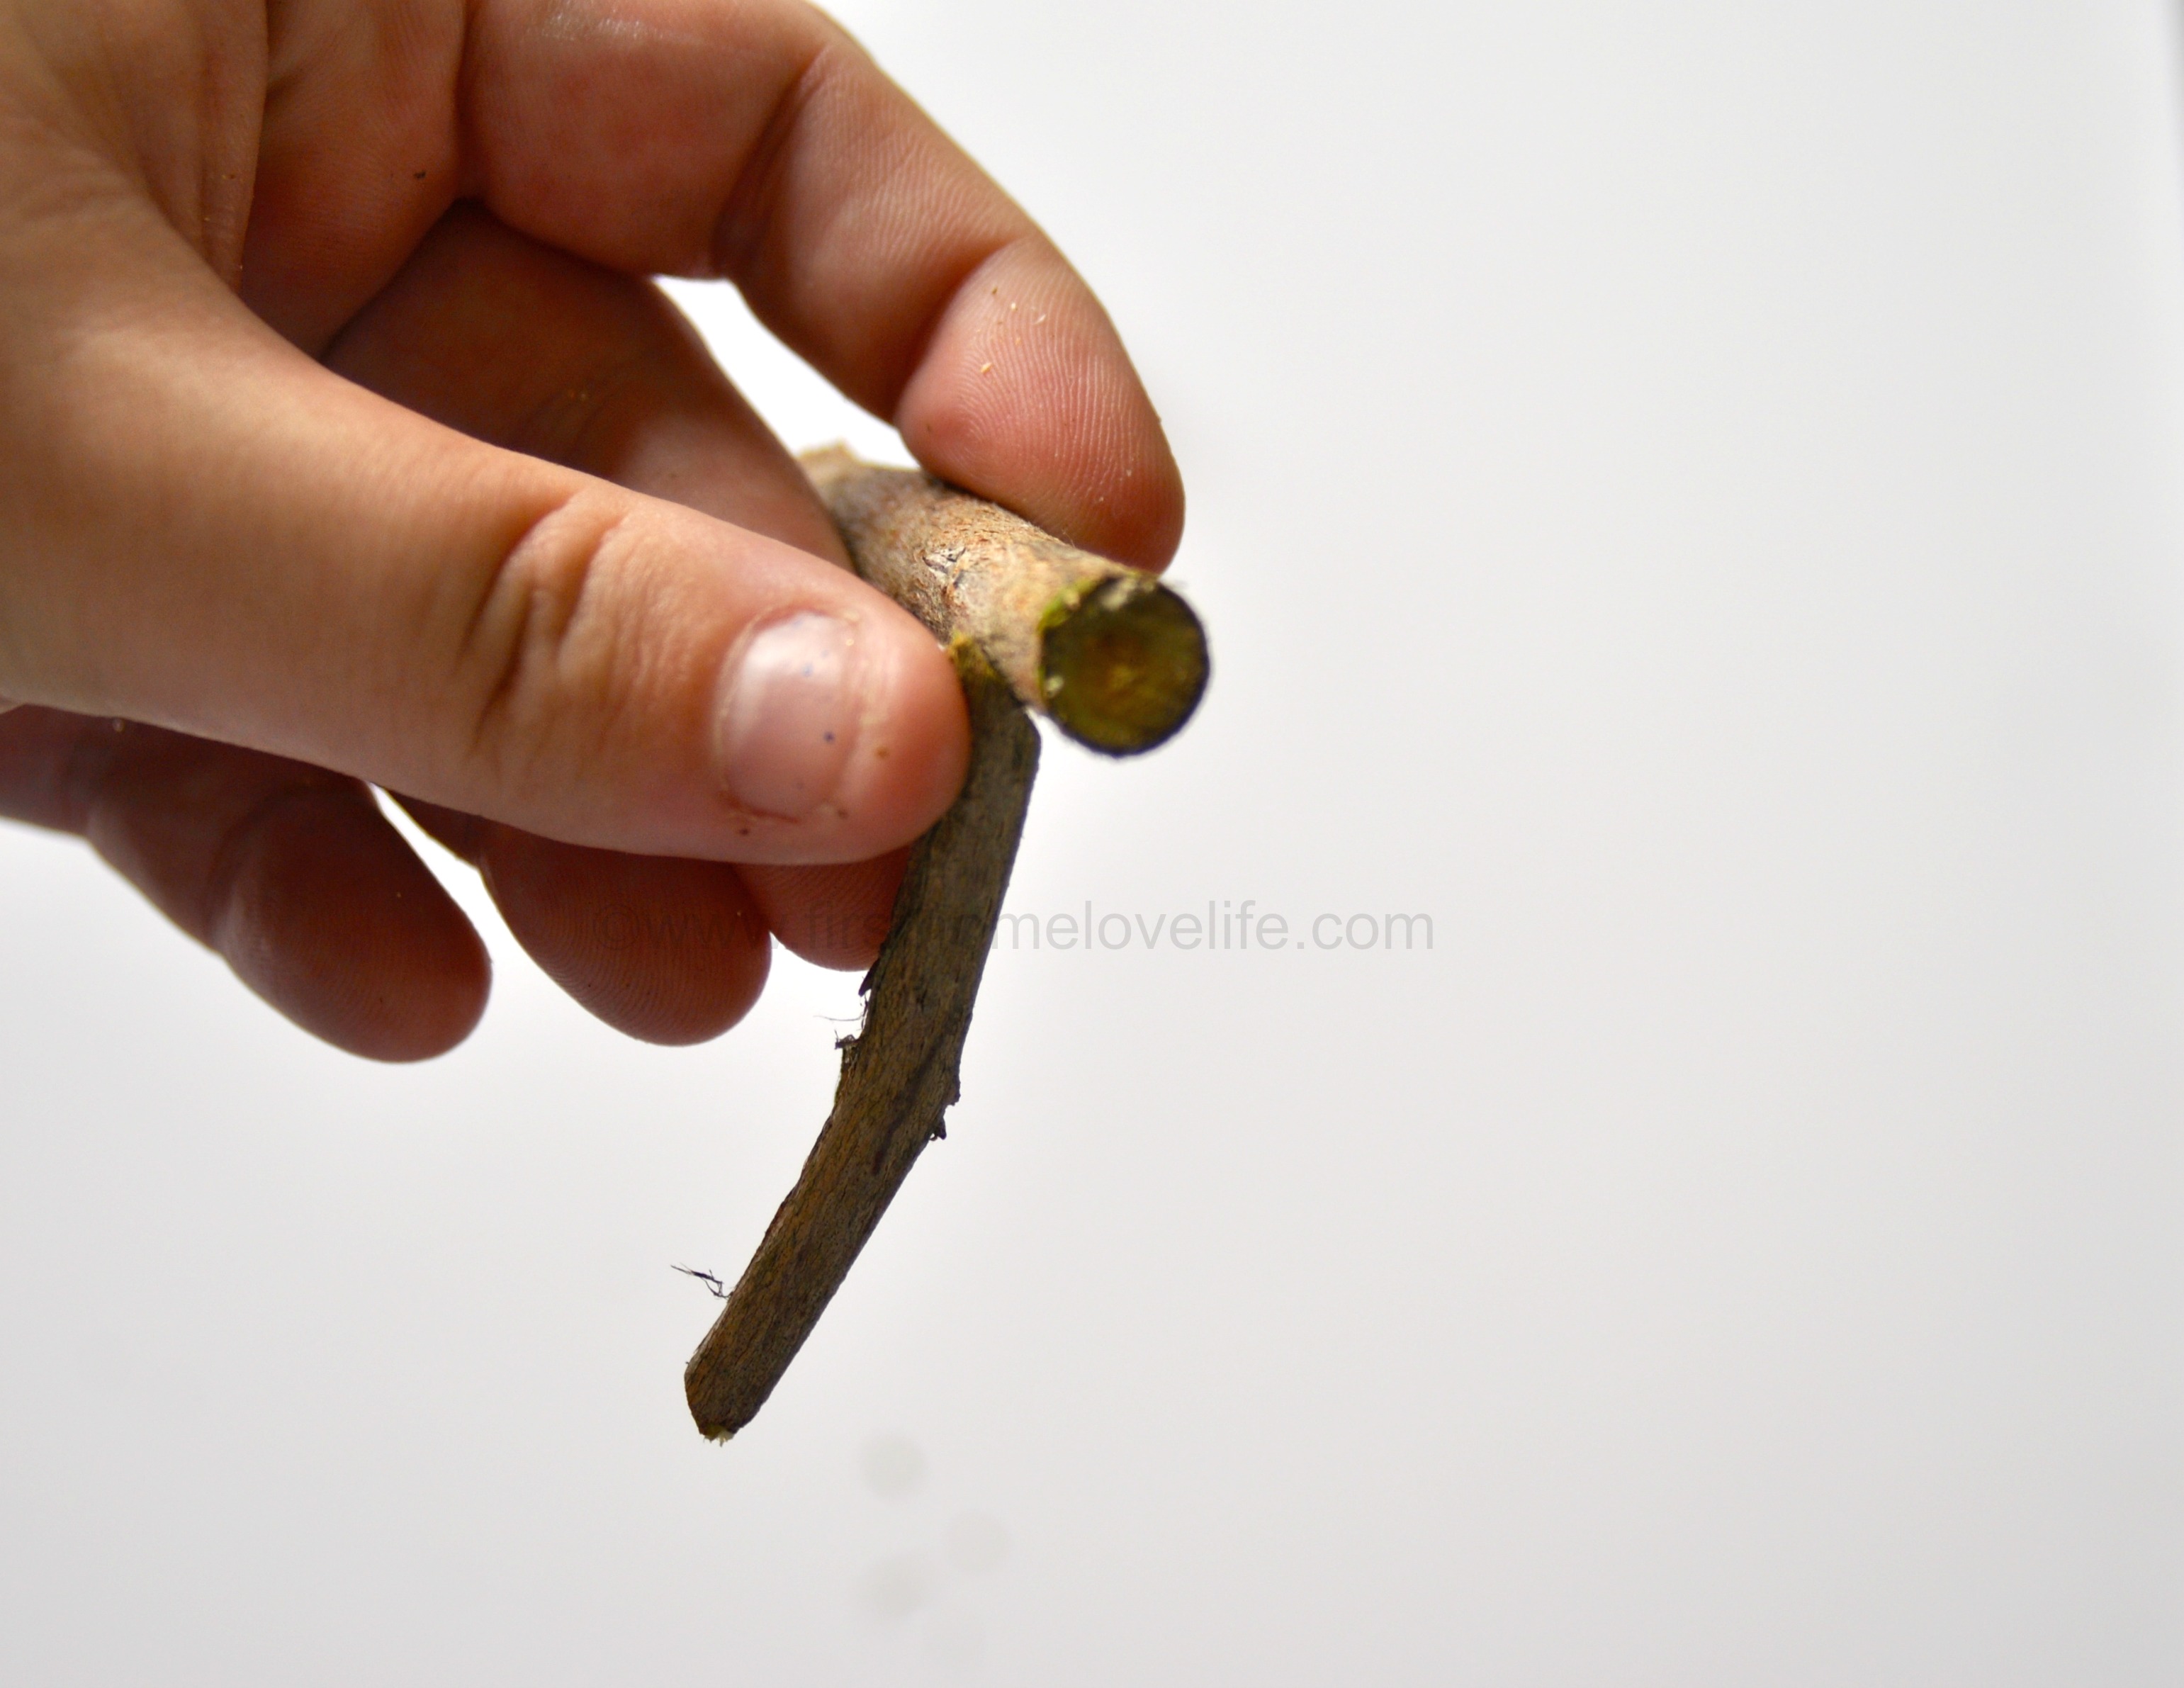
Cutting the tops of the legs at an angle will give the reindeer a more “finished” look and not like you just glued a bunch of sticks together Speaking of glue. Hot glue is the way to go with this little project! I initially started with E6000, but it was taking too long to dry.

Put a drop of glue down, and piece the deer together. I held each piece in place for 10-15 seconds while gently blowing on the glue to make sure it was secure before moving on to the next piece.

gluereindeer

Once your deer is fully assembled you can leave it au-natural or paint him. I wanted to glam Rudolph up a bit so I spray painted him in silver and sprinkled a bit of ultra fine gold glitter on him.

paintandglitter

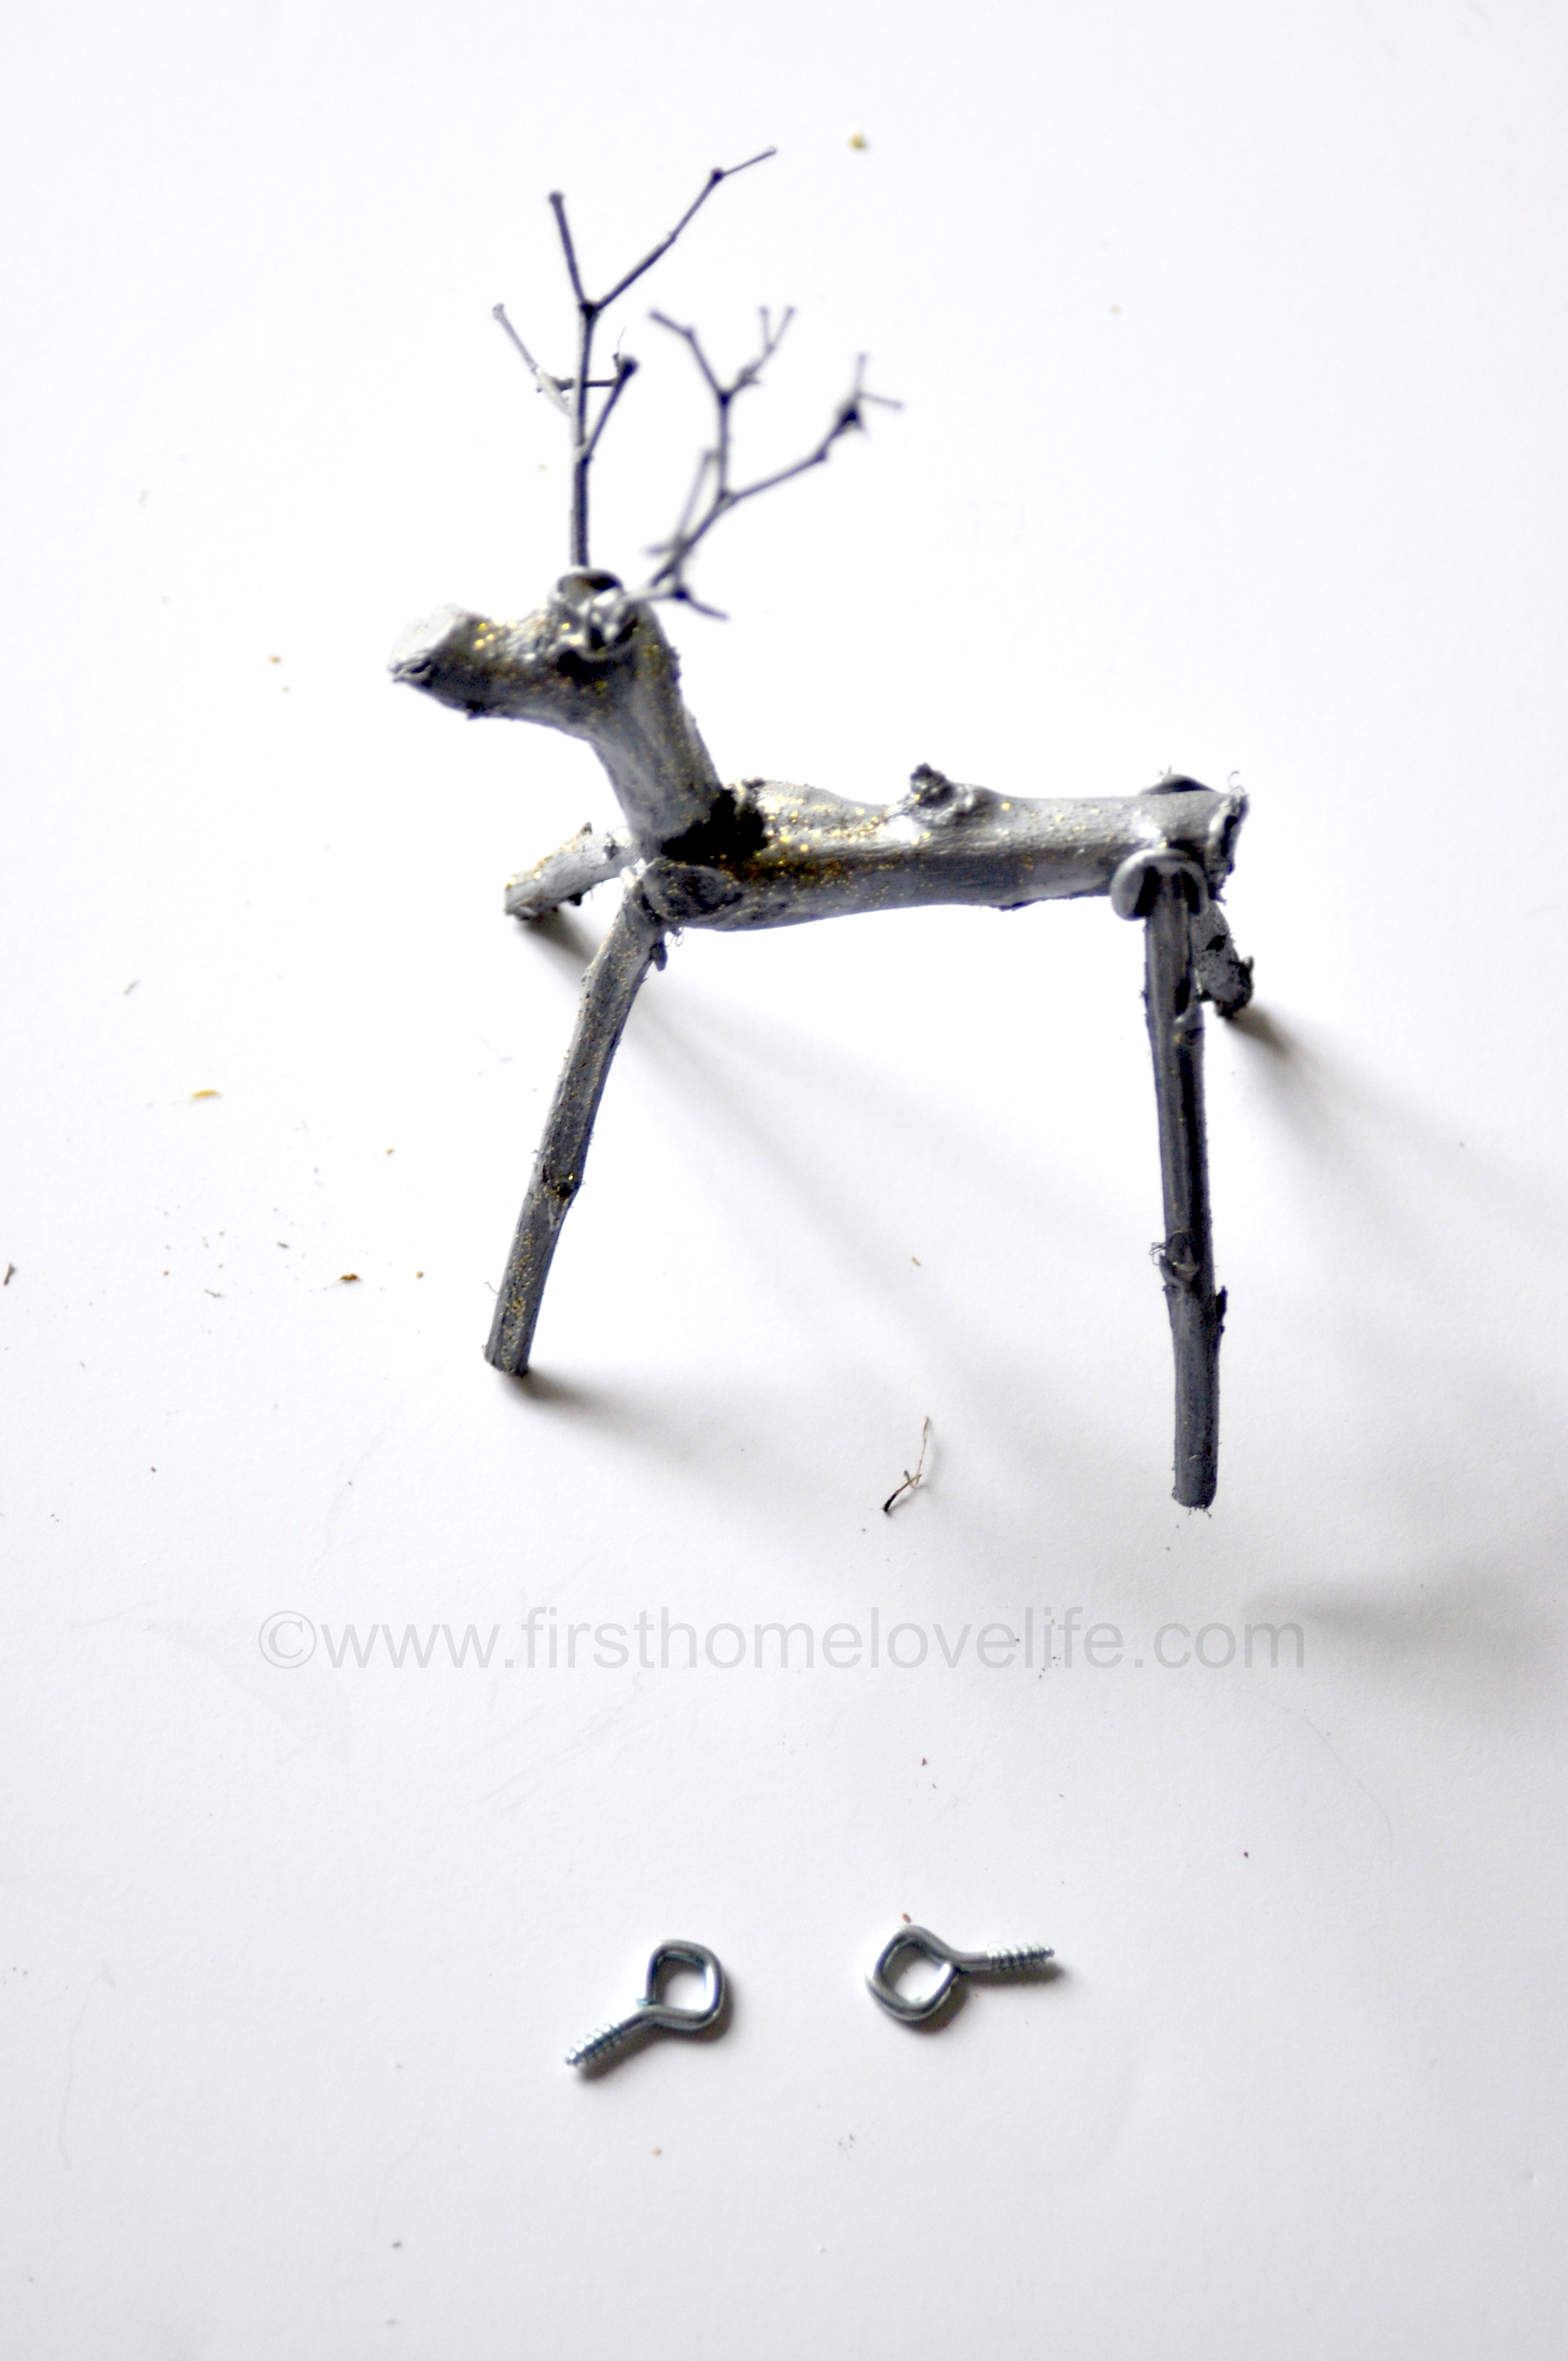
Okay so now for the tricky part of turning him into an ornament. In hindsight, this step should have been done before I began assembling the reindeer. It would have made life a whole lot easier and kept the cursing to a minimum. Basically, you just twist the teeny eye hooks into the back of the body and it holds itself in place. Then you can use ribbon, string, fishing line…etc…to tie it to your tree.

eyehook

Ands that’s it! For the whopping grand total of $0 and an hour of my time I was able to make this adorable little reindeer (and a few other things) out of a tree branch and a glue gun!

reindeer

 I hope you enjoyed this sweet holiday craft! I could see this ornament hanging anywhere from a tree to a gift in place of a tag, and I just know everyone will love it!

I  hope you’ll stop by to see me at my place sometime. You can also find me on Facebook, Instagram and Pinterest the most!

Thanks so much for inviting me to hang out at your cottage, Gina. It’s been a blast!

Talk to you soon friends, take care.

XO

Christmas-Ornament-Link-Par

All week this week I’ll be sharing some great ideas from a few of my friends – with a link party on Friday, Nov 29th to share YOUR handmade Christmas ornament ideas. Hope you’ll join me!

ARE YOU A FARMHOUSE FAN?
Get instant access to this free guide to The Best Sources for a Farmhouse Style Home on a Budget!
YOUR NAME:
YOUR EMAIL:
_____________

Filed Under: holiday ideas

About Gina Luker

Gina Luker is a writer, photographer and lover of all things quirky. She's usually found with a drill in one hand and a cocktail in the other while blogging along the way. She's addicted to coffee, polka dots, rock stars, Instagram, and everything aqua.

« Moulding Wreath Christmas Ornament
Snowman Family Ornament »
become a blogger banner

Comments

  1. Susan says

    November 27, 2013 at 5:52 am

    Gina! I love these little reindeer soooo much! I love that you spray painted them silver too… all the better! I’m making these today! Thanks for the inspiration one of my favorite projects of the year!

    Reply
    • Christine at First Home Love Life says

      November 29, 2013 at 7:45 pm

      Thanks so much Susan 🙂

      Reply
  2. Krista @thehappyhousie says

    November 27, 2013 at 5:12 pm

    These are so cute Gina- I love them. Pinning!

    Reply
  3. andrea cammarata says

    November 28, 2013 at 4:12 am

    This little guy is so adorable! I love him and I have everything I need to make him and some friends…figuring about 8! 🙂 Thanks for sharing this precious ornament with us Christine…and thank you Gina for exposing us all to all of these fabulous creations…you both rock…oh and Christine…great minds think alike…you will see what I mean right here later today : ) LOL!!! hugs…

    Reply
    • Christine at First Home Love Life says

      November 29, 2013 at 7:46 pm

      Too funny! Me and you are totally cruising the same craft wave! Love it 🙂

      Reply
  4. shar says

    November 29, 2013 at 8:15 am

    Darling little reindeer!

    Reply
  5. Miranda @ Someday Crafts says

    November 30, 2013 at 12:00 am

    These are so adorable!! I love the little sparkle they have. We’ll be featuring these cuties over at Someday Crafts tomorrow afternoon 🙂

    Reply
  6. AmieJo says

    November 15, 2014 at 9:03 pm

    This is adorable! I want to make a bunch for my tree!

    Reply
  7. Alice says

    November 26, 2018 at 7:22 pm

    Gina… Those little reindeer ornaments are so cute…
    I was wondering… If you thought i might be able to make one big enough for a yard ornament…
    Thank You…
    I Love Your Work…

    Reply
    • Gina Luker says

      November 27, 2018 at 4:34 pm

      Thanks Alice! I’m thinking you could but you might need something stronger than a glue gun, LOL. If you do it please, please send me a pic! Good luck 🙂

      Reply

Trackbacks

  1. sweetheart wreath tutorial (so cheap and easy!) says:
    January 20, 2014 at 4:55 am

    […] Valentine’s sweetheart wreath with all of you at her cottage! You might remember seeing this twig reindeer ornament I made here around the […]

    Reply
  2. DIY Christmas Idea says:
    October 24, 2014 at 11:45 am

    […] Slice Ornaments | Sweater Wreath by Design, Dining & Diapers | Book Page Covered Ornaments | Twig Reindeer Ornaments by The Shabby Creek Cottage | Glittery Initial Ornaments by Shanty to Chic | Family Tree Ornaments by The Country Chic Cottage […]

    Reply
  3. 12 DIY Christmas Ideas says:
    October 24, 2014 at 11:48 am

    […] Slice Ornaments | Sweater Wreath by Design, Dining & Diapers | Book Page Covered Ornaments | Twig Reindeer Ornaments by The Shabby Creek Cottage | Glittery Initial Ornaments by Shanty to Chic | Family Tree Ornaments by The Country Chic Cottage […]

    Reply
  4. 20 Twig Christmas Ornaments to Make says:
    January 6, 2015 at 2:07 pm

    […] lovely on a holiday front door, from Daily HeART Make our peace sign with twigs and wool These silvery twig reindeers are so cute, from the Shabby Creek Cottage How cute are these twiggy Santas, from Garden Mama? […]

    Reply

Leave a Reply Cancel reply

Your email address will not be published. Required fields are marked *

Recipe Rating


Gina Luker

Privacy Policy & Disclosure Statement

Searching For Something?

The Shabby Creek Cottage is a participant in the Amazon Services LLC Associates Program, an affiliate advertising program designed to provide a means for sites to earn advertising fees by advertising and linking to Amazon.com

[instagram-feed]

Copyright © 2022 · Divine theme by Restored 316

Copyright © 2022 The Shabby Creek Cottage Log in

ARE YOU A FARMHOUSE FAN?
Get instant access to this free guide to The Best Sources for a Farmhouse Style Home on a Budget!
YOUR NAME:
YOUR EMAIL:
_____________