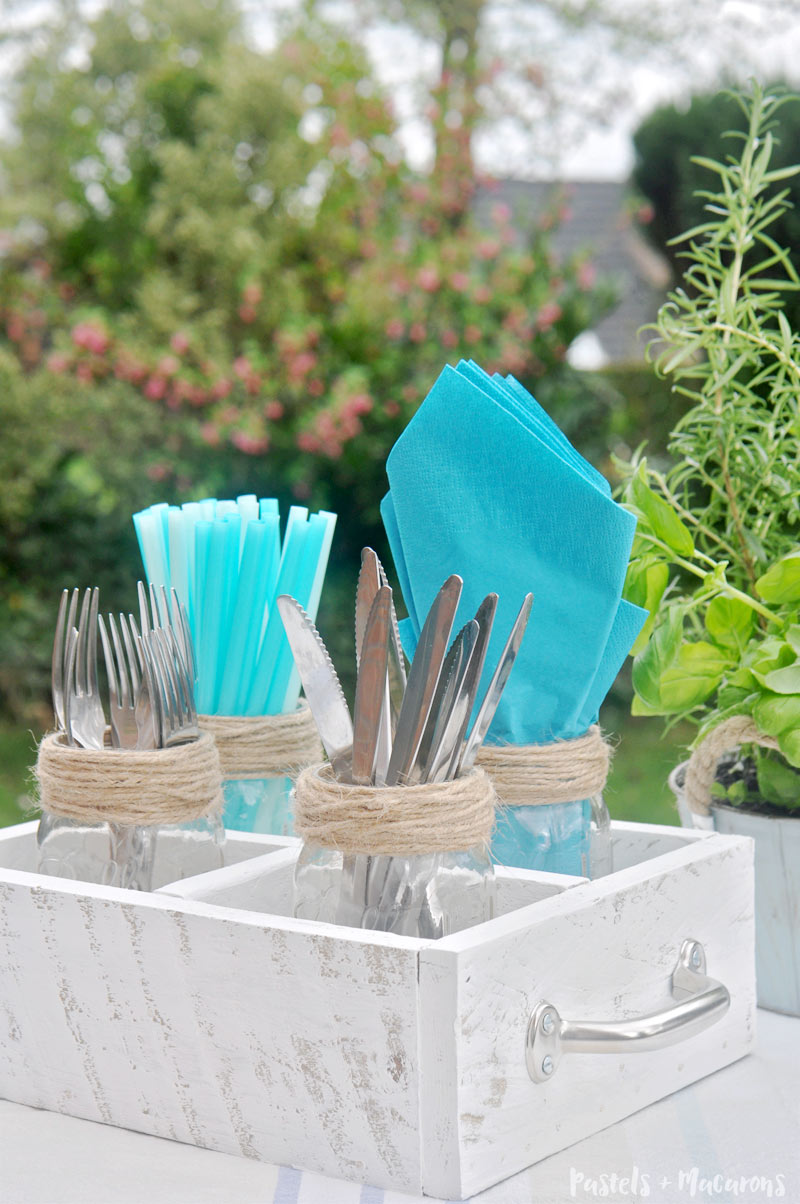
Hey guys! Maria from Pastels and Macarons back again this month sharing with you a very easy to make utensil caddy made from random pieces of wood.
I’m loving the sunshine and slightly warmer days which is getting me all excited for outdoor fun and barbecues. Who doesn’t love to sit around with great company, soak up some sun and drinking a delicious refreshment? If you want a drink that will blow your socks off, try my low-calorie homemade lemonade recipe that is guaranteed to impress! It’s a hit in our house and every time we entertain our guests are shocked at how good it is AND that it has almost no calories!
Now, before I get too far off track…
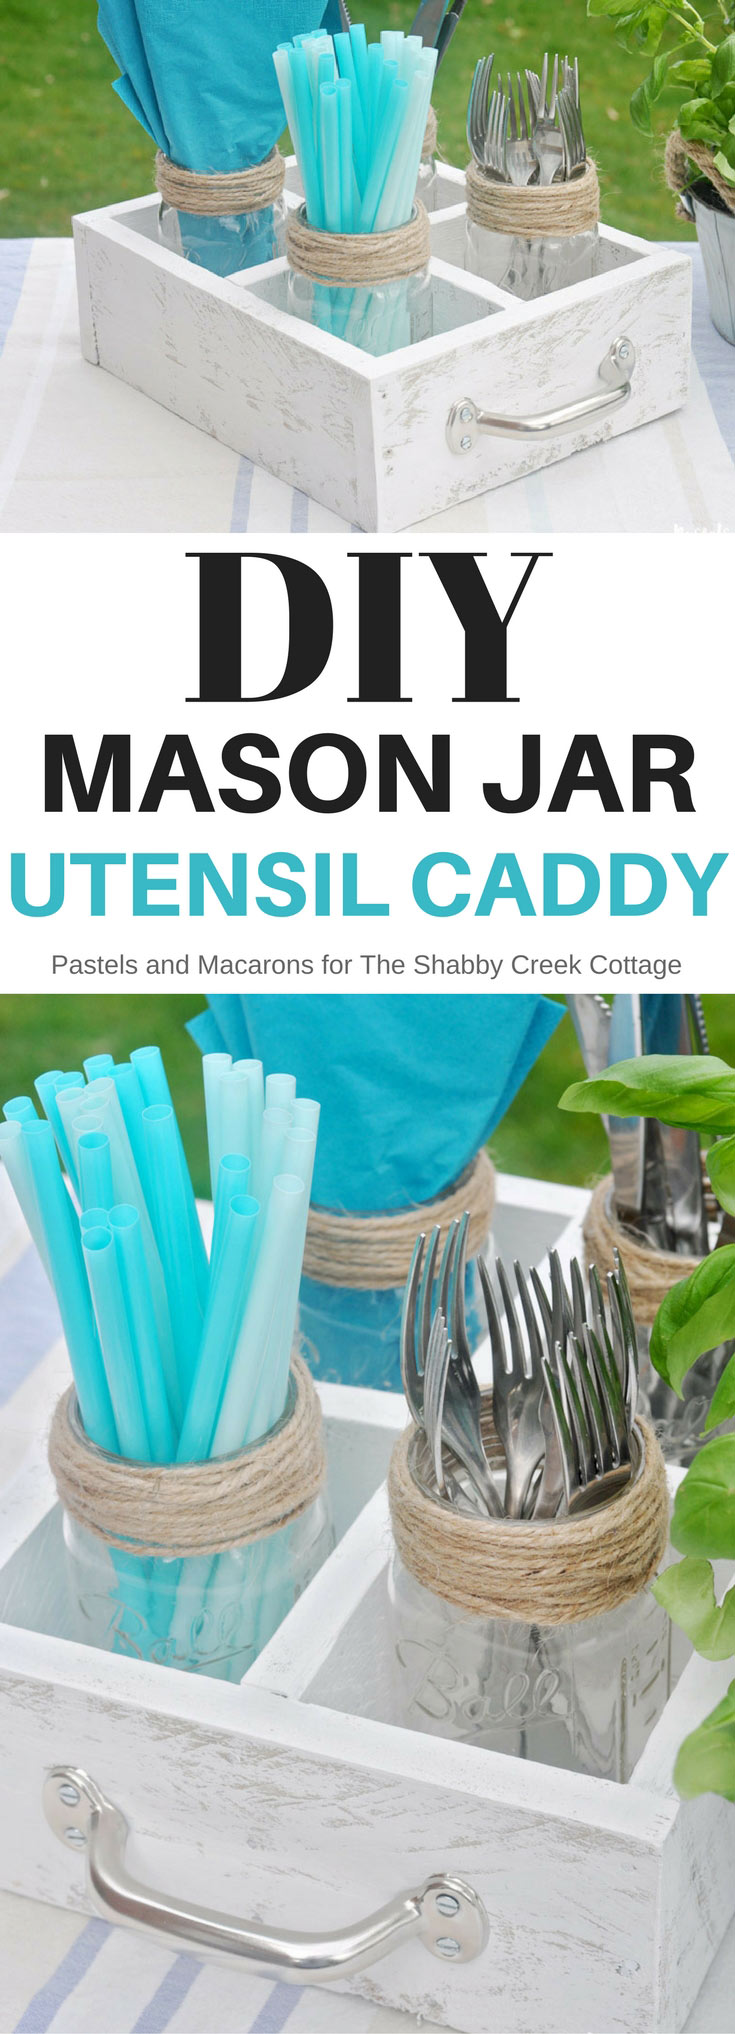
With all this in mind I created a utensil caddy I knew I would actually use and I can bring out year after year! Best thing about it, as long as you have some mason jars to pop in the caddy, you can use it for multiple purposes. For its intended purpose, a flower display for your dining table, to store craft supplies and markers, for the kids art station, makeup… the options are limitless! And because I have a thing for displaying my cutlery when I’m entertaining, I also made this upcycled tin can silverware caddy in under 10 minutes! It’s so easy to make and so cute.
To recreate this diy utensil caddy you will need:
Supplies and tools for the utensil caddy:
Scarp Wood ( you can use whatever you have laying around or even old palette wood)
2 x Traditional Silver Handle (I used this one )
Hammer
Nails (50mm)
2 x Furniture Handles (I used very basic ones)
Electric Jigsaw (I absolutely love my Bosch!)
Wood Glue (I love gorilla glue but used a different one in this tutorial)
White Chalk Style Paint ( I Used Rust-Oleum Chalked Paint in Linen White)
Matt Varnish (I used Rust-Oleum Matt Clear Varnish)
2 x Paint Brushes (1 for paint and 1 for varnish)
Ok, lets get started!
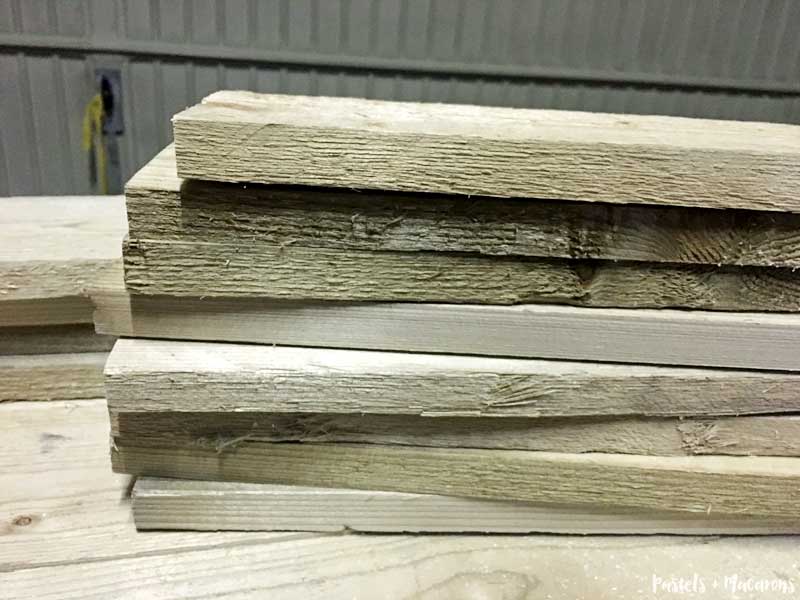
Here is a not so attractive before photo:
I had some leftover pieces of wood from some recent projects.
I started by measuring the wood to my desired sizing. You will need to the following lengths:
2 x 30.5 cm ( 12 inches ) – These are for the base of the caddy
3 x 27 cm ( 10.5 inches ) – These are for the outside and middle of the caddy ( length ways)
2 x 24 cm ( 9.5 inches ) – These are for the outside of the caddy (width wise)
2 x 9.5 cm ( 3.75 inches) – These are for the middle of the caddy (wise wise)
*All woos slats used are 9.5 cm wide ( 3.75 inches ) , for most pieces we are just cutting the length we require.
So that everything sits flush, you will need to cut some extra width from 3 of the pieces of wood that have been pre-cut in length.
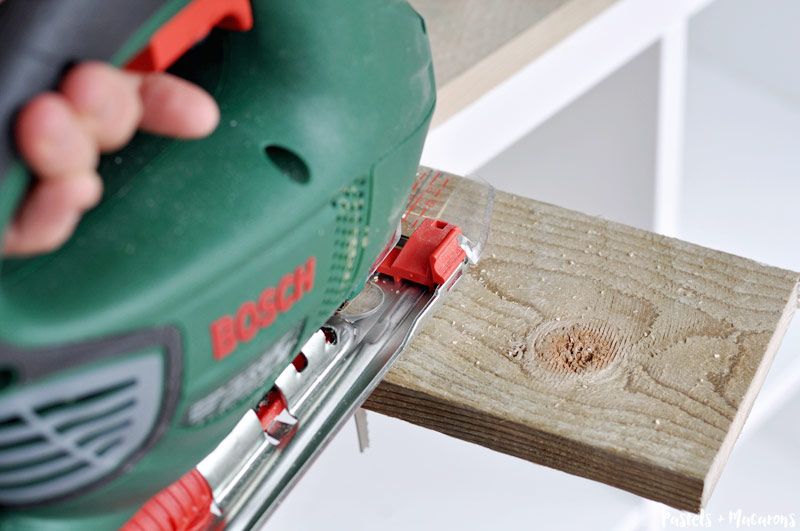
Let me explain which ones:
Grab 1 piece of the 27cm (10.5 inches)
Grab the two pieces of 9.5cm (3.75 inches)
We need to decrease the width of these wood pieces to make them 8cm (3.25 inches) in width. This means you need to cut away 1.5 cm ( 0.60 inches) from each piece of wood.
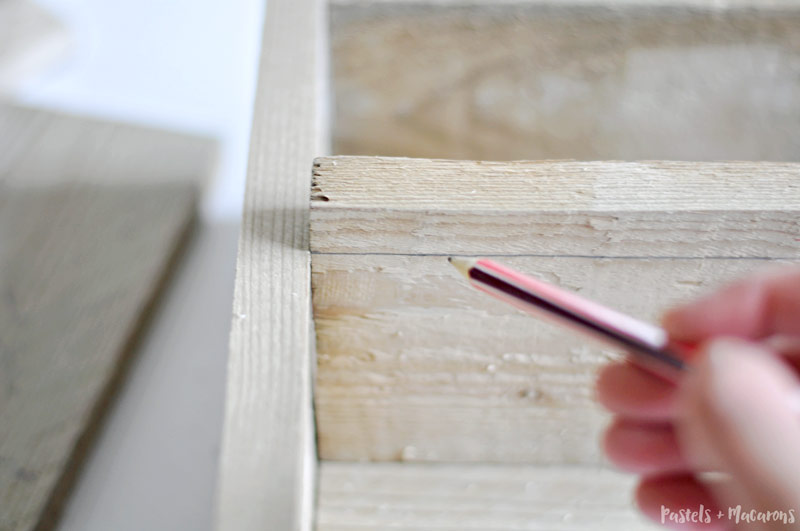
Before you do this I highly suggest you mark all of the pieces you are cutting so you know what goes where. Especially for the two small pieces that will go in the centre of the utensil caddy. Clearly mark where you need to cut and where the length and width is so you know exactly how to place it into the caddy.
If the above information does not make sense to you, do not worry. I will guide you through this project and it will all slowly come together.
Lets begin to assemble this thing!
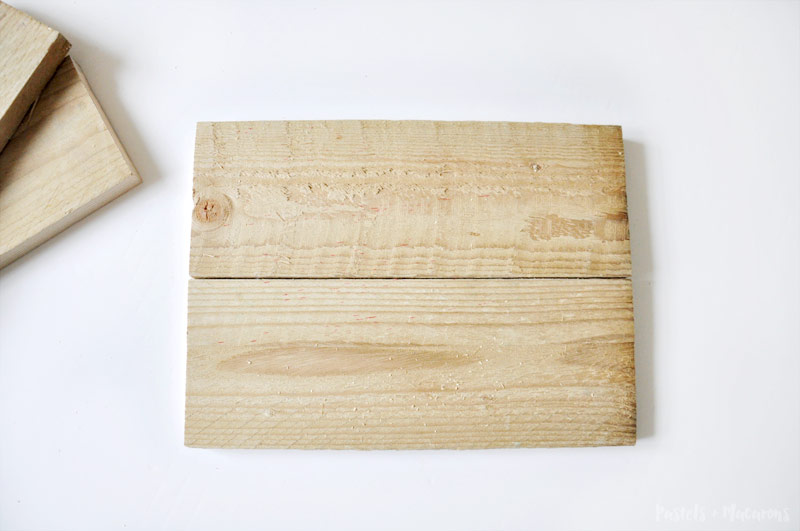
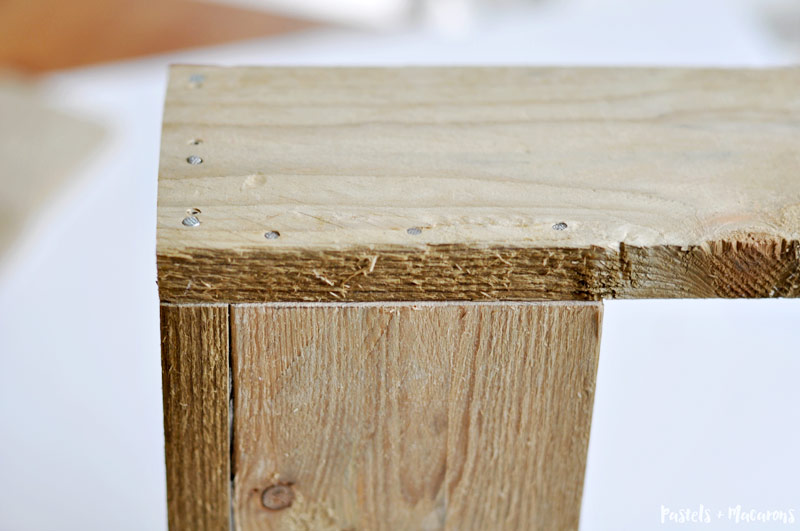
Start by placing your two base pieces together, making sure they sit flush. Add some wood glue between both pieces so that they stick together for extra security.
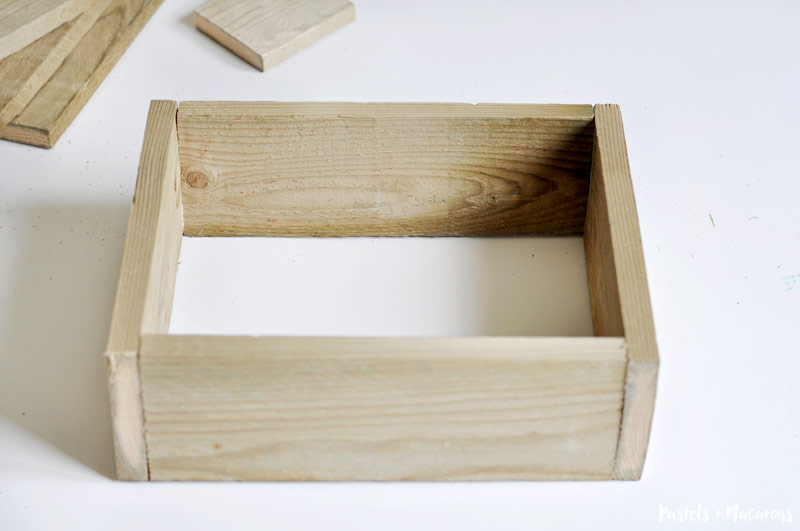
I continued this glue process as I joined every piece together. I then joined 2 of the 27 cm ( 10.5 inches ) pieces of wood and 2 of the 24 cm ( 9.5 inches ) together using my hammer and nails. If you have a nail gun this is a much faster and easier solution solution.
Once I have a box assembled, I placed the middle pieces (30.5 cm-12 inches) in the centre and hammered in more nails on all four sides to secure.

Finally I added the 3 centre pieces. These pieces of wood are the ones I reduced the width by 1.5cm (0.60 inches). Place the long piece 27 cm ( 10.5 inches ) in the centre of the caddy and secure with nails. I finished it off by nailing in the 2 smaller pieces 9.5cm (3.75 inches).
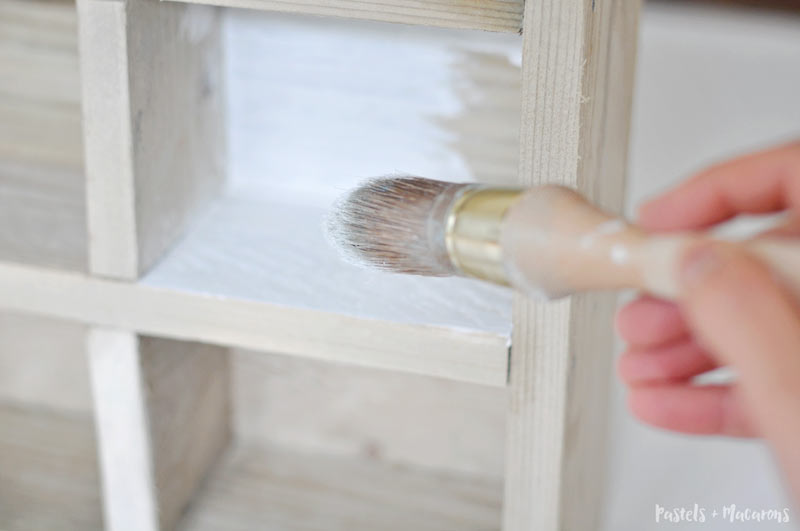
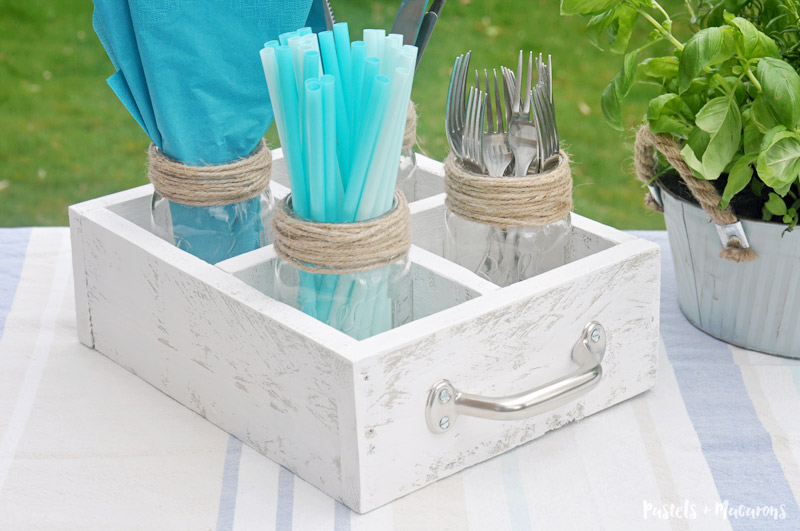
It really did not take long to create this utensil caddy and using chalky paint will make it even quicker. Once the utensil caddy was assembled I painted it all over with the chalky paint. For the outside of the caddy I dry brushed the paint on to allow some of the wood texture and color to show through. If you have read any of my previous posts you will know I love chalk paint because it dries very quickly.
I finished by screwing in the handles on caddy.
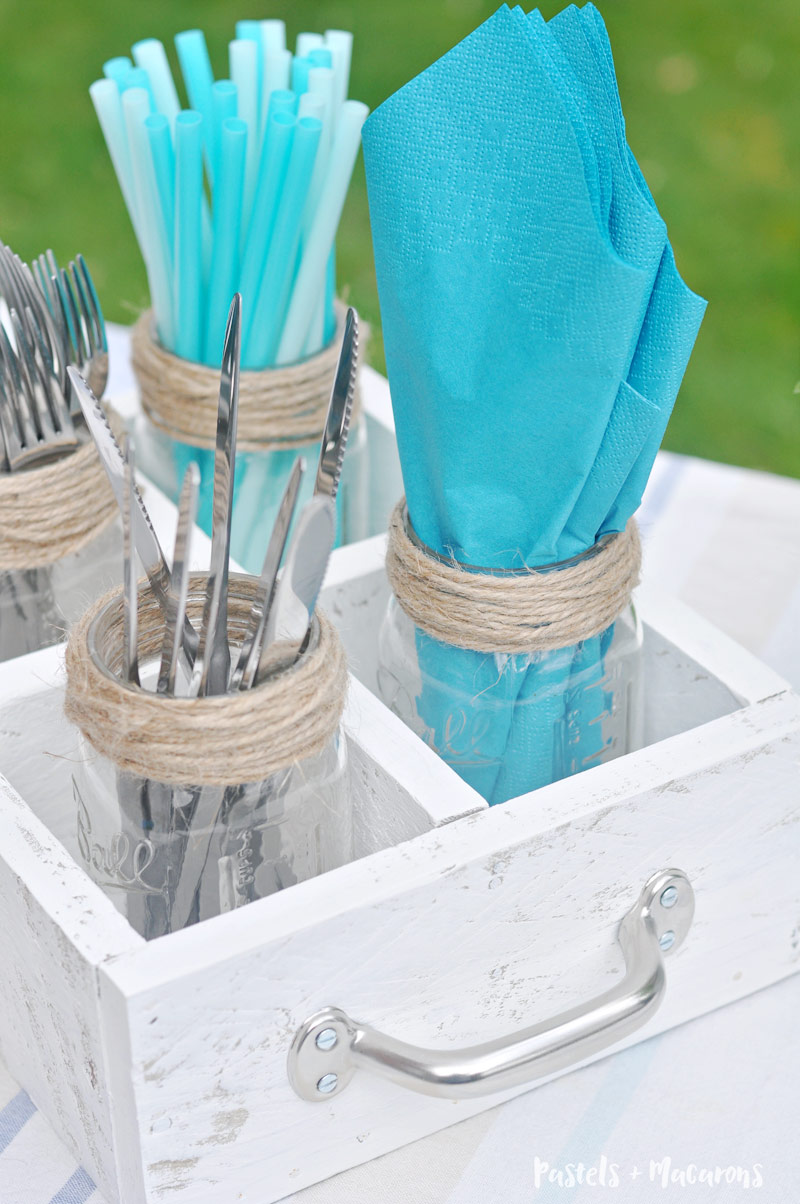
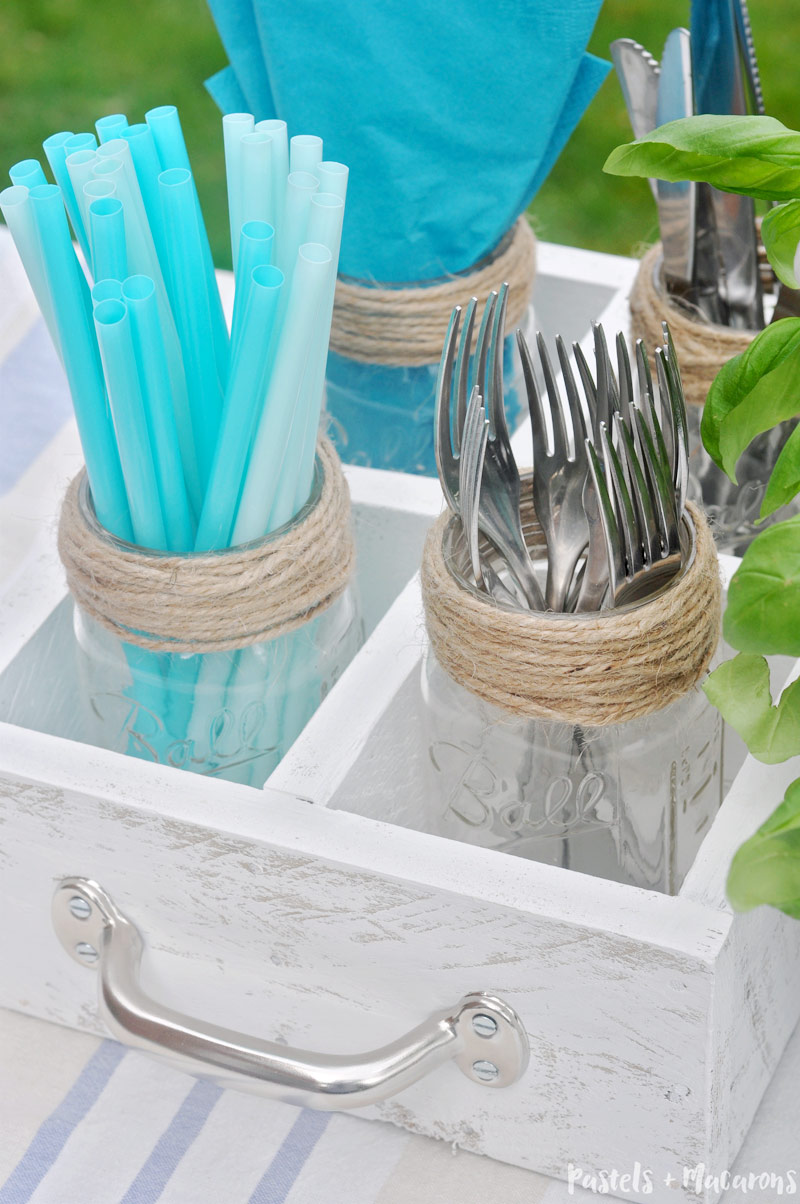
I finished off the utensil caddy by added some Mason Jars with twine wrapped around the top.
Now that the weather is warmer we have had some nice sunny days and sitting outside has been bearable. I have used this utensil caddy a few times now and I don’t intend to stop!
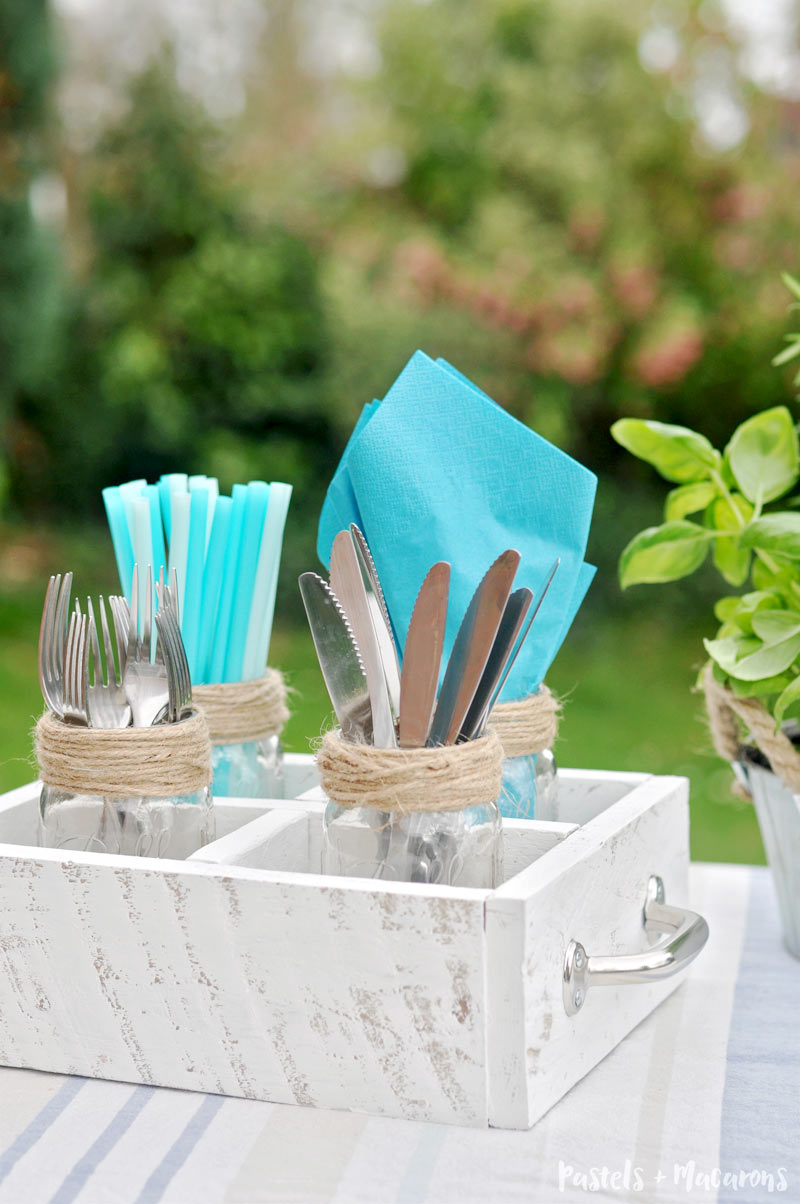
I hope you enjoyed today’s tutorial and I hope it inspires you to create your own. It will make your outdoor and indoor entertaining a whole lot easier!
![]()
Want more ideas in jars? See my friends who are playing along!
The Country Chic Cottage, Yesterday On Tuesday
The Cottage Market and Mad In Crafts

Leave a Reply