*Thanks to Adobe Photoshop Elements for partnering with me on this DIY Christmas banner project*
Christmas decorating has to be one of my best memories with my kids. We sing songs and drink hot cocoa and have fun (and there’s even a bit of bickering, too.) We look forward to it every year, and this year is no exception. Besides just putting up the decorations, we always have fun making our own, too. This year we made this pretty DIY Christmas banner – which was so simple to make. You can make it in just a few minutes – and it’s completely customizable to be 100% your own pretty Christmas craft this year.
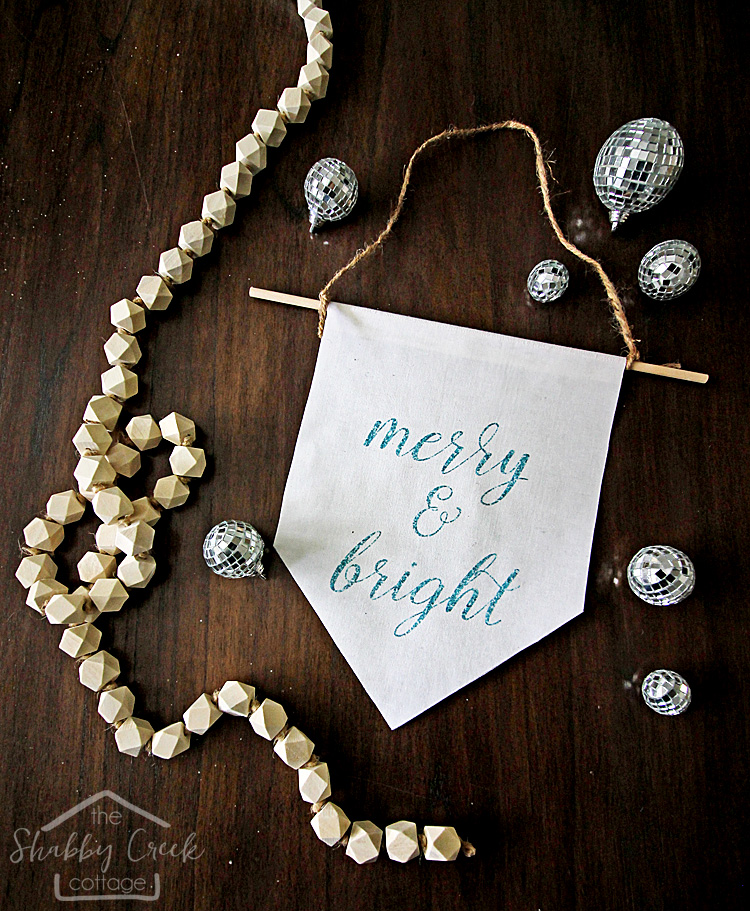
DIY Christmas Banner
*this post contains affiliate links*
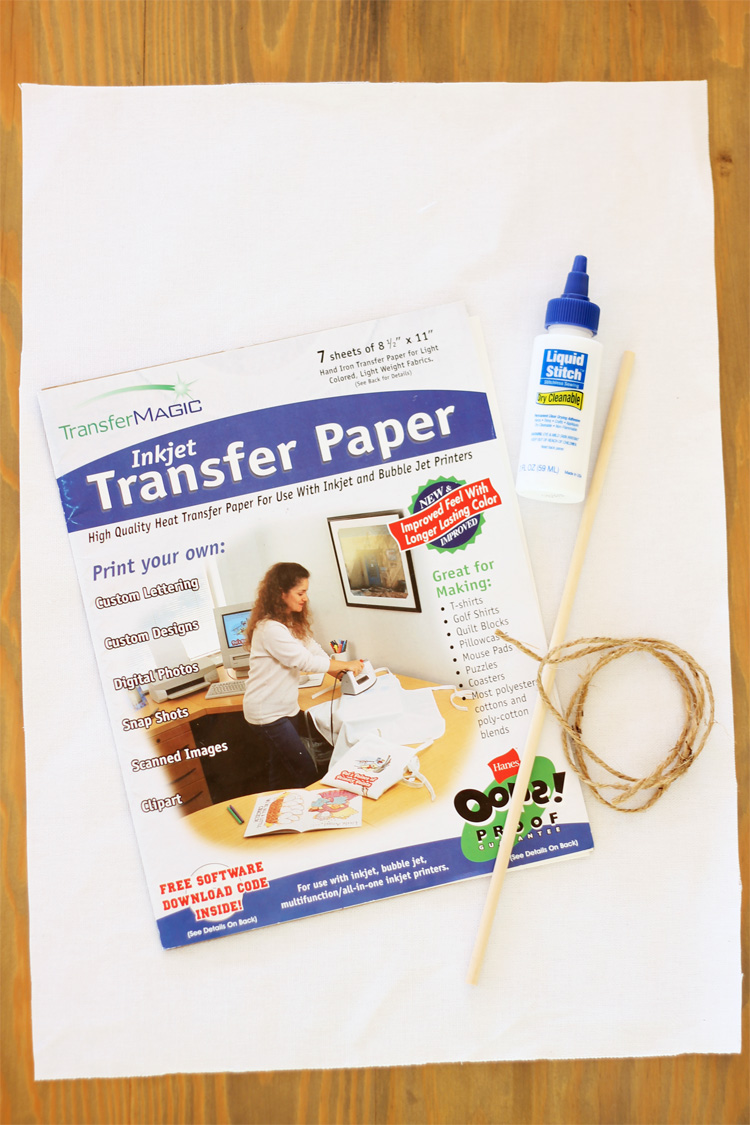
Supplies:
- Canvas fabric
- Photo Transfer Paper
- 1/4 inch dowel rod – 13 inches long
- jute twine – 28 inches long
- Liquid Stitch
I started by making the image with Adobe Photoshop Elements 15 using Photo Text Guided Edit. It’s a super easy way to take a photo and turn it into words (I used a photo of glitter to get the look but eliminate the mess of glitter!) Here’s how to do it:
I love that you can take any word and use any photo to make it exactly how you want it to be! (PS – for another one of my Photoshop Elements ideas, be sure to check this one out!)
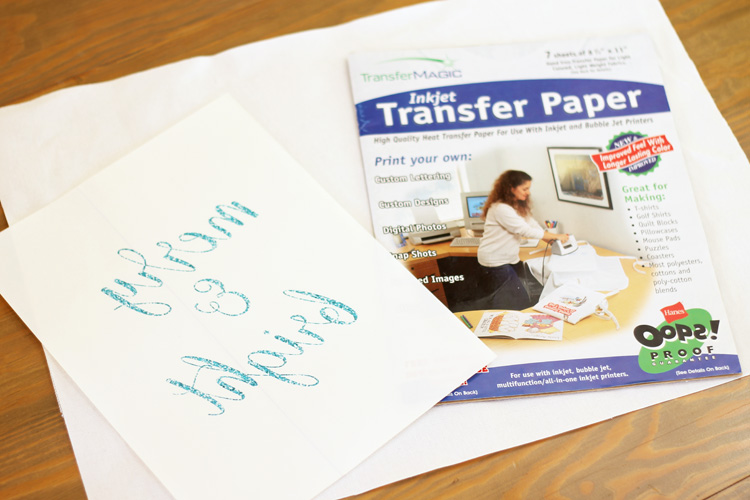
After you have the print made, print it out onto photo transfer paper. Make sure that you flip the image so it will print in reverse for the wording to come out correctly.
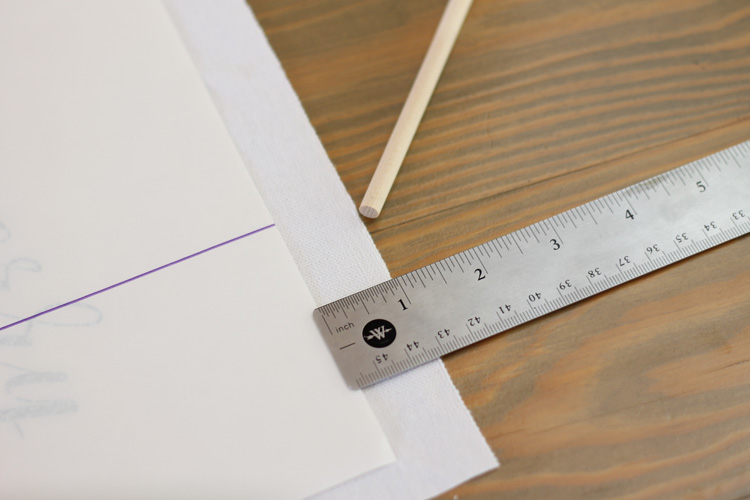
Measure down from the top of the fabric (I used the selvedge edge) about one inch and place the printed transfer face side down.
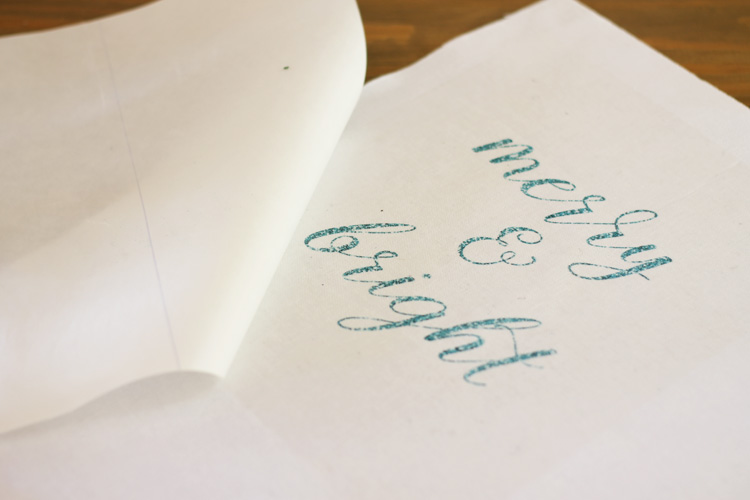
Following the directions on the photo transfer paper of your choice, iron the transfer onto the fabric, then let cool before peeling off the backing paper.
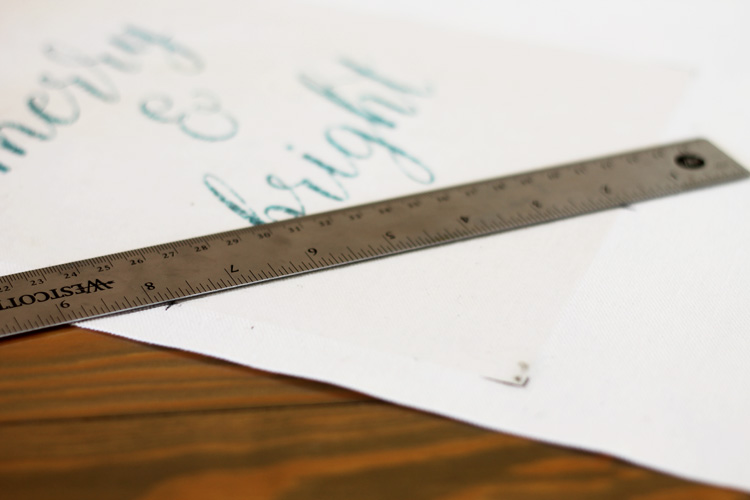
Find the edges of the transfer, then measure to find the middle on the bottom. Measure up about 4 inches (this depends on how big your image is – test to make sure you won’t cut off any of the wording.) Draw a line from the side to the middle point on each side to create the bottom V shape.
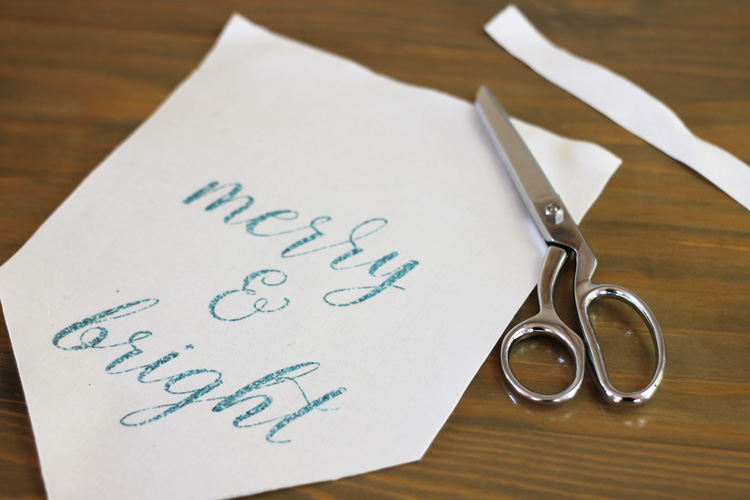
Cut out the marked lines, along with right up each side of the transfer paper – but make sure to leave the 1 inch overage at the top.
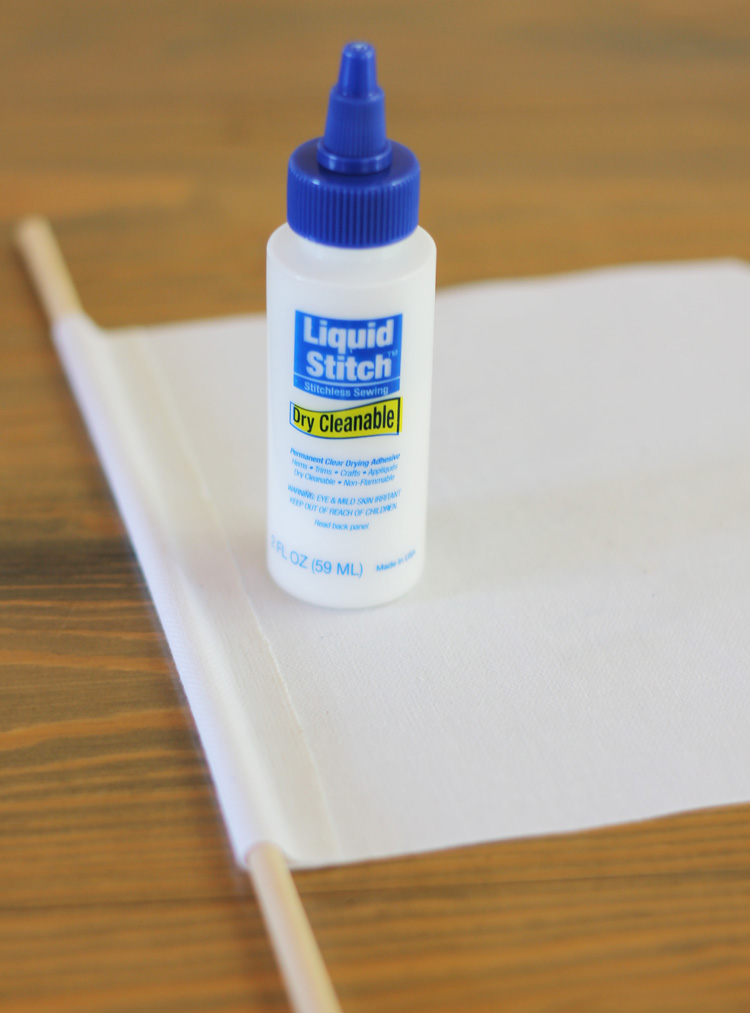
Flip over the print side and work from the back. Center the dowel rod in place, then roll the top over the rod and use Liquid Stitch to adhere the fabric, creating a pocket for the dowel rod. Let dry according to directions. Then tie your jute onto each end and hang it up!
Such a simple project to get such beautiful results! It only takes about 15 minutes of hands-on time to make this DIY Christmas banner and I’d say it’s worth every second. If you haven’t tried using the fun tools in Photoshop Elements 15 yet, download the free trial and play with it a bit – it’s tons of fun to see all the cool edits you can do. If you need more help learning about it, be sure to check out their YouTube channel!
Thanks to Adobe for partnering with me on this post. All ideas, words, opinions, photos & videos are 100% my own.

Can you tell me where to get that font, Octavina, and how to upload that into Elements? Thanks so much. 🙂
I would like to know too
Hey Bethany,
I explain everything in the video tutorial in this post. Just click on the arrow to start the video. It is all part of the magic of Photoshop Elements 15 editing software. It makes it super easy and so much fun to create projects like this banner. I hope that helps. Let me know if you need anything else 🙂
Hi Christine,
It is all done in the Photoshop Elements 15 editing program. I explain it in detail in the video tutorial in this post. Just click on the arrow to start the video. It is super easy and fun!