
Start by laying out a single sheet of tissue paper, matte side down. Place a sheet of cardstock on top and trim around it so you have a 2 inch allowance.
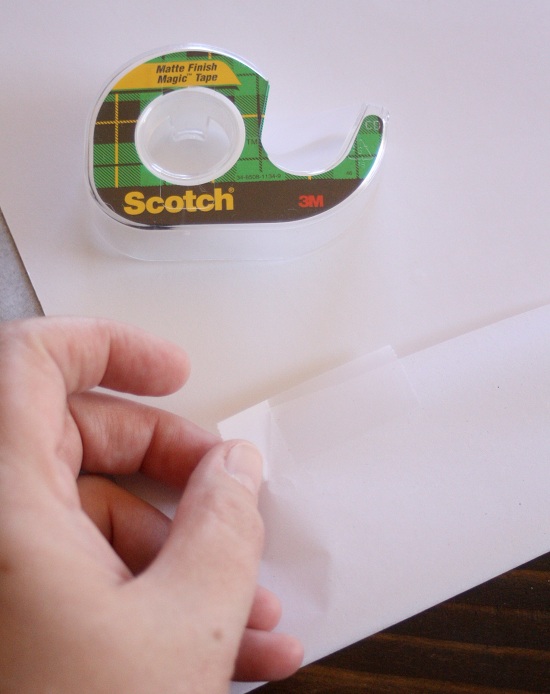
Using the tape to secure it, wrap the tissue paper around the cardstock. You don’t need a solid line of tape, but do use enough to secure it well.
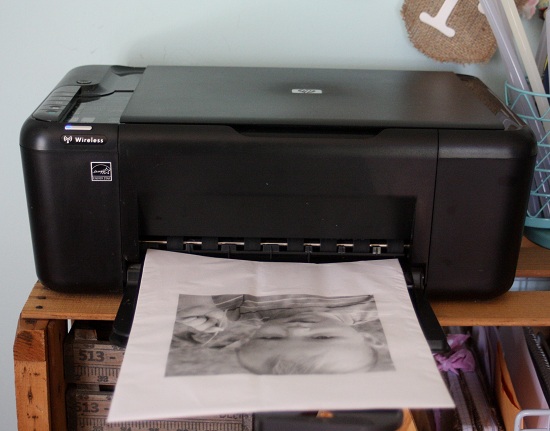
Then run the tissue covered cardstock through the printer, so it will print directly on the tissue paper. {I use an ink jet printer – I have not tried this on other kinds.}
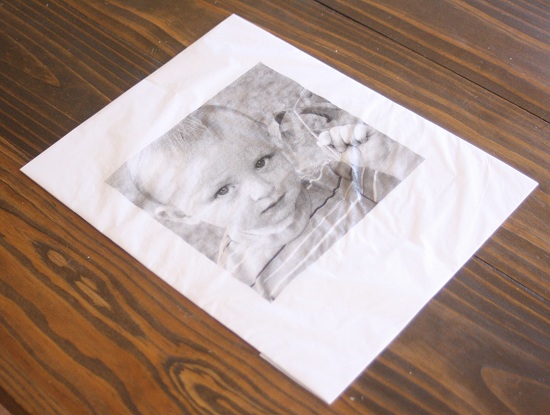
If there are words on your photo, make sure to reverse the image. Lightly spray the entire image with hair spray to set the ink. Set aside to let dry for 5-10 minutes.

Once it’s dry, cut the tissue off the cardstock with a craft knife, giving yourself a 1/2 inch (or so) border. Now your image is ready to mount.
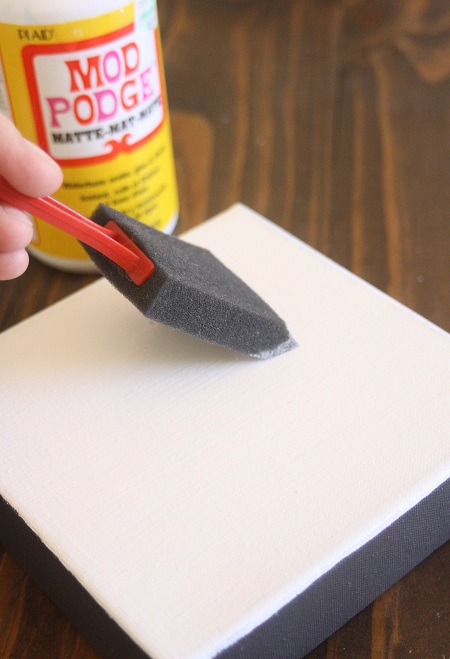
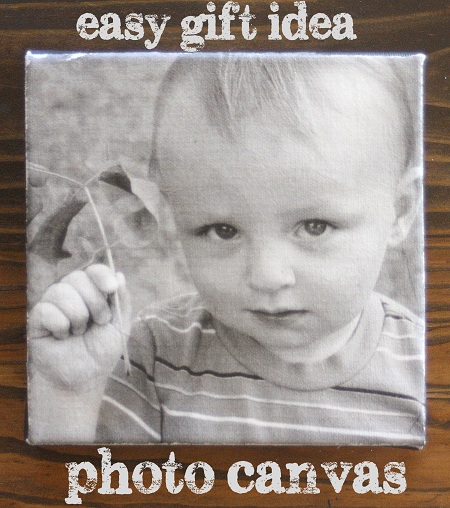
To mount it on your canvas, give your canvas a solid, thin coat of Mod Podge. I pre-painted the sides of my canvas charcoal grey, but you can leave them white if you’d like.

Once your canvas is covered, gently lay the image on top of the Mod Podge, then smooth out. I find it’s much easier with the Mod Podge brush. Just be gentle, the tissue paper is very thin. Sit aside your canvas for 2-3 hours to completely dry before going on to the next step.

Once it’s completely dry, lightly wet the tip of your finger with water and drag it along the edge of the canvas where your image is. The tissue will peel right off. It won’t be a perfect, crisp edge, but it looks really pretty.
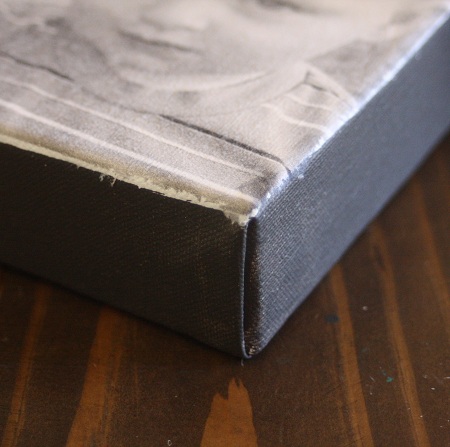
Once your edges are cleaned up, spray the entire canvas with two coats of Digi-Finish. It really makes the tones darken up.

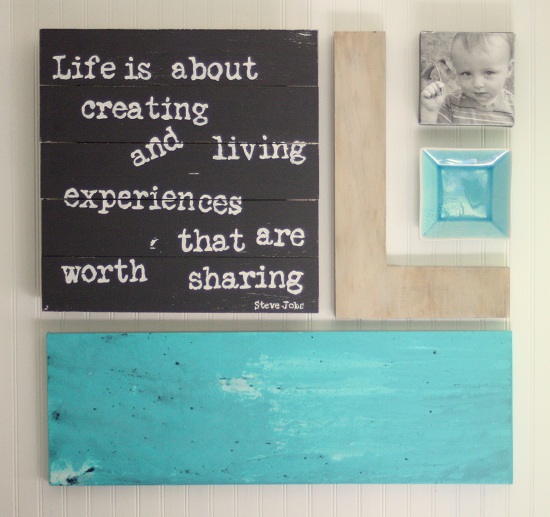
Let it dry, and you’ll be done! If you need several gifts, you can assembly line them and be done in no time. You can use a hair dryer to speed up drying times – except for the clear coat of Digi-Finish.


Very cool idea – thanks!
That is a really great idea and thank you for this tutorial too.
Wow, thanks for posting this! I know what I will be doing this week! 🙂
I had no idea one could do this!! I know I am going to be making lots of these, including several for myself. Thank you so much. Your tutorial is very clear and well written, no unanswered questions, and I love that!
I don’t know Gina, how do you know how to do all this amazing stuff? Does it come to you in your sleep? Your amazing. Thanks soooo much for sharing it with us
Awesome!!! I see a number of gifts coming out of this tutorial…and just in time! Thank you!!
Have to try this! Do you use gloss or matte Digi-Finish spray?
I used the Matte, but either one works great
Pinned.
Bliss
IMPRESSED!!! What a great job you do of explaining and illustrating the process, thank you and happy Thanksgiving to you and all you love…
Wow! GREAT instructions, too. What a perfect idea for gifts! Love it- xo Diana
Thank you, thank you! Wonderful idea with great instructions. XO
Great tutorial, thanks so much!
I want to try this! I have questions though: did you put the tissue paper on the canvas face down or face up? And did you peel all the tissue paper off or just the edges? I can’t figure out if this is an ink transfer or if you really glued the tissue paper to the canvas. Thanks!
Hi Olivia,
I put the tissue paper ink down on the canvas, and just took off the edges so that all of the tissue is left on the canvas.
Happy Crafting!
Hi Gina !
When I did this process, I still found my printer ink to bleed. Plus, I have NEVER been able to apply the photo without tearing it somewhere. Do you have any suggestions?
I am going to try your technique using the spray & not as much Matte.
Hi Lori,
My printer uses waterproof ink so that may be why? You need to be super careful with the photo, I’m sure you will get the hang of it, it takes practice 🙂
What a great idea! I can’t wait to try it. Thank you Gina!
So I went to M’s and got everything I needed (believe it or not it was only the canvas which was BOGO so I bought 4, I had everything else on hand), came home and got started and it was so easy I made a total of 3. They are hanging in my foyer and I can’t believe I made them 🙂
Thank you so much for your site and all your inspiration, my house would be so boring without you.
This is WONDERFUL! Thank you so much, I am making them for friends & family of their kids for a very inexpensive, personal gift! (I have made a few for myself too!)
Thank you soooo much for the Photo Canvas Tutorial! Now I know what I’m doing this weekend. love* love*love* your blog!
hi, thank you for this great tuturial , just one question, does it have to be tissue paper or can i use normal copy paper?
Cheers and thank you
It has to be tissue paper.
I have been looking everywhere for the Digi-Finish but cannot locate it anywhere in my area. Can you recommend anything else to use that gives the same effect?
Thanks!
Any non-yellowing sealer that works on paper will do fine. You could even use Mod Podge!
Thank you for sharing your great tutorial! It turned out beautiful. Hugs, Beverly http://teacottagepretties.blogspot.com
Thanks so much Beverly!
Can you do this same thing on a piece of wood
You sure can Michelle. I always recommend trying it out on a scrap piece first just to get the process down before you try it on your project piece 🙂
Can you use any size canvas??
Sure Lynn, just adjust the size of your picture 🙂
I love this and want to try it out. Can you tell me the exact printer you use. I can tell it is an HP.
Im not all that tech friendly, if im going to buy a new printer i want to buy the right one.
Thank you,
Donna
Hi Donna,
I use an HP Inkjet printer, great printer and not expensive 🙂
Thank you…. I have tried 2 epson printers and they leave black streak lines in the photo on the tissue paper. Been a frustrating process. Thank you!!!
Have to tried any other product to finish with besides the digi finish? I’m wondering if a polly acrylic or decoupage would work.
I’m sure either would work just fine Kelly!
Have you ever painted the face of the canvas first, then placed the printed paper on it?
No, but it shouldn’t be a problem, good luck!
Why not just print directly on photo canvas?
I don’t have the ability to do that so this is the next best thing 🙂
Why do we need to reverse text before printing?
Hi Abby, if you don’t any text will be a mirror image so reversed.