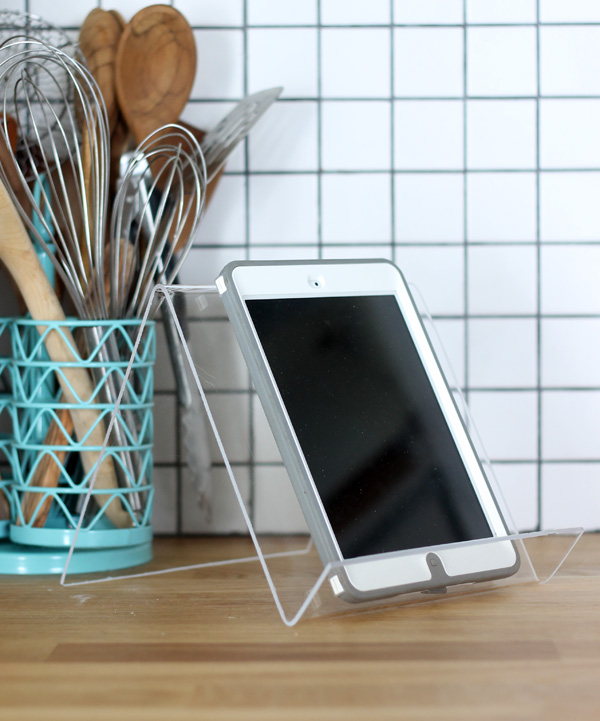
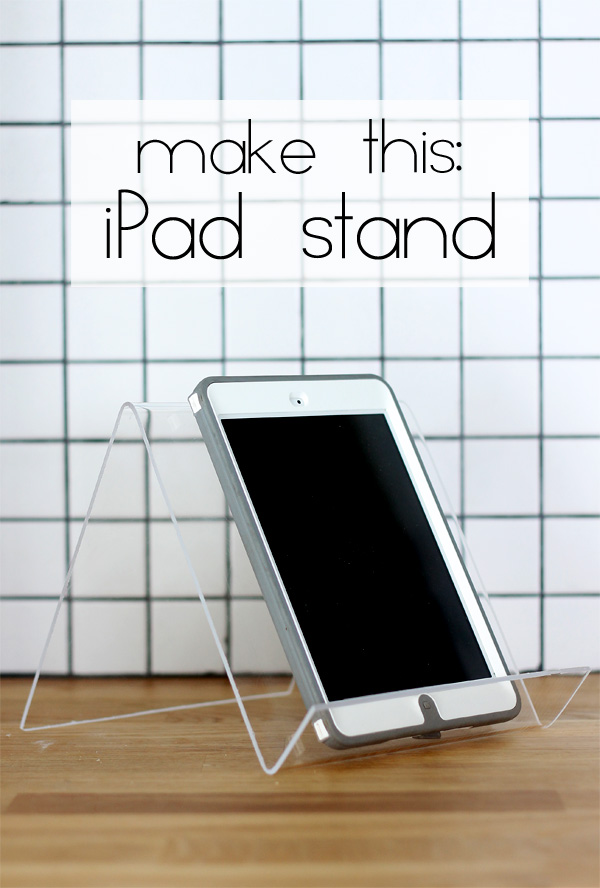
Although we’re Mac folks around these parts and have had an iPad for quite some time, we’ve never had an iPad stand. Until now. Why? Because I didn’t even realize I wanted one until I was trying a recipe I’d found online and kept struggling to keep going back and forth to it for reference. So I decided to make one. This is probably the easiest DIY I’ve ever done, it literally takes only about 10 minutes (if that) to make it. Even if you don’t have an iPad, it works great for holding cookbooks, too!
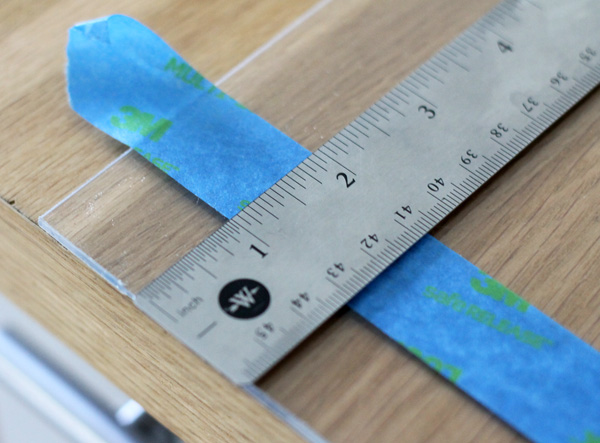
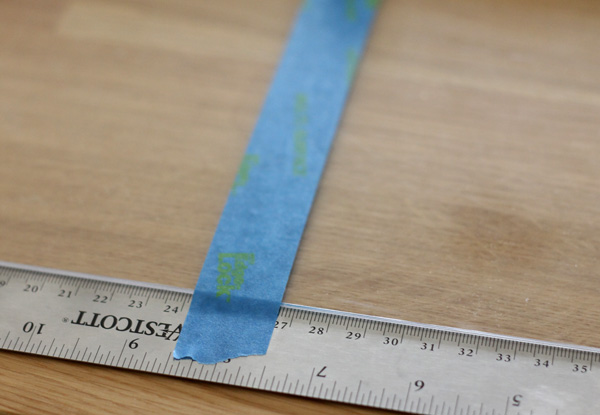
Start with a piece of plexiglass that is 8 inches wide and 18 inches long. I got mine cut at my local hardware store for only $1 (yeah, I was shocked it was so cheap!) Sand all of the edges well with fine grit sand paper to make it nice and smooth, then measure in two inches from the end and mark your line with painter’s tape. This will be the guide for your first bend.
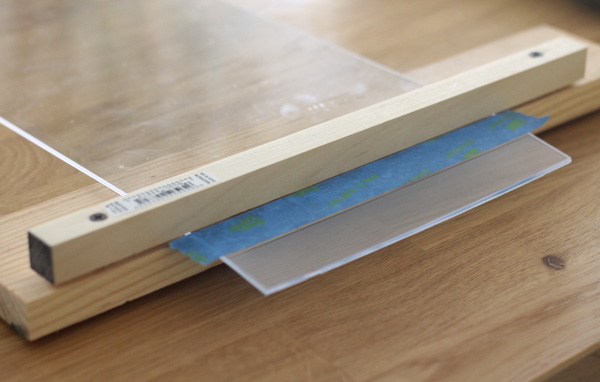
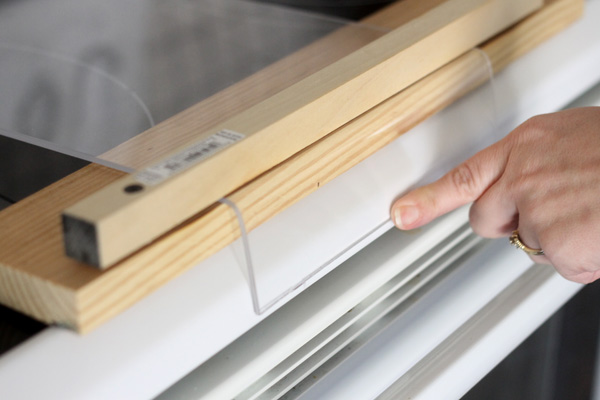
Using two pieces of scrap wood, create a “vise” to hold the plexiglass by sandwiching it between two boards, then pre-drill holes in each end (past the plexiglass) and securing it together with screws. Use the tape as a mark to line up the boards correctly so your plexiglass will bend in the correct place. I used a scrap of 3/4 inch square dowel rod (it was leftover from my DIY Command Center) and a piece of 1×4, but you can use whatever you have in your scrap pile that works. You need the screws to go through the first board but not the second, and it’s better to use 1x lumber because it has nice, crisp corners. Be sure to remove the tape before moving to the next step.
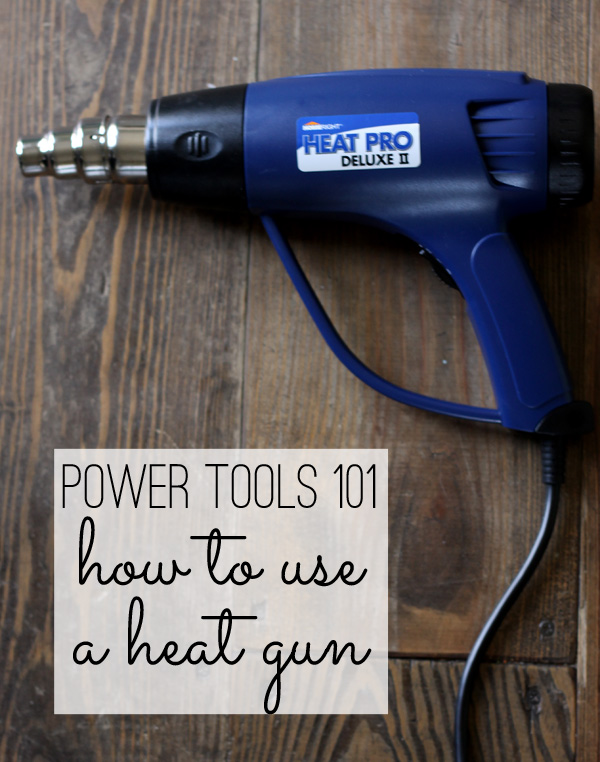
Before we get to the next step, which involves using a heat gun, let’s have a little PT101 session on the tool itself. If you’ve never used one before, it’s a pretty neat tool that can do lots of things like Remove Paint Without Chemicals. The one I used for this project is the Dual Temperature Heat Gun by my partners at HomeRight. At around $25 it’s a great thing to add to your tool arsenal, because you can do tons of different things with them from removing paint to making cool stuff out of plexiglass (and tons more.)
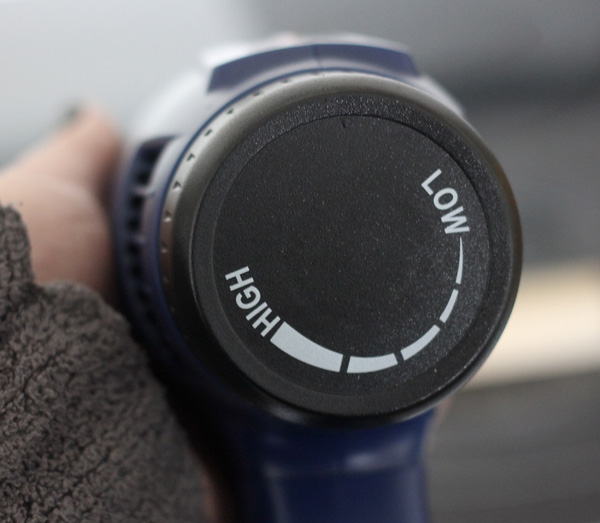
I like this model best because it’s very basic and easy to use. There are really only two main controls. First is the temperature, which is controlled with this simple knob found on the back of the gun. Turn it up for more heat, down for less heat. Pretty easy, huh?
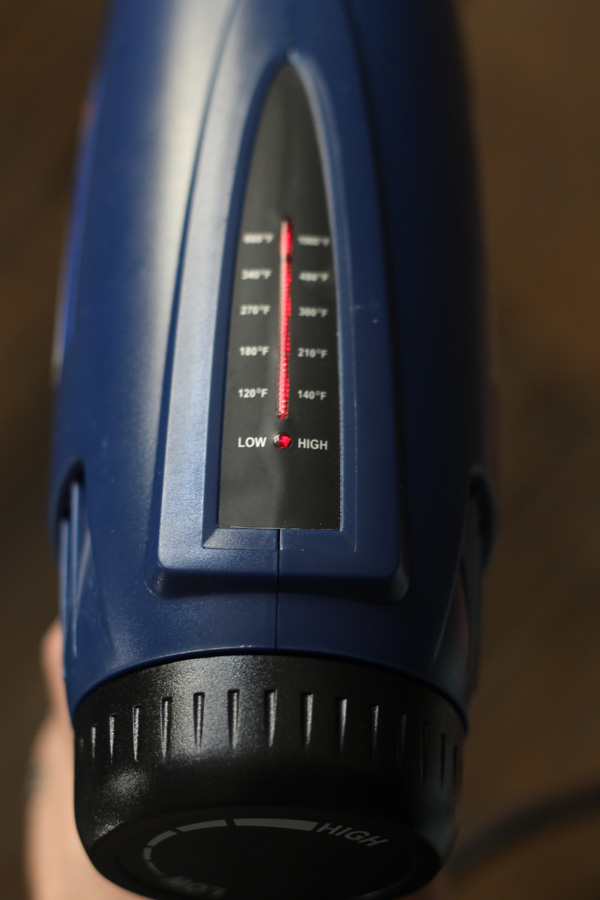
On the top of the gun is the temperature gauge. it’s pretty self explanatory, too, and lets you see how hot the gun is. Different projects require different heat levels, so you can see if it’s set properly for the job.
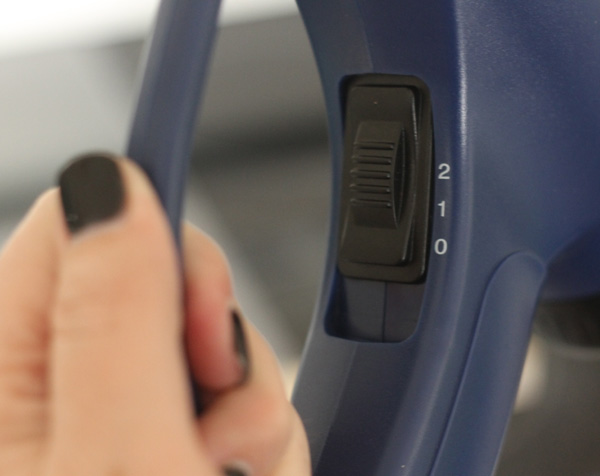
On the handle is the power switch. Zero means off, 1 is low and 2 is high. Once again, depending on the job, you may want more or less strength to the airflow. Now that you know how the gun works, let’s use it to make the iPad stand.

Because this is a small project and it goes rather quickly, I did it on top of my stove. Stoves are built to take the heat, so it seemed like a safe option for me 🙂 I put the board on the front edge of my stove and used the heat gun on medium heat at high blast, with the nozzle about 4 inches from the plexiglass and quickly ran the heat gun back and forth about a dozen passes over the plexiglass to heat it up so I could bend it.
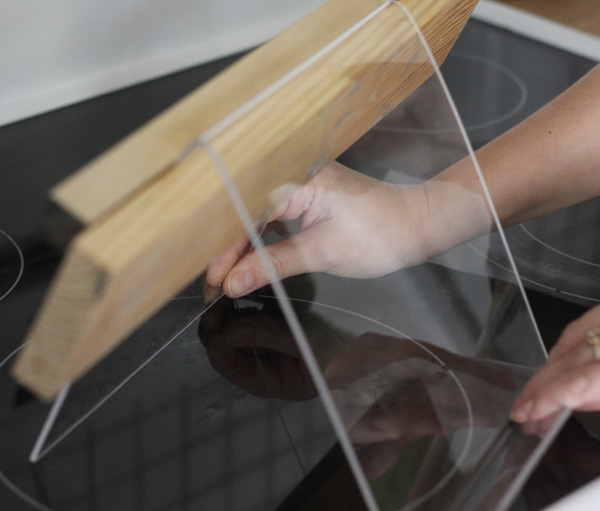
Using my hands on each end of the plexiglass, I simply bent it over the edge of the board. It will be slightly warm, but not too hot. Once the piece is bent, hold it there with your finger for a minute or two and it will quickly cool. Once it is cool, remove the boards.
From the other end of the sheet of plexiglass, measure down 8 1/2 inches and create another mark line with painter’s tape. Put the plexiglass back in the wood vise (with the bent end sticking up) and clamp it down again.

Once again use the heat gun to warm up the plexiglass (about 10-12 passes on medium heat at full blast). Bend the plexiglass a little more than a 90 degree angle, so you will get the stand to sit upright.
Hold the stand in place for 2-3 minutes until the plexiglass has cooled. Remove the vise and clean the stand, and you’re done!
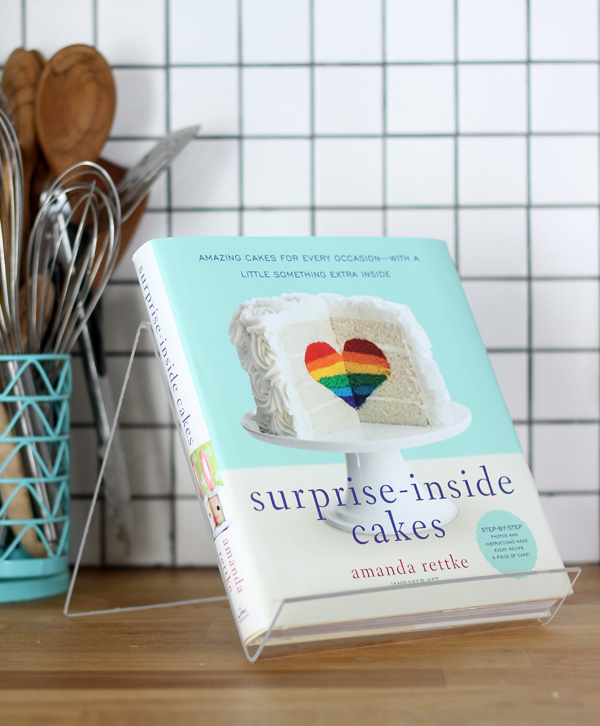
This easy iPad stand not only works for full and mini tablets, but works great for cookbooks, too. I’m pretty sure my mom might like to have one of these as a gift, so shhh… don’t ruin the surprise!
*Thanks to my friends at HomeRight for partnering with me on this post. All ideas, photos, words and opinions are 100% my own.*

Woow! What a great idea Gina! Love it!
Have a lovely day!
Hugs,
Vesna
That’s awesome! I wonder if the etching cream works on plexiglass? That would be cool if it did, then you could personalize them even more for gifts!
I don’t know – but it would certainly be cool to try it! If not, vinyl would be a great option, too.
I love this! Well written tutorial….I’ll for sure be back again for more! Thank you!
How neat and clean! Love it!
Awesome!
Fantastic idea, I must make one! Mainly because I look at my iPad vertically but most stands and covers only work horizontally.
Hi Gina,
Great job! Wonderful idea! Think I’d like to try this. So, I am wondering if you could clarify something on the tactic of the second / top bend, please? To make the bend more than 90 degrees, do you need to move the vise down from the bend and or do you need to apply more heat to create the curve? Thanks for the tutorial!
Have a great Tuesday.
Cheers,
Cathy
Just keep bending, it will bend far past that – you just want to bend it so it will hold the iPad/book upright, then hold it in that angle for a couple of minutes until the plexi cools. It will bend easily with just one heating 🙂
love this project Gina!
I love this! Such a genius DIY!
This is an awesome project Gina! Pinning this idea.