*Thanks to Rockler Woodworking & Hardware for partnering with me on this farmhouse style storage bench project! This post contains affiliate links.*
Benches have to be one of the most versatile pieces of furniture you can own. You can use them as an entry bench, a side table, a coffee table, a night stand… the list goes on and on. But finding them isn’t always easy, which is why I decided to build one. But, of course, I’ve got to up the ante and figure out h0w to make it more difficult 😉 Which is why I challenged myself to build a bench from one board. Oh – and with no screws or holes to fill.
Seem like a steep challenge? Actually this project is so simple – it takes under an hour. Want to build one? Let’s get to it:

How to Build a Farmhouse Style Storage Bench
You’ll need….
- 1 – 2x12x10 board (we used pine)
- Rockler Beadlock® Pro Joinery Kit
- Beadlock® Tenon Stock
- 2 large washers (1/16 inch thick)
- 3 clamps
- wood glue
- drill
- 1/4 sheet sander + 220 grit sand paper
Start by cutting the board into 4 pieces (you can get this done at the lumber store), you’ll need 1 at 48″ – 1 at 42″ – and 2 at 14.5″. You’ll also need a scrap of wood that’s around 12 inches long and 1 1/2 inch wide.
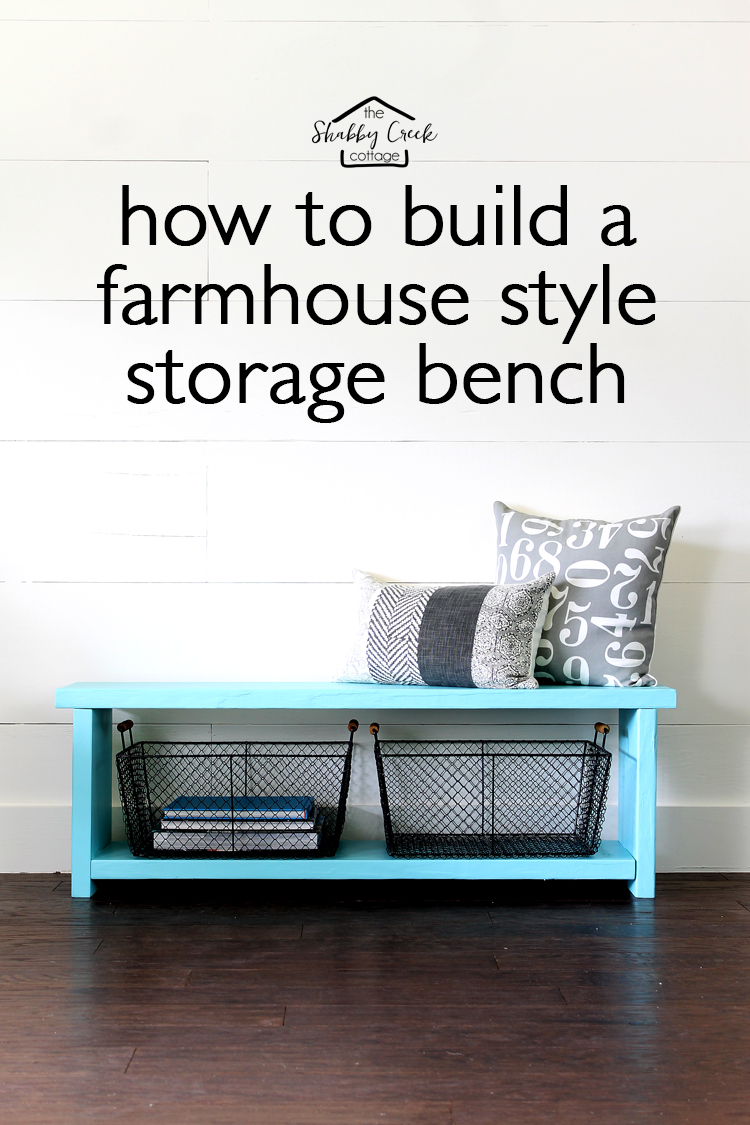
Start by disassembling the Beadlock Joinery Kit, to take off the jig. Using the scrap wood as a guide, line it up on the side of the first board (the 48″ piece). Use washers between the two pieces so the jig part will still slide.
Get tips on learning more about how to use the Beadlock Joinery Kit in my Outdoor Sofa post.
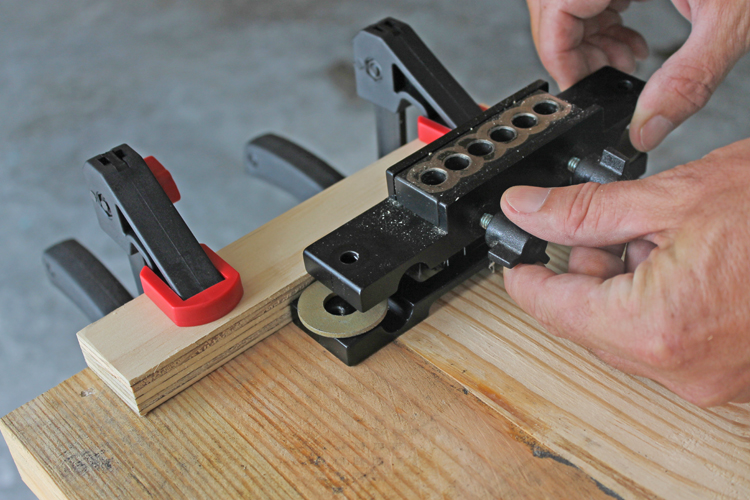
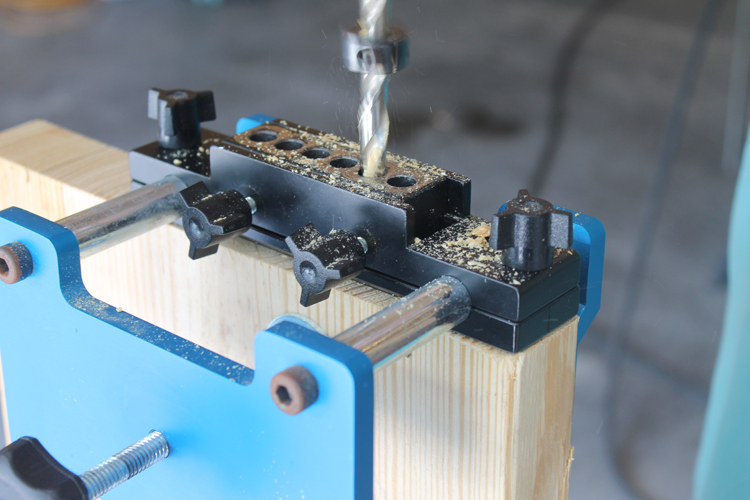
Basically you drill the first three holes on the side you want the joint on, then you turn the black knobs on the side to release the hole jig, then slide it over and drill the first two. It creates a series of 5 holes joined together so the tenon stock will fit.
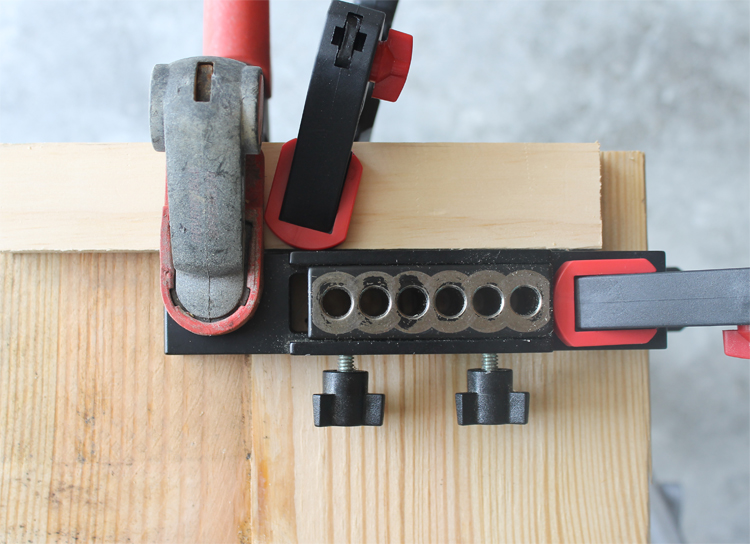
Drill one side of the board, then the other – on both ends. It was super difficult to figure out how to use a Beadlock on the face of a board – but this way worked beautifully.
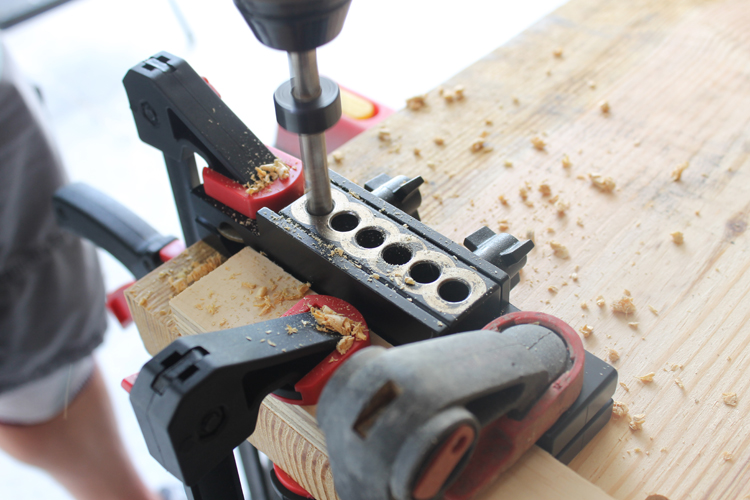
After you’ve finished those, then put the pieces back onto the stand and use it the traditional way on the end of the board.
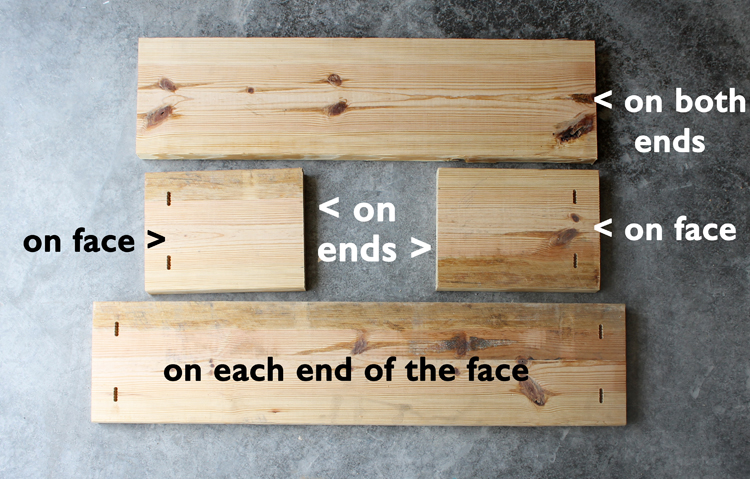
Once all your holes are drilled, you’ll have them in the places marked above. Use a sander to sand each piece on all sides to make sure that it is prepped and ready for assembly.
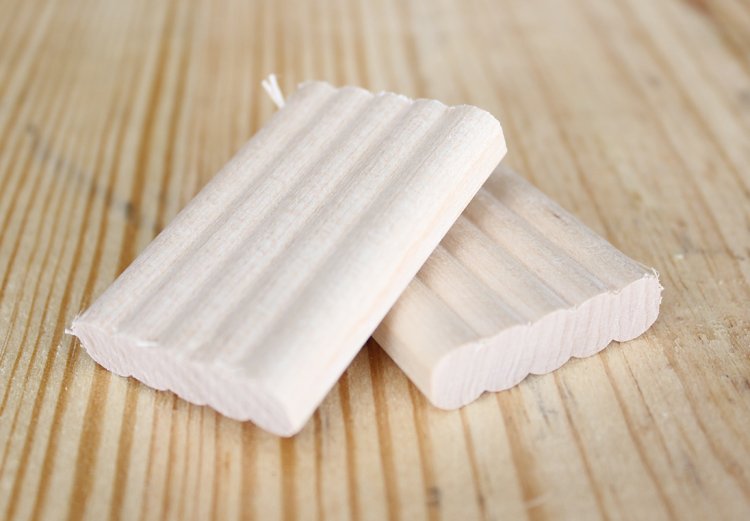
All those holes you drilled are for tenon stock – this is what holds the joint together. And they are TOUGH! We built our outdoor furniture two years ago and it is still just as solid as the day I built it.
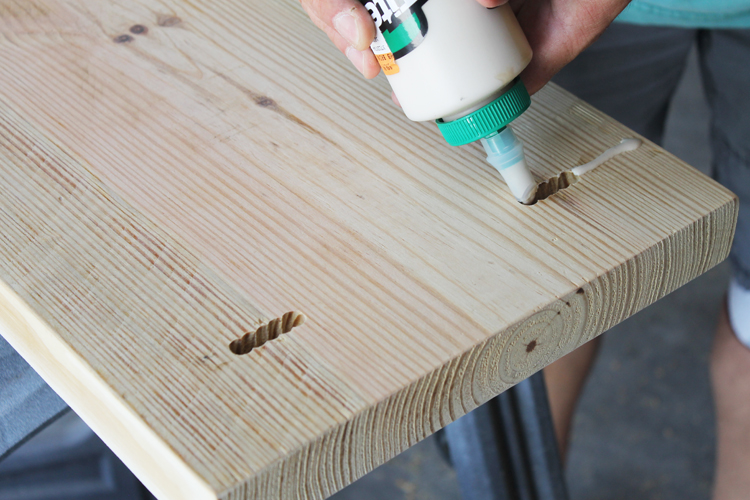
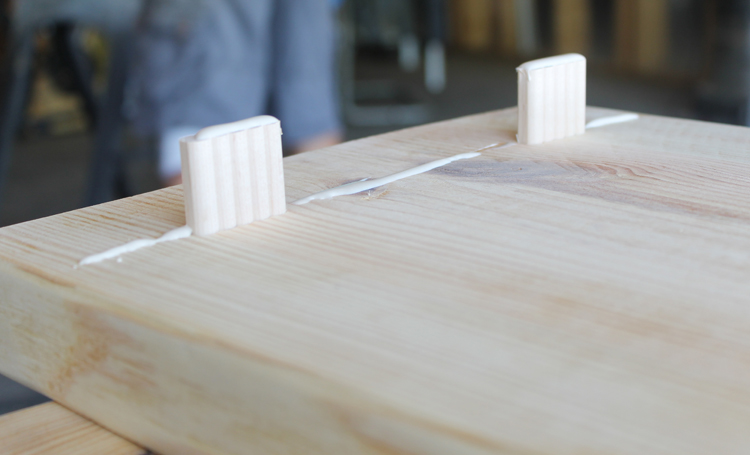
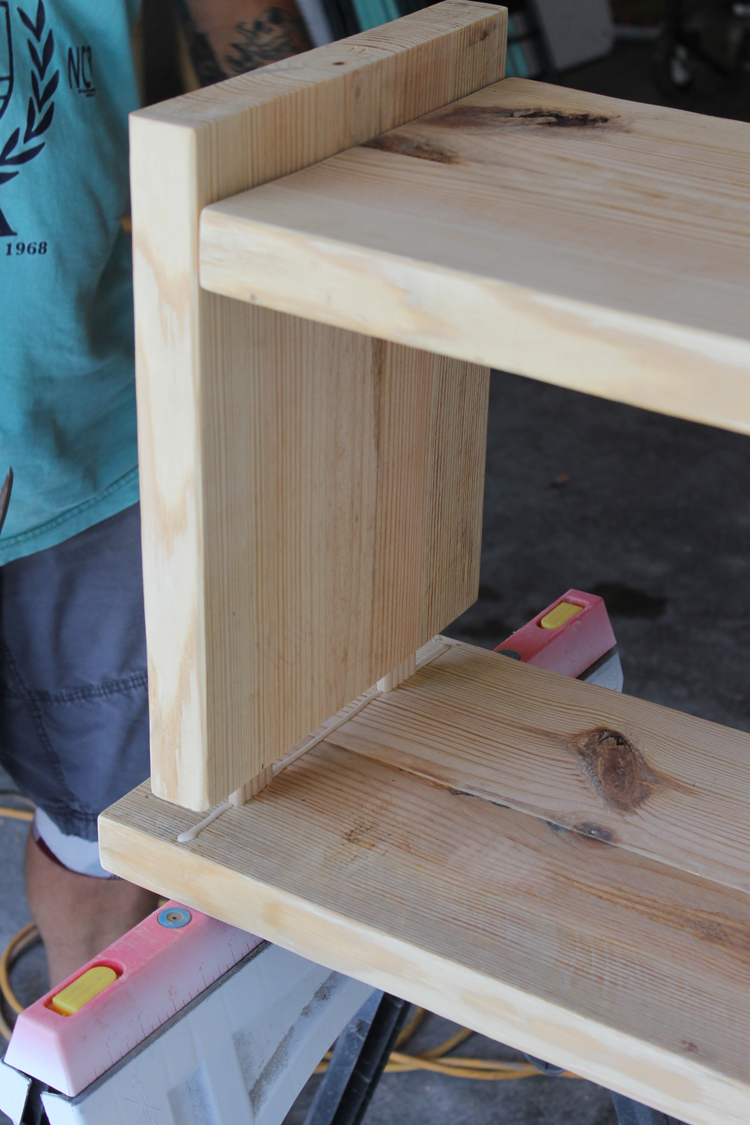
Starting with the “legs”, put a line of wood glue where the joint will go – and make sure to get some in the holes as well.
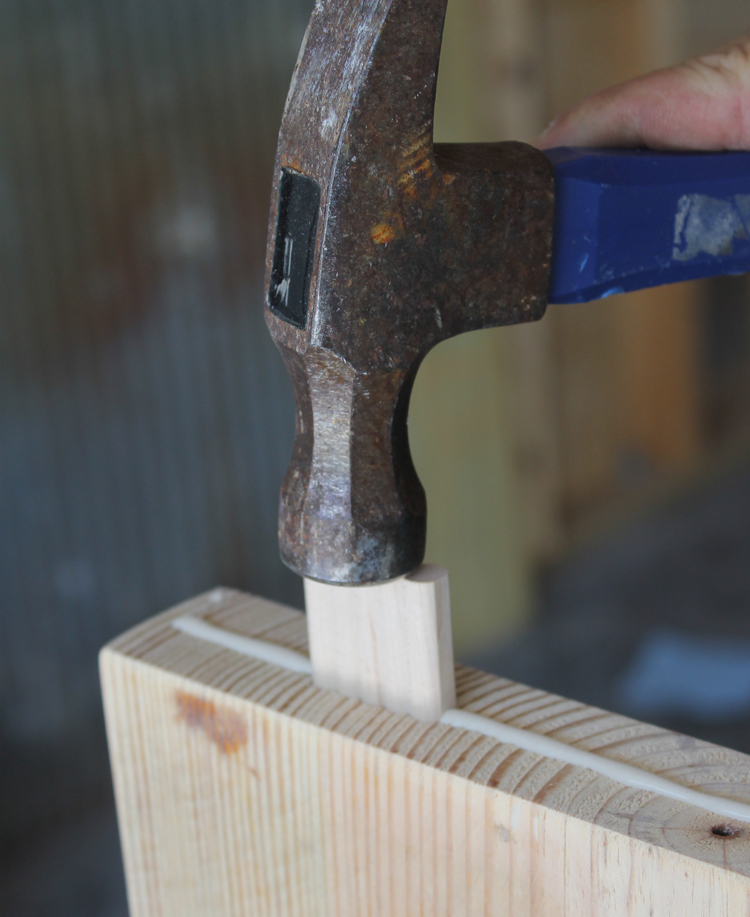
Then tap in the tenon stock – they will fit in tightly, which is how they make such a strong bond.
Once both legs have tenon stock installed, add the bottom piece on, one side at a time.
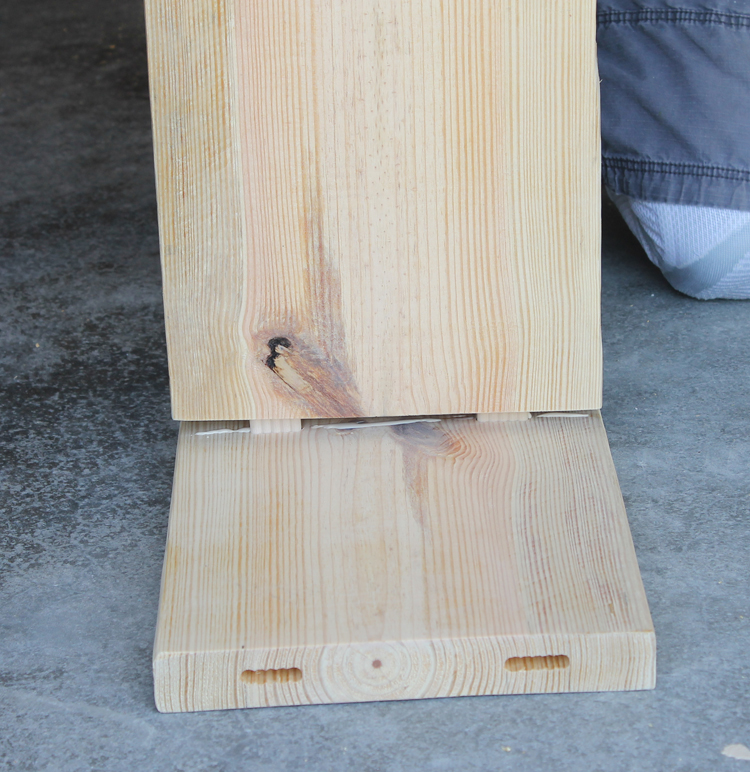
Use a hammer or a mallet to tap them into place to get the joint secure.
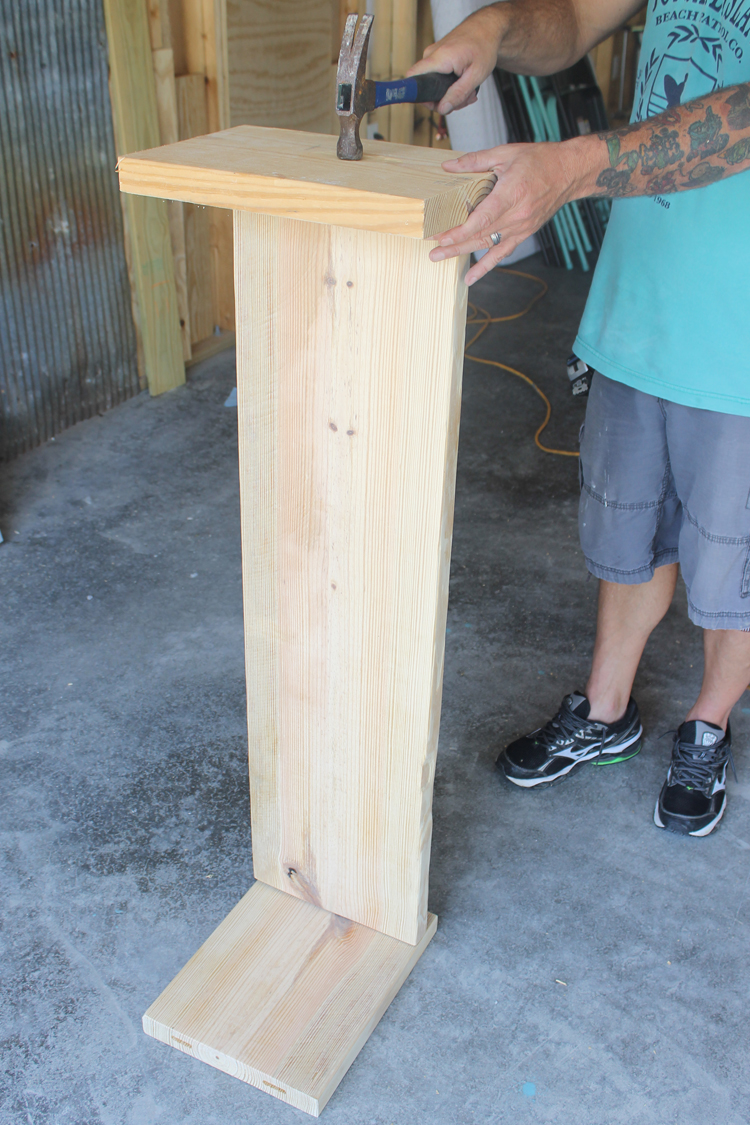
Once the base is assembled, then use wood glue on the top and attach with more tenon stock.
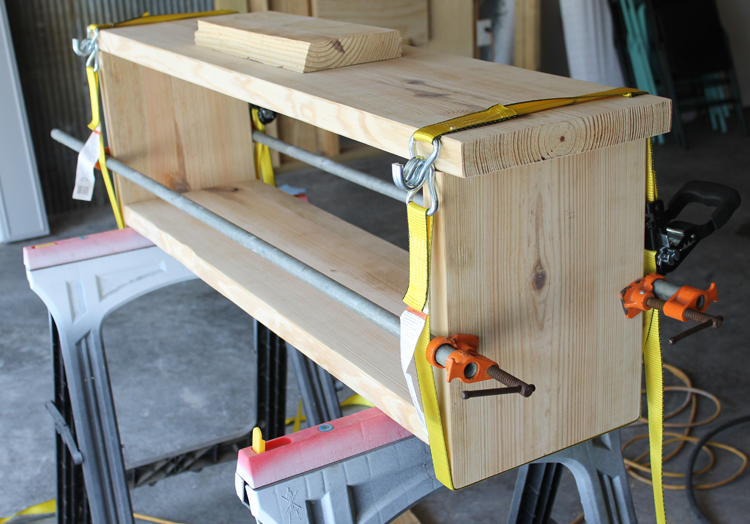
Clamp it all together and let dry for 24 hours. After the glue is dry, paint or stain your bench with the color of your choice.
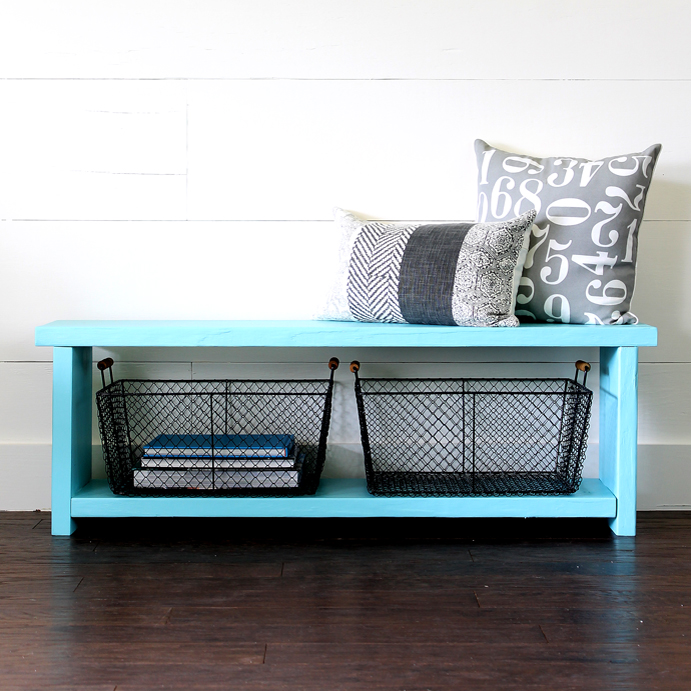
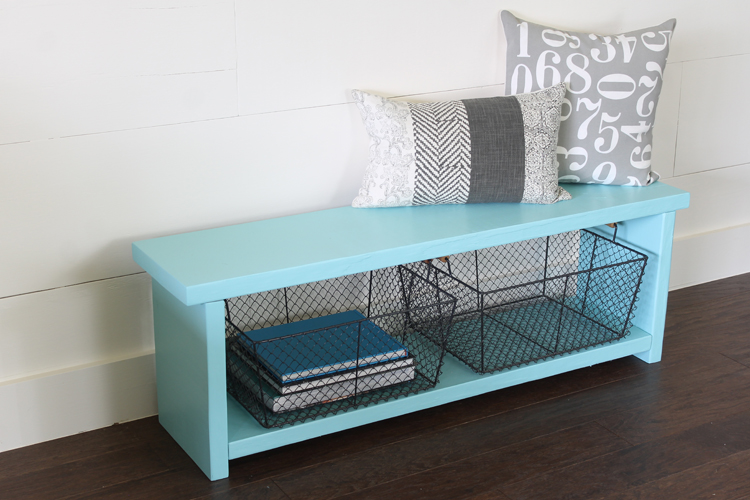
Add a few baskets to the bottom and you’ve got a beautiful storage bench you can use almost any where.
*This post was sponsored by Rockler Woodworking and Hardware. All ideas, photos and opinions are 100% my own.*

I have a question please ; ) What is the climate like where you live and the cost to heat and cool your home in the coldest and hottest months?
We are considering down sizing to a manufactured home and can’t find any real information about the cost of a new manufactured small home inregard to heating and cooling cost.
Most think we are crazy for moving out of a very large paid for home to a small manufactured home but it’s a lot of up keep and time for my darling husband. We are looking in the 800 to 1200 sq ft size.
We live in the south and the winters can be below freezing for days even in the single digits and the summers are hot hot & HOT lol. As well as humid. I would greatly appreciate any information you could give. I have done some research online but nothing really helpful. There is no one we know who lives in one so thought you might have the insight. Thanks so very much.
Gina, I LOVE the bench, the color, and that very cool jig! And one board is even better
Good evening, Gina Luker! That’s quite a nice bench and so easy to make – if one has the right tools. I like having the pieces joined like that! No screws to snag clothing or items stored, etc. I would use one of those as extra seating/storage in an entryway, at the foot of a bed, or in the hallway. Love those storage baskets too! Well done, Madam Carpenter!
Why thank you so much Barb! I like all of your ideas for where to put it!
This is a great and easy project. I love it and so happy you shared. I going to add to my to do list.
Thanks so much Vaness!! I hope you do, it is super easy and I just love how it turned out! Good luck 🙂
What a great project. I love the color and the baskets you added.
I’d use a small scrap of wood to put between the hammer and the “biscuits” when hammering in. Just t in case your aim as not as practiced as a carpenter’s. Don’t want to bash it up.
Good advice Sue:)
Super ingenious!
Thanks so much Cheryl!
Thank you, Gina, for sharing this. I’ve never used this joint system.
Now this is great and thank you for this amazing bench