*Thanks to 3M for partnering with me on this post*
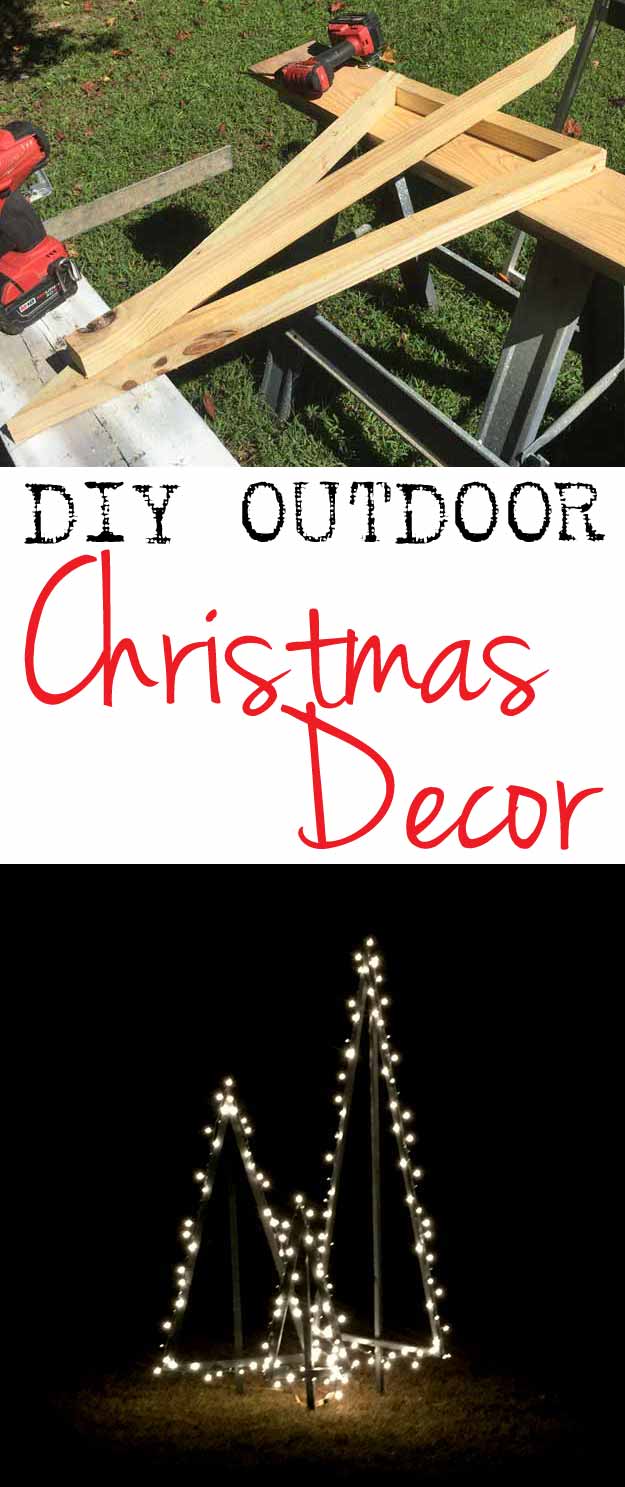
Christmas trees aren’t just for inside the home! Go all out this holiday with a festive lawn display that shines and boasts the most creative décor in the neighborhood. Start by making a few DIY outdoor Christmas trees, then light them up quickly and easily to finish your display.
Materials needed:
- 2×2 lumber
- wood screws
- outdoor paint
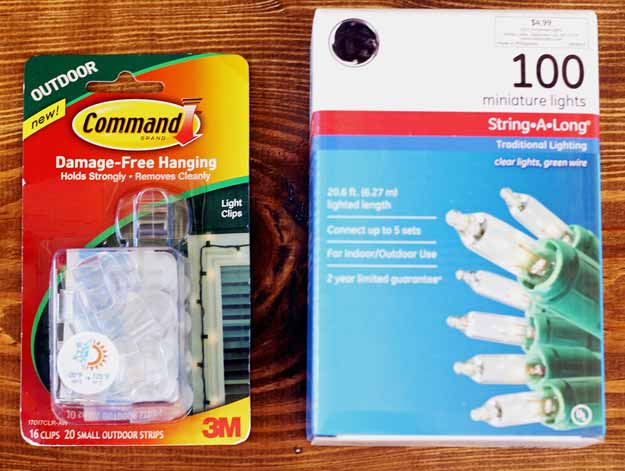
- Command™ Outdoor Light Clips
- string lights
Start with three pieces of 2×2 lumber – one for each side of the tree and one for the bottom. You’ll need another for the stake to hold them upright.
For these trees, here are the dimensions used:
Small Christmas tree:
- 2 pieces 35 1/2 inches long (for the sides)
- 1 piece 14 1/2 inches long (for the bottom)
- 1 piece 41 inches long (for the stake)
Medium Christmas tree:
- 2 pieces 60 inches long (for the sides)
- 1 piece 28 1/2 inches long (for the bottom)
- 1 piece 66 inches tall (for the stake)
Large Christmas tree:
- 2 piece 84 inches long (for the sides)
- 1 piece 33 inches wide (for the bottom)
- 1 piece 96 inches long (for the stake)
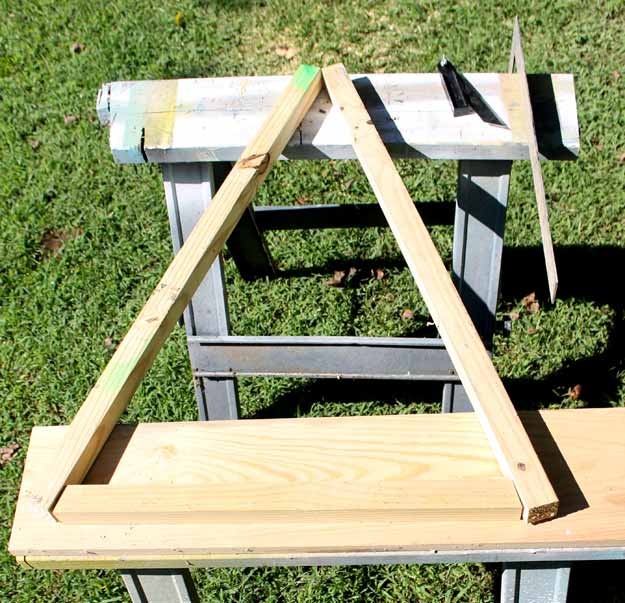
Start by laying the pieces out in a triangle format so you can get the angle of the bottom piece. Mark it with a pencil.
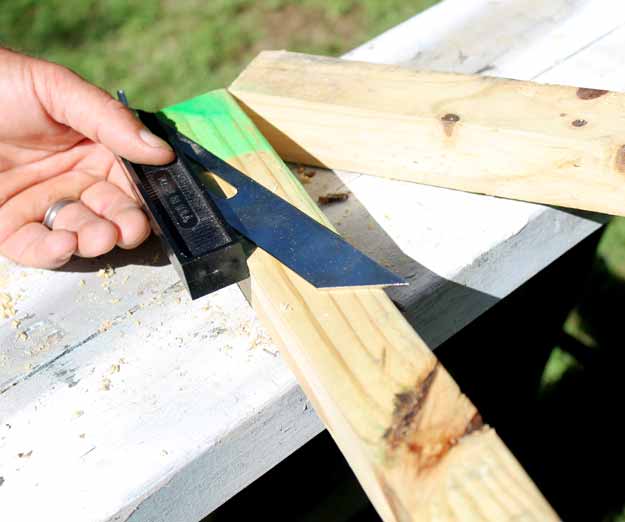
Then use an angle guide to mark the angle of the top corner of the tree.
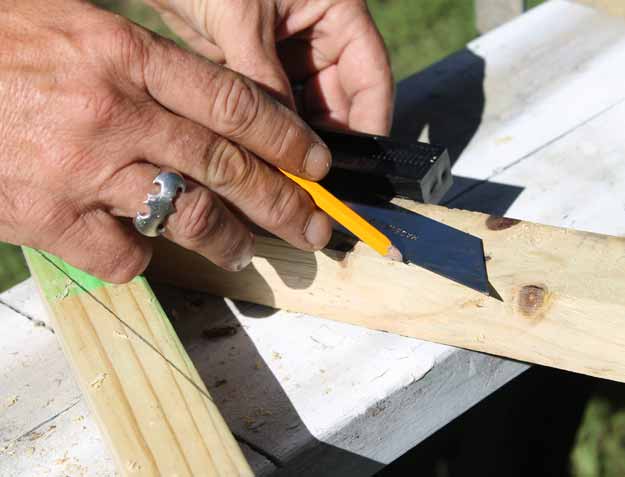
Use a pencil to draw a line straight down from the tip towards the bottom piece so it will line up together.
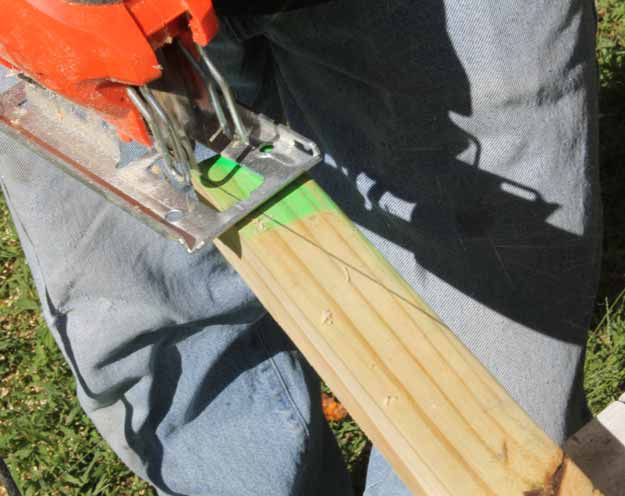
Using a jigsaw, cut the pieces for the top section as well as each edge for the bottom piece so you are ready to assemble.
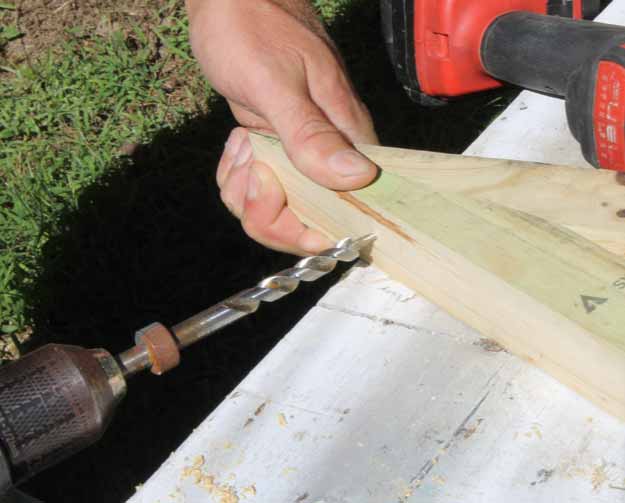
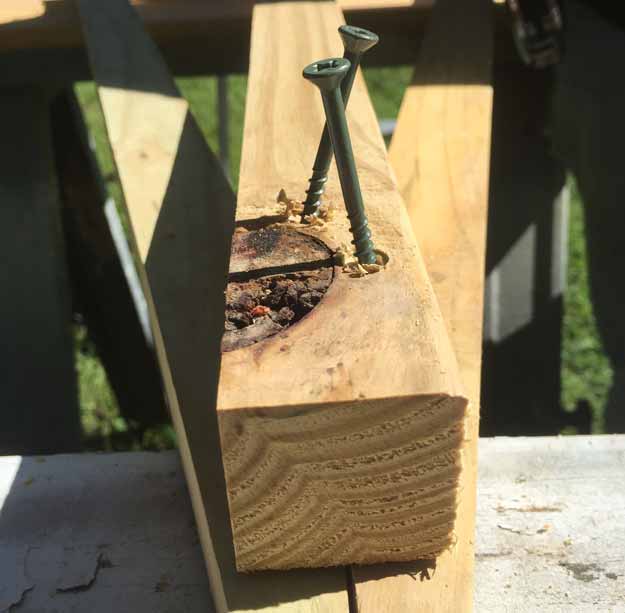
Using a drill bit, predrill holes and use screws to attach the pieces together with wood screws.
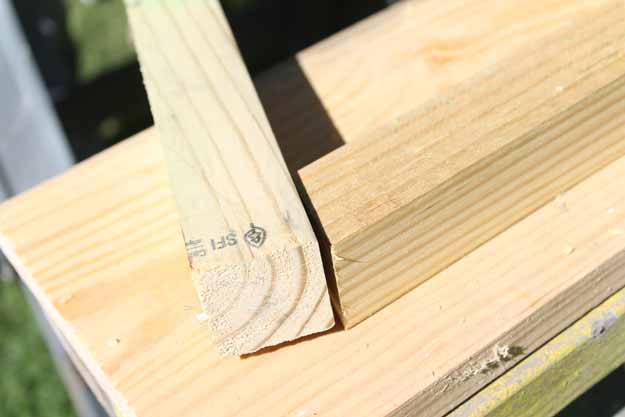
The bottom piece won’t be 100% straight (unless you do the extra step of measuring and cutting it perfectly), but the straight cut works really well.
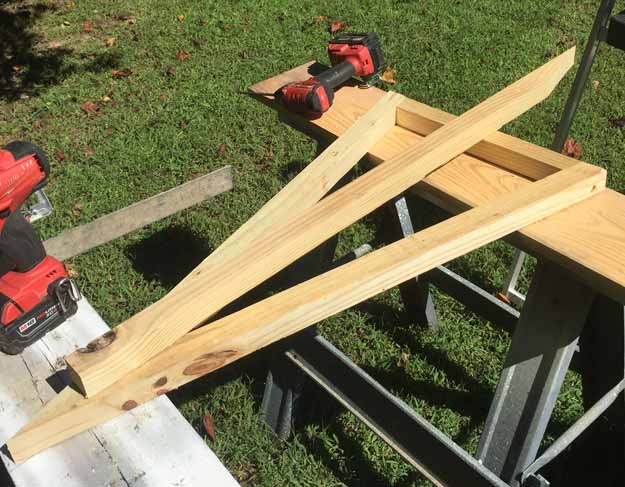
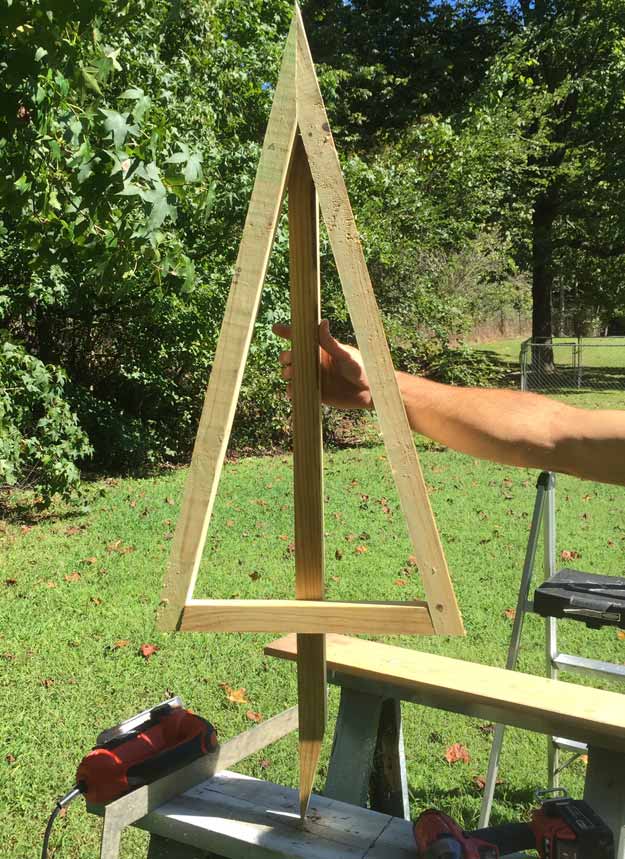
Next you’ll need the brace piece. Cut a long angle on the bottom edge so it can be driven into the ground with a hammer once complete.
Start just past the top where the boards are wide enough to cover the edge of the brace, then screw them into each side of the tree at the top and to the bottom.
Smooth the surface and paint the silhouettes in the color of your choice. This project used a dark gray. Allow the paint to dry completely, following manufacturer’s instructions listed on the paint can. Wait at least seven days for the paint to cure before proceeding to the next step.
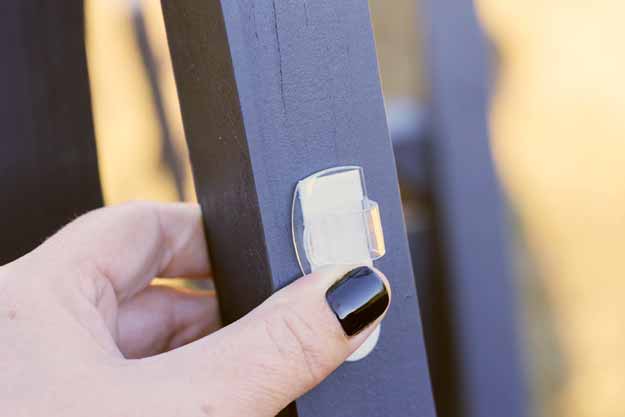
Adhere Command™ Outdoor Light Clips along the outside perimeter of the first wooden silhouette. Tip: Use one light clip for every two feet of lights.
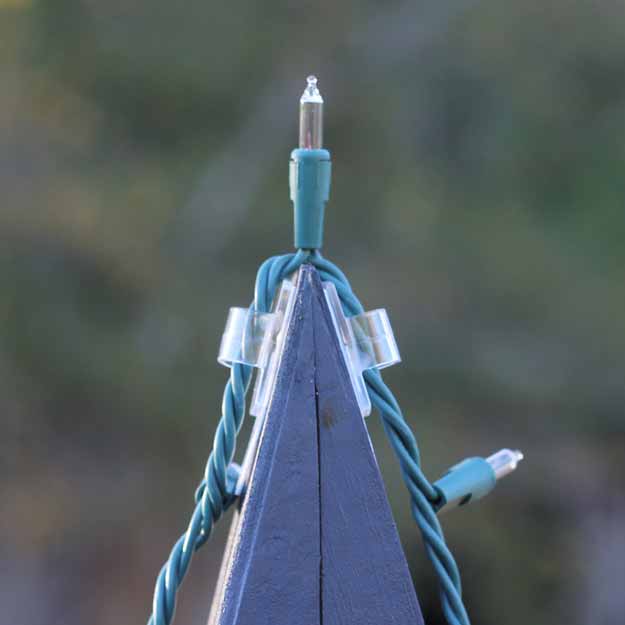
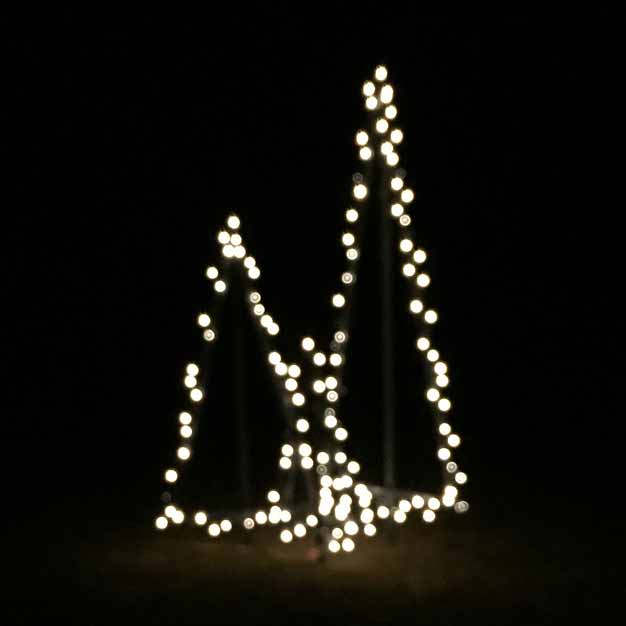
Insert string lights into the clips and adjust to make as tout or loose as you’d like.
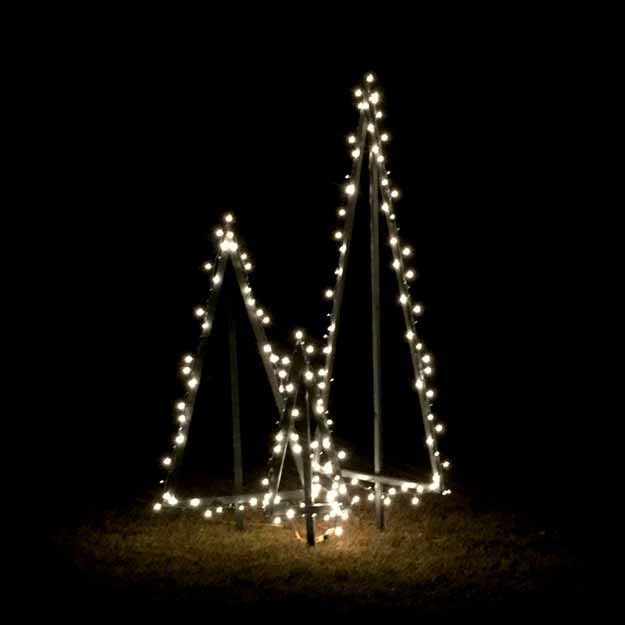
Run an extension cord from the trees to the nearest electrical outlet. Plug in the lights and wait until dark to reveal your festive display!
*Thanks to 3M for partnering with me on this post. All words, photos, ideas and opinions about Command™ products or any other product in this post are 100% my own.*
Leave a Reply